Easy and Inexpensive Christmas Ornaments
A long time ago, when my son was a baby, I made a ton of these painted glass Christmas ornaments for his first Christmas. Its one of the sweetest memories I have – him in his high chair, and me making ornaments just for him. I still have them, too!
Now it is time for new ones and I am wild about spa blue! I bought a white Christmas tree last year and thought that a few of these ornaments using metallic pearl white and metallic ice blue would be so swoon-worthy! They are so beautiful! Today, I will share with you how I made these super inexpensive beauties!
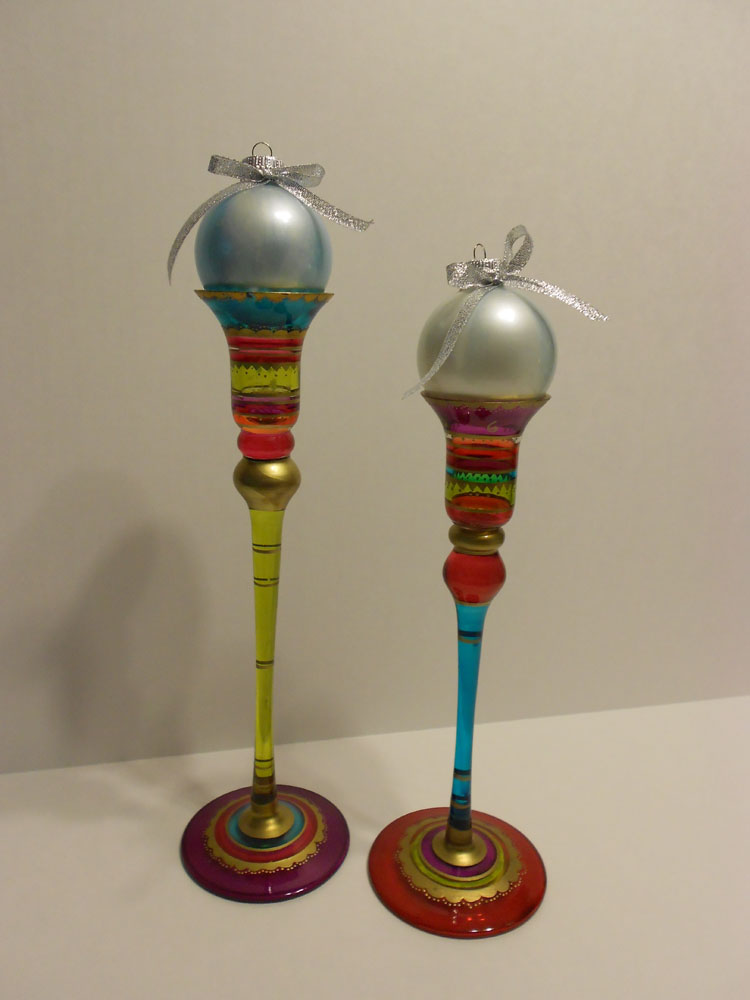
Materials:
- Clear glass ornaments (<– affiliate link!)
- Acrylic craft paint
- Small plastic cups
- Coordinating ribbon
Carefully remove the hangers from the ornaments and set them aside.
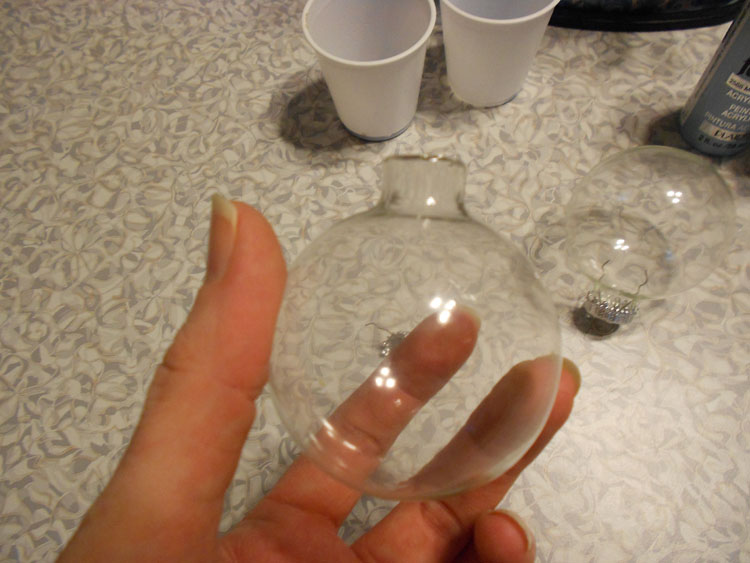
Using the paint, pour a little in the opening at the top. Add the next color and any remaining colors, as desired.
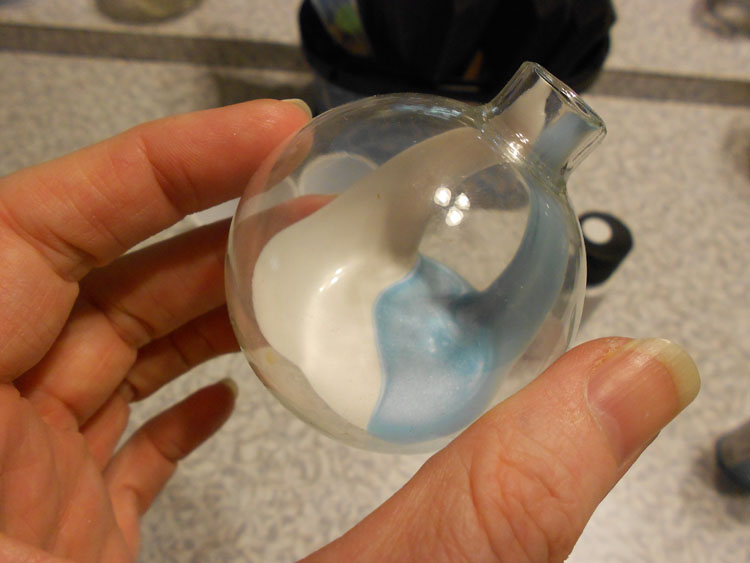
Continually turn the ornament to spread the paint until the inside is entirely coated and no clear space remains.
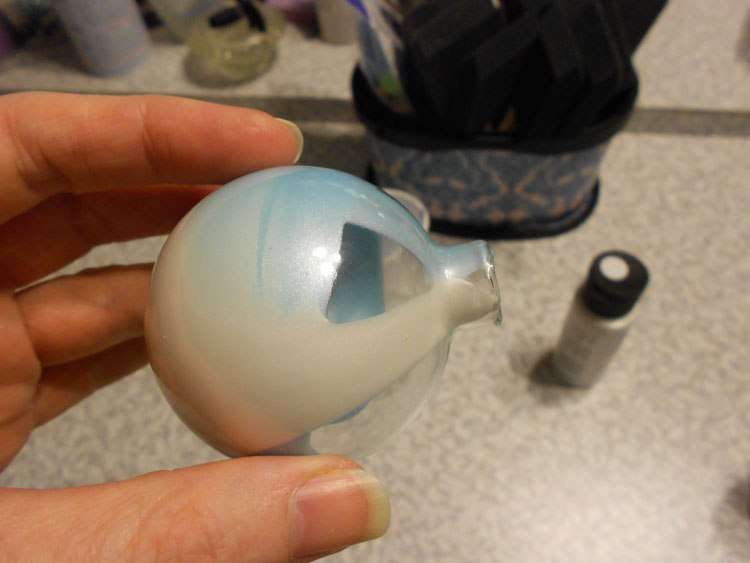
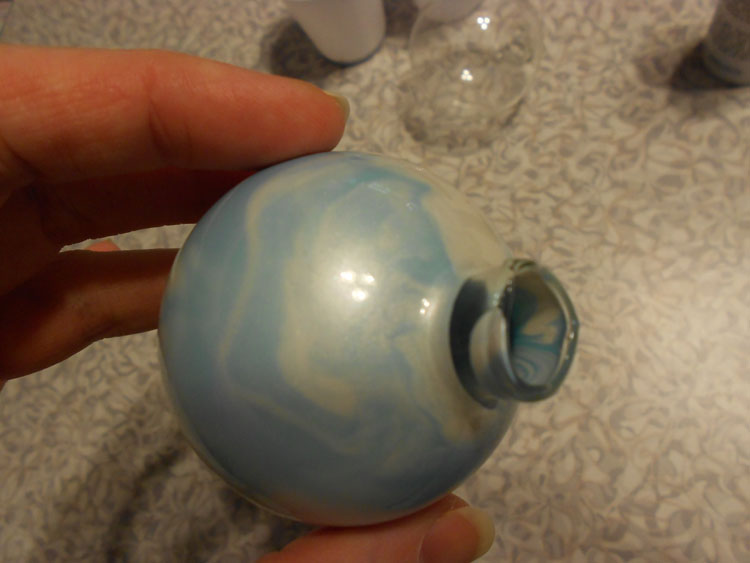
Turn the ornament upside down and set it in the opening of the cup so the excess paint drains out of the opening in the ornament.
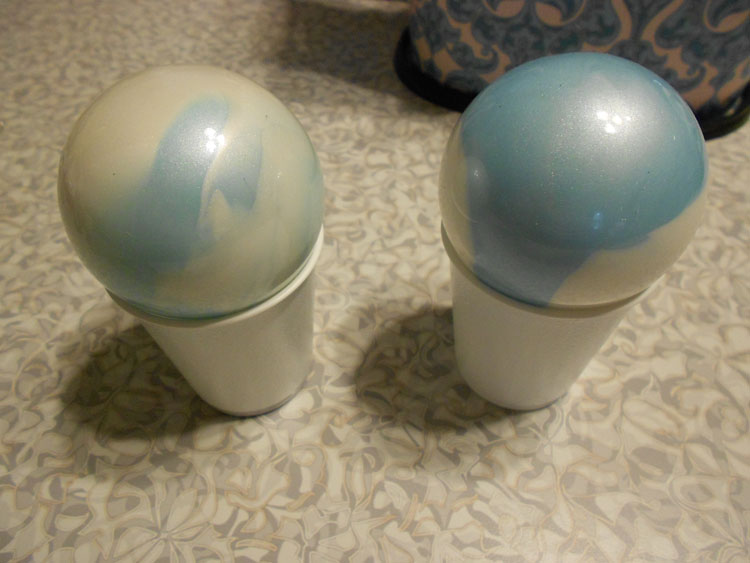
Once the remaining paint has drained, turn the ornaments right side up and let them dry for at least 24 hrs.
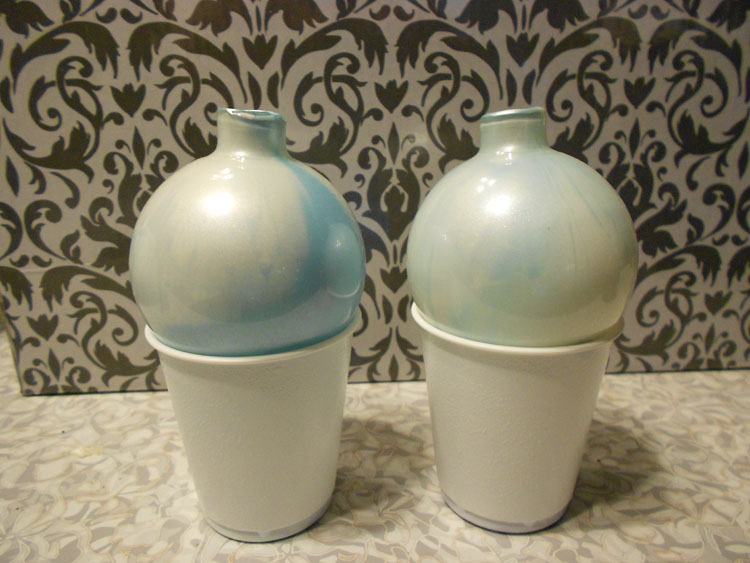
Replace the hangers in the ornaments, and use the ribbon to add a bow. Use decorative hangers or additional ribbon to hang the ornaments!
These painted glass Christmas ornaments are so cute when they are painted in bright or metallic colors, plus they are so inexpensive! I’ve made several over the years and it is one of my favorite projects. I love giving them as gifts! Have questions or other suggestions about the ornaments? Leave a comment below!
Originally posted 2012-07-19 08:00:47.
These will look very nice on your white tree. Very pretty. 🙂
I also went back to school to change my career mid-life. Best wishes to you!
🙂 Tonya from http://www.ChirpingwithExcitement.blogspot.com/
Thank you so much! Best Wishes to you, too!
Beautiful ornaments!!
Thank you so much!