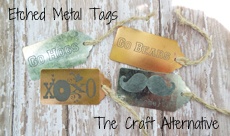
Etched Metal Tags with an Air Eraser
I love making personalized and unique gifts! When I came across these awesome metal tags (<– affiliate link!), I had to have them! I have so many ideas for using them – as gift tags, name tags for backpacks, keychains, etc. One of the decorating ideas that I want to share is how to etch the metal tags using an air eraser. It is very easy to do and they look really awesome!
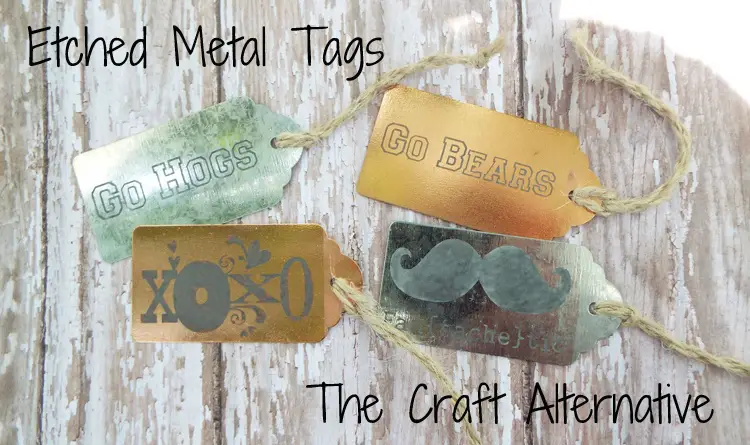
An air eraser is a small sandblaster that uses an etching compound (aluminum oxide) to etch the surface material. I normally use the air eraser to etch glass, and have successfully etched Plexiglas. I wanted to try it on the tags to see if it would work.
I used my vinyl cutting machine (and the software!) to create a few funky designs the same size as the tag. The tags measure 1-1/2″ x 2-1/2″ so I created a rectangle that size then added a design on the inside.
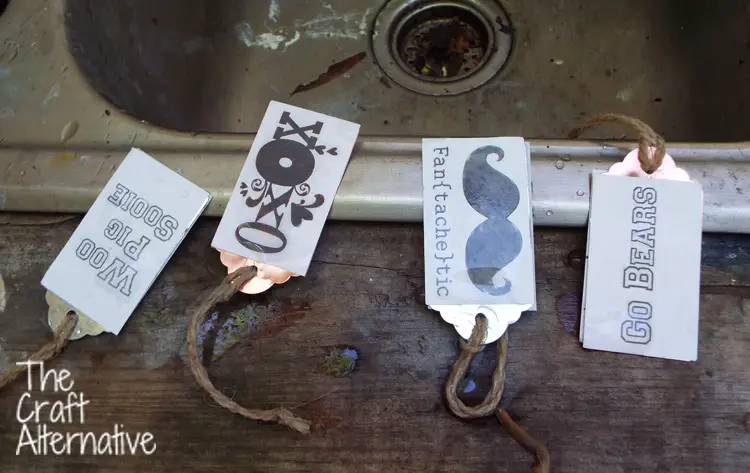
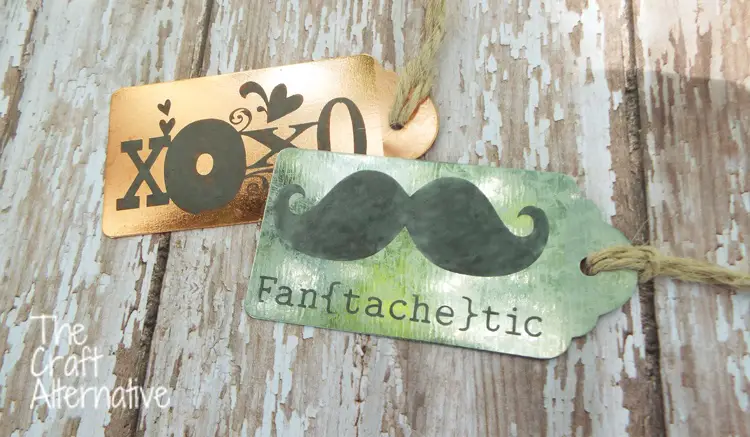
I applied the vinyl to the tags as a stencil. I fired up my compressor and got to work with the air eraser. One set of the tags is copper and I am not sure if it is solid copper or just copper coated. As I was etching, I noticed that it turned black as the material was etched. This was perfectly OK with me because then I didn’t have to use paint or a marker to color in the etched area!
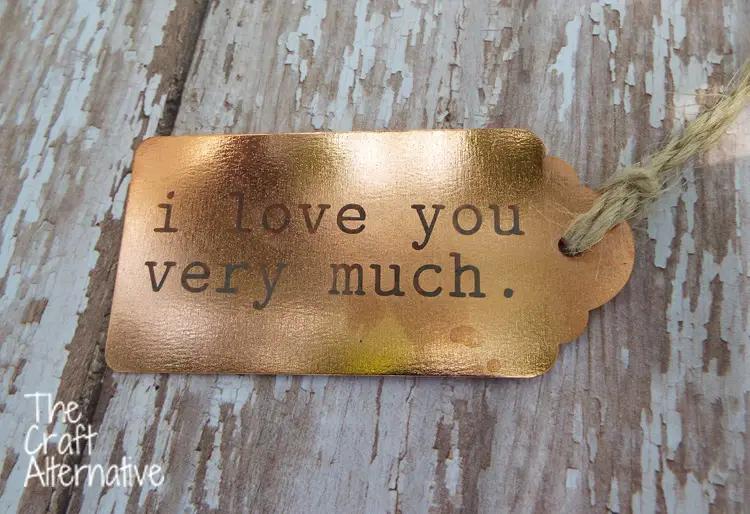
The galvanized tags also turned black where the material was etched and I love the way they look!

I’m not sure if regular etching cream would work as I have yet to try it. I may add that to my to-do list!
 Other ideas for decorating the tags would be to use vinyl letters, paint markers and stencils, or metal stamps. Have any questions about how to etch metal tags? How would you decorate the metal tags? Leave a comment below!
Originally posted 2015-05-29 08:00:01.
