
Make a Vintage Glitter Tray
Originally posted 2021-11-21 11:24:31.
The Perfect Tray for Organizing Makeup or Jewelry
This is absolutely the easiest project to make ever! The materials to make this vintage glitter tray costs less than $20 to make, can be completed in a weekend, and makes a fabulous gift!
Here’s another really cool project using glitter that would make an excellent addition to this vintage tray –> Recycled Jar with Glitter and Vinyl
Materials:
- Plastic tray of any size or depth
- Spray paint of choice
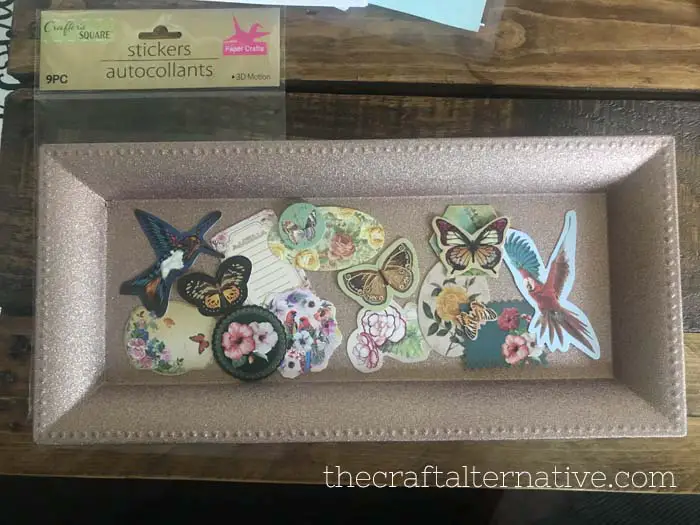
- Vintage-style 3D stickers
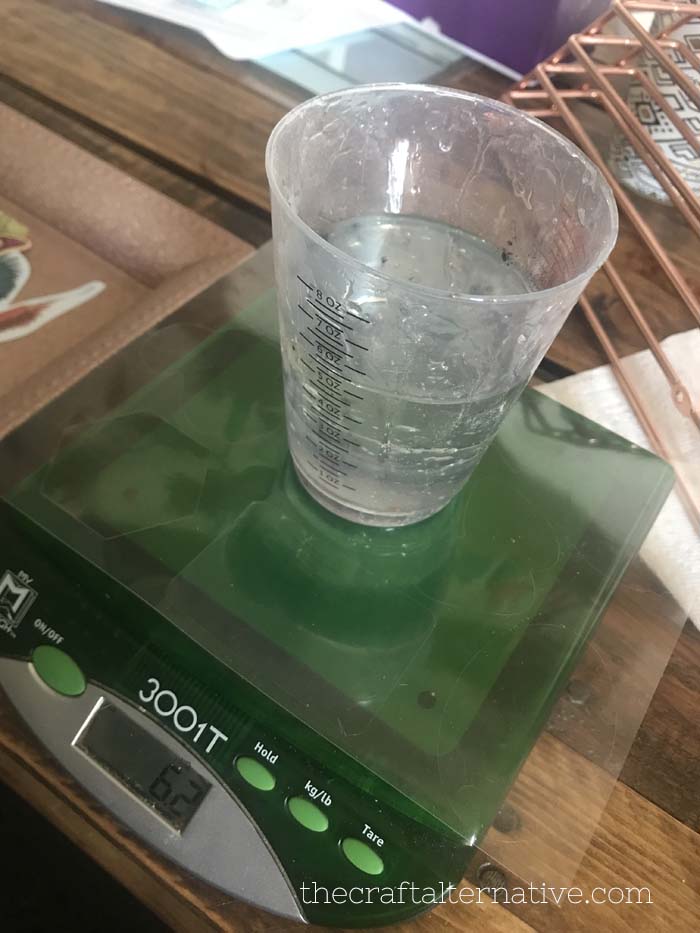
- 8oz. total of Epoxy Resin (4oz. resin, 4 oz. hardener) (<– affiliate link!)
- Mixing cups, stirring sticks, etc. for mixing the epoxy resin
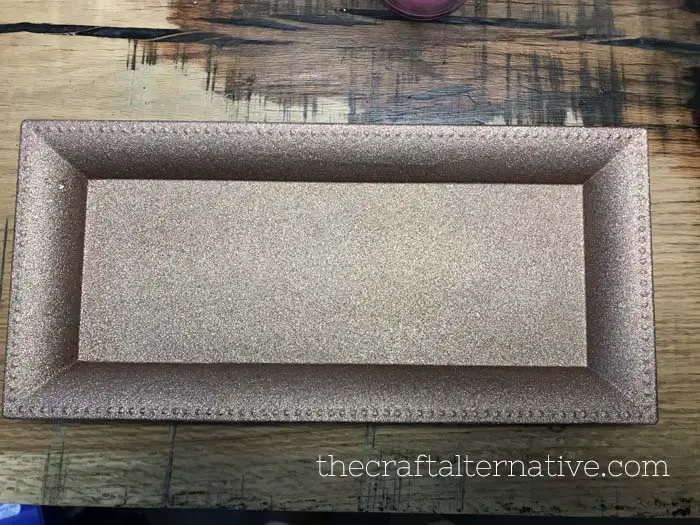
Start by washing the tray with soap and water. This will help remove any oils that may be on the tray from manufacturing or handling. Let it thoroughly dry. Then, spray paint the tray, if desired. I used two coats of RustOleum Glitter in Rose Gold. The glitter covered very nicely and I let it dry overnight.
Pro Tip: When you’re done using the glitter spray paint, turn the can upside down and press the button until nothing but a clear gas comes out. This keeps the glitter from drying in the nozzle!
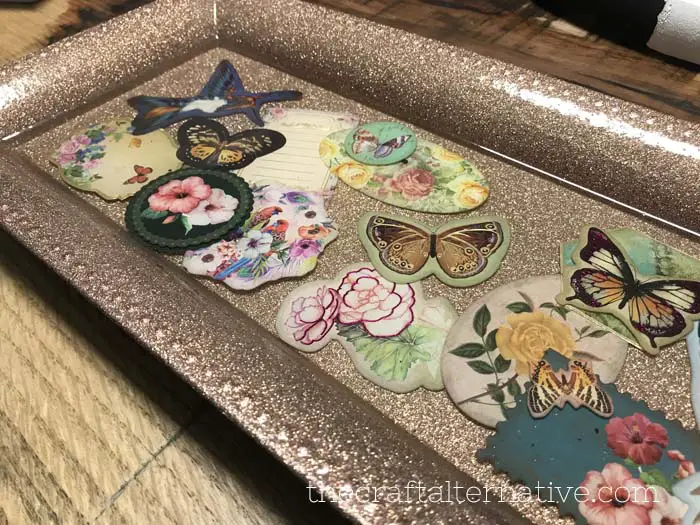
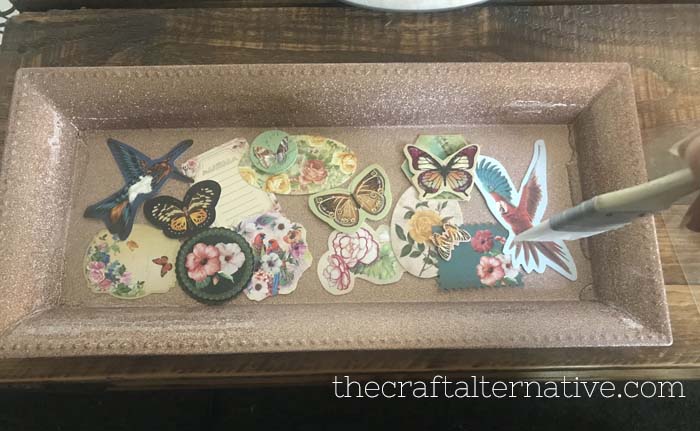
Then, I arranged the stickers on the tray and once I was happy with the arrangement, I removed the backing from the stickers and stuck them in place.
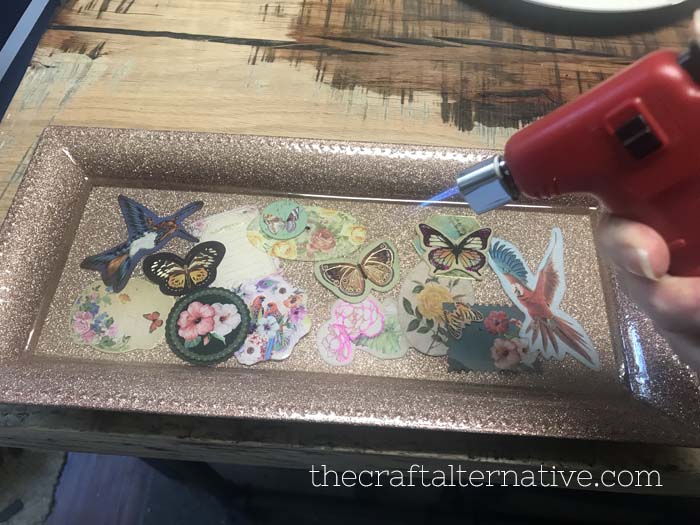
Next, I placed the tray on a level surface and prepared the resin. I like to use a small scale to accurately weigh each part of the resin. (If you’re using one of the 8oz. kits with 4oz. of each part, you can skip this step!)
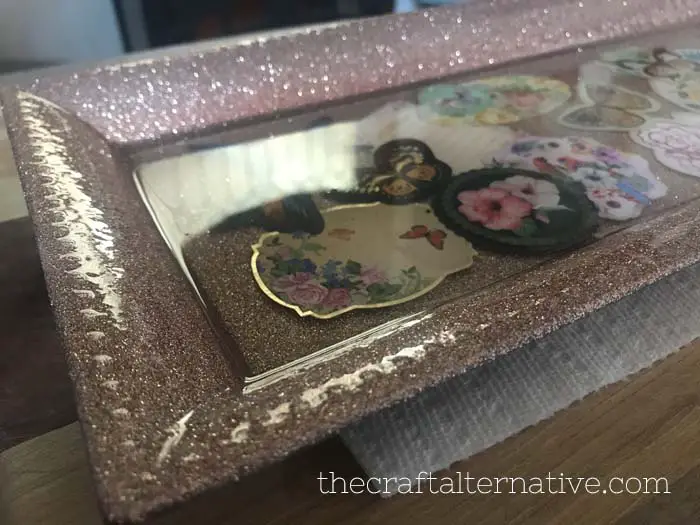
I mixed the resin using a stirring stick until it was clear and there were no bubbles, then I used a paint brush to spread a thin coat of resin over the glitter on the sides of the tray. I poured the rest of the resin in the tray over the stickers.
A small kitchen torch like this (<– affiliate link!) is perfect for popping any bubbles that arise (plus it’s really great for lighting candles!).
I did notice that the stickers I used did not completely stick to the bottom of the tray so I had to sort of “babysit” the tray until the resin started to harden. As the stickers lifted, I used the stir stick to push them back down, then used the torch to pop any bubbles. Once the resin started to harden, everything stayed in place!
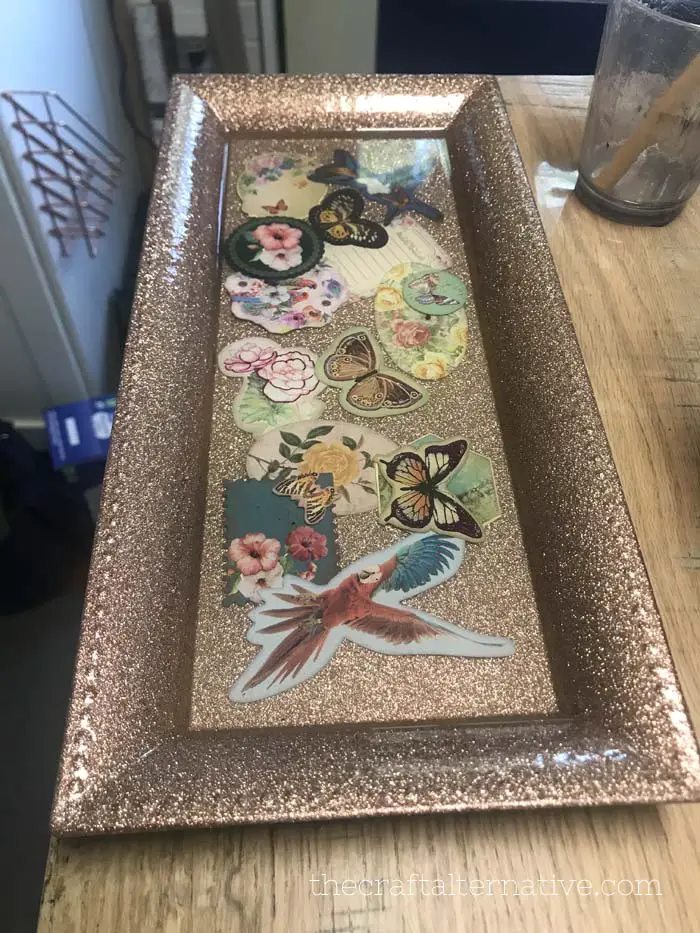
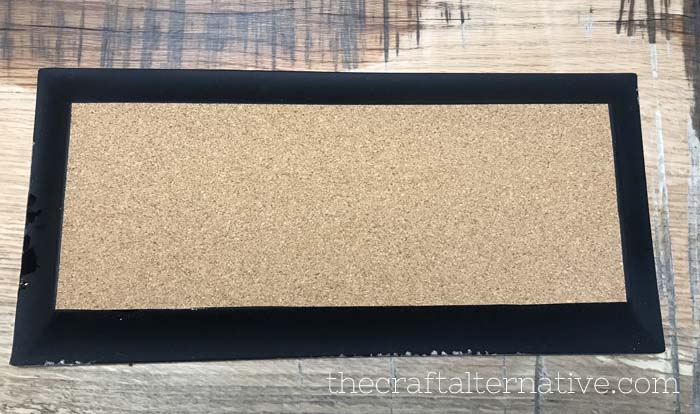
The resin will take about 7 days to cure to full hardness. Once the resin has fully cured, consider adding felt pads to the bottom of the tray if it doesn’t have them already! I cut a piece of adhesive cork to fit the bottom.
I am so happy with the way this DIY glitter tray came out! It is so pretty, and there are several other items that can be used in place of the stickers such as photos, vintage pieces of jewelry, or even just a single piece of pretty paper and I can’t wait to try other variations!. Have questions about how to make a vintage glitter tray? Leave a comment below!

How cute! I might make one with photos instead of stickers. Such a cool gift.
Thank you, Cosette! Photos would look so great on this tray!