Carry Lunch or Snacks in Style…
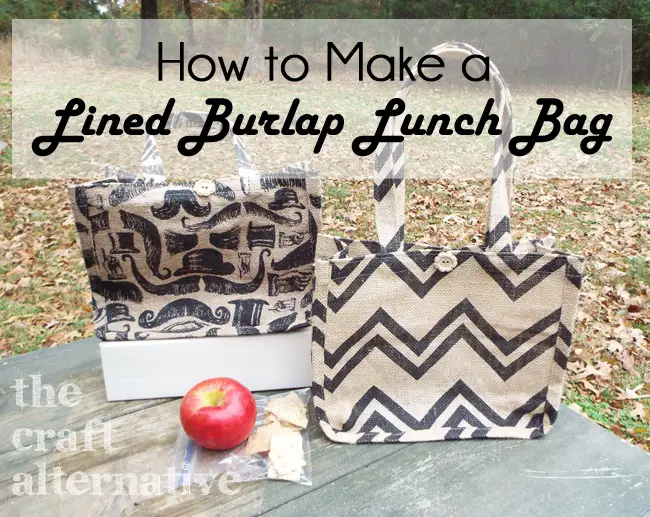
I have this really cool lined burlap lunch bag and it has worn out. I bought it long ago when I started a new job, and after nearly five years of carrying many lunches, I think I would be worn out, too! It is certainly my favorite bag and I figured out how I could inexpensively recreate it. Let me show you how to make a lined burlap lunch bag!
Supplies:
- 1 yard of Printed Burlap (<– affiliate link!)
- 1-1/2 yards of Heat’n Bond Iron On Vinyl (<– affiliate link!)
- Contrasting Thread
- Magnetic Purse Clasp
- 2 Decorative Buttons
Cutting List:
- 2 pieces of fabric and vinyl at 11″ x 12″ – Bag Sides
- 2 pieces of fabric and vinyl at 4″ x 22″ – Handles
- 1 piece of fabric and vinyl at 7″ x 33″ – Bag Gusset
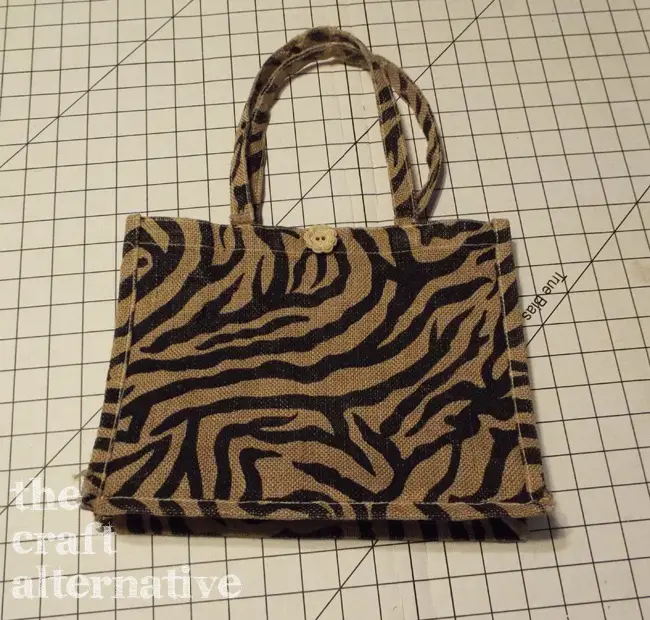
My poor old lunch bag…
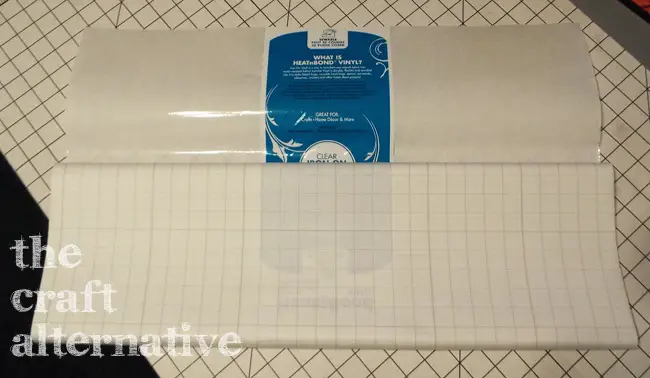
I cut the pieces out of vinyl first since the paper backing has a grid. I laid the pieces on the burlap, then cut the burlap pieces out. The vinyl is easy to apply to the fabric… Remove the paper backing from the vinyl and apply the vinyl to the wrong side of the fabric with the tacky side down. Set the iron for medium heat (no steam) and use the paper backing as a press cloth over the vinyl. Turn the fabric piece over and press from the right side for a few seconds. (For more info, see the label that came with the vinyl!) Do not let the iron come into contact with the vinyl – it will melt!
Fold the pieces for the straps in half lengthwise and lightly press the fold. Unfold the strap, then fold one of the raw edges in toward the pressed fold. Press the folded edge and repeat for the other side, as well as the other strap.

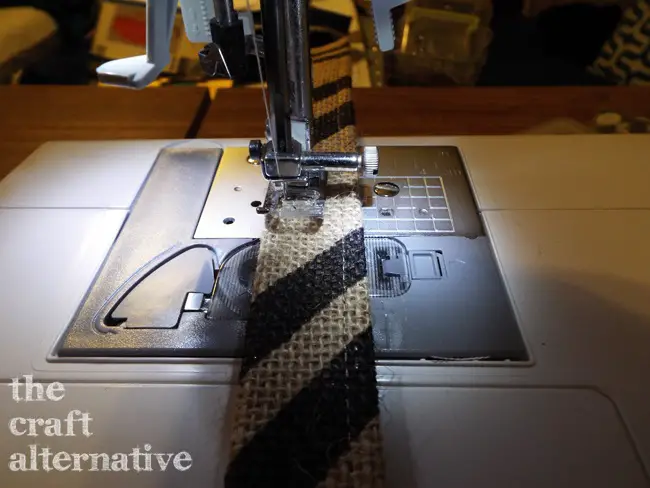
Stitch each long edge of the strap approximately 1/8″ away from the edge. Set the straps aside.
Press a 1/2″ hem along one long edge of each bag side piece. Fold the hem over by 1″ and press again.
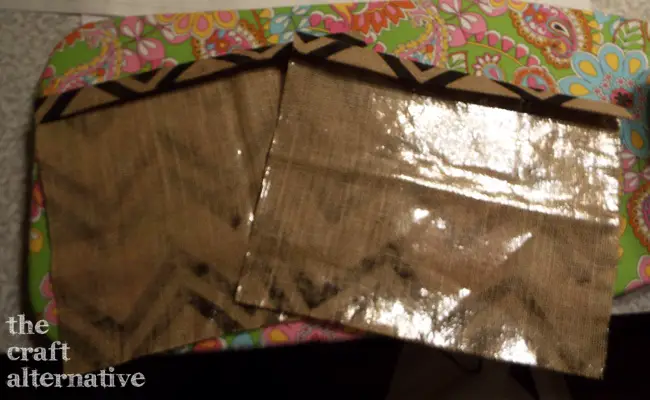
Place a pin 3″ in from each side edge and insert the end of the straps between the pins. Stitch the “open” edge of the hem first, stitching through the straps. Fold the straps up toward the top of the sides and stitch 1/8″ away from the top edge of the bag sides stitching through the straps.
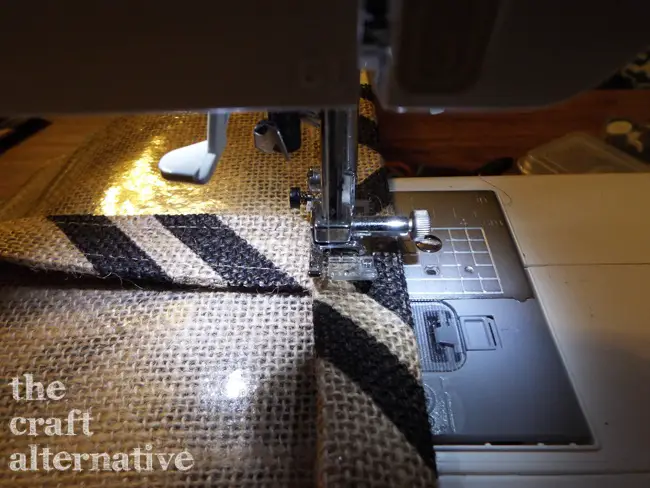
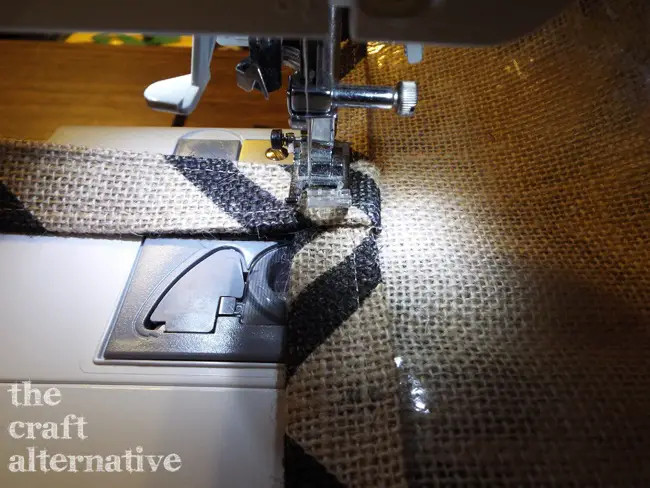
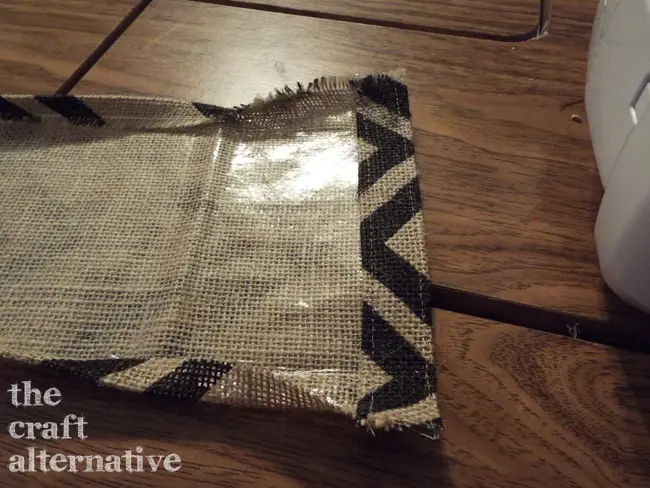
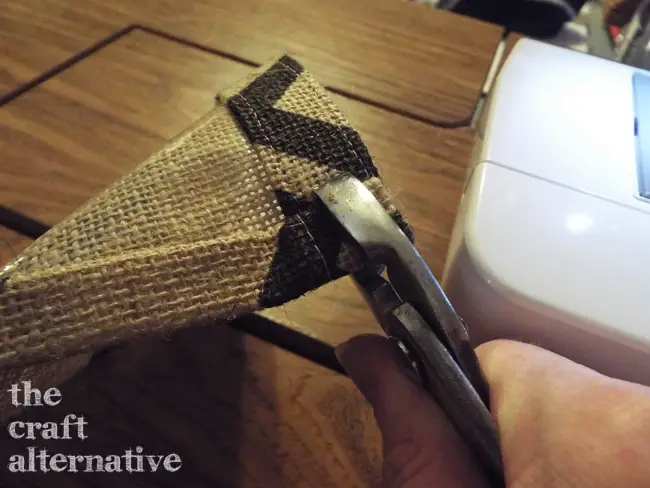
Press a 1/2″ hem along the shorter edges of the bag gusset. Fold the hem over by 1″ and press again making sure the iron doesn’t come into contact with the vinyl. Press a 1/2″ hem along each long edge of the bag gusset, then fold the hem over by 1/2″ again and press. Use a pair of household pliers to flatten the thick areas at the ends where the hems meet.
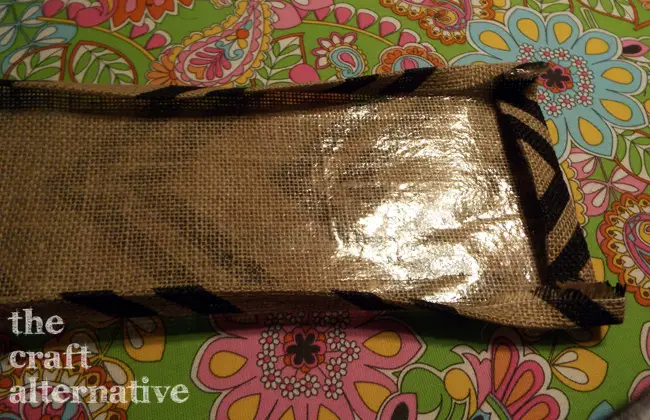
Unfold the hem and insert the bag sides, pinning in place. The sides will be sandwiched in between the hem on the side edges of the gusset, similar to the straps. Sew the seam stopping 1/2″ before the bottom edge. Pin the other side of the bag, leaving the bottom free for now, then stitch in place.
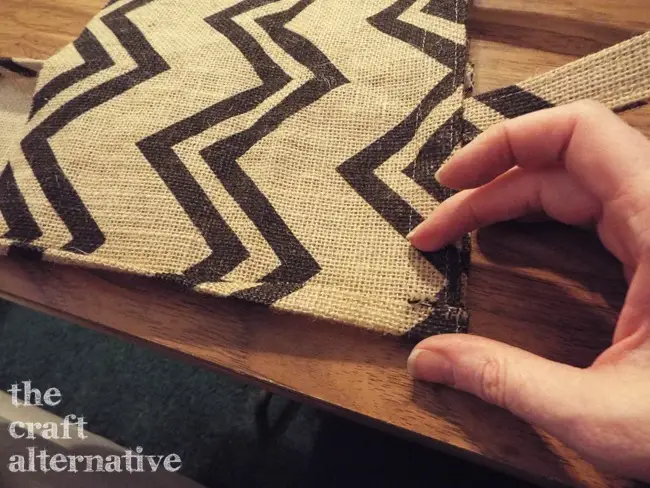
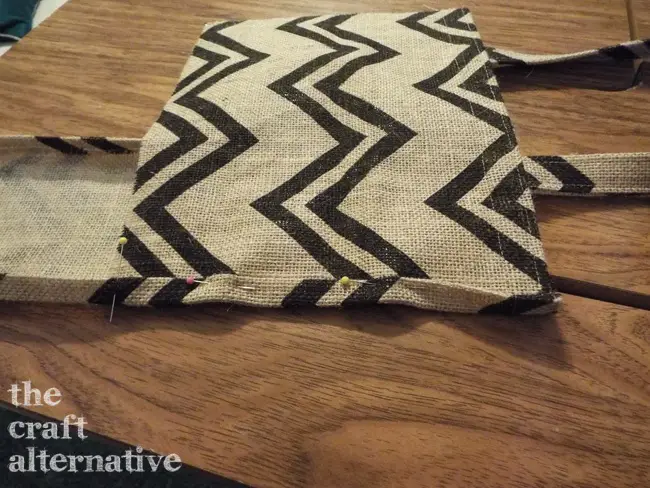
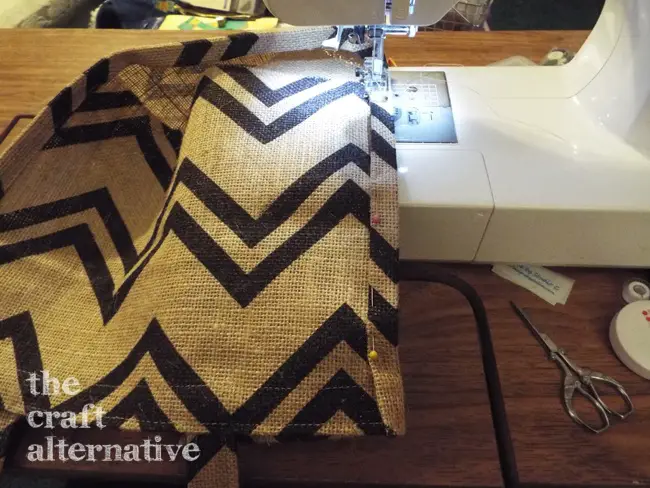
Fold the bottom edge of the gusset over the bottom edge of the sides mitering the corners. Stitch in place.
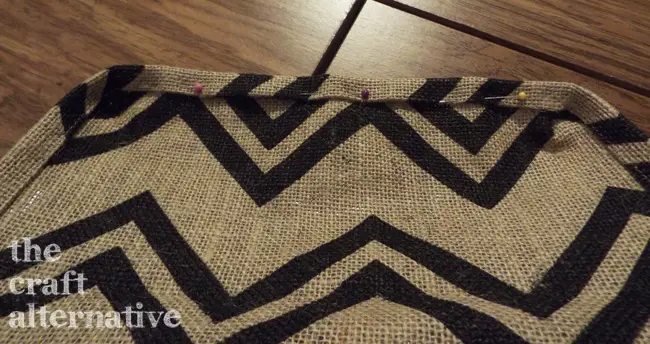
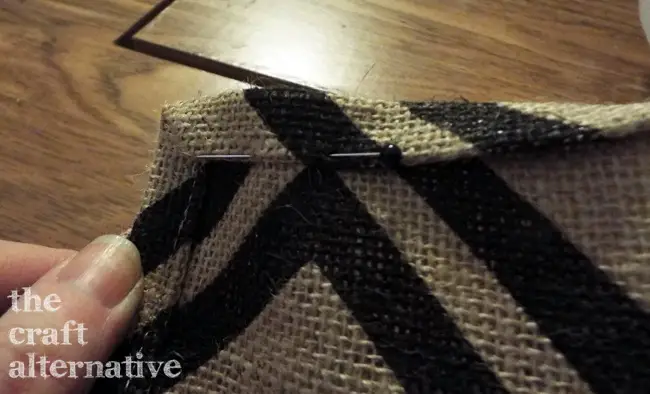
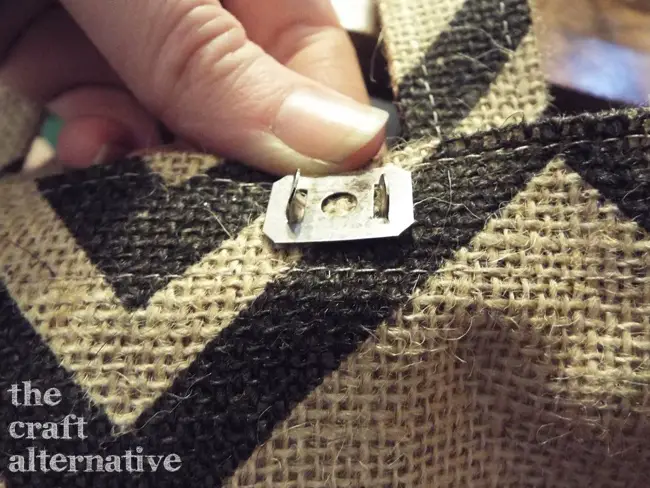
Add the magnetic clasp to the top edge of the bag between the handles, then glue a decorative button over the clasp on the outside to hide it.
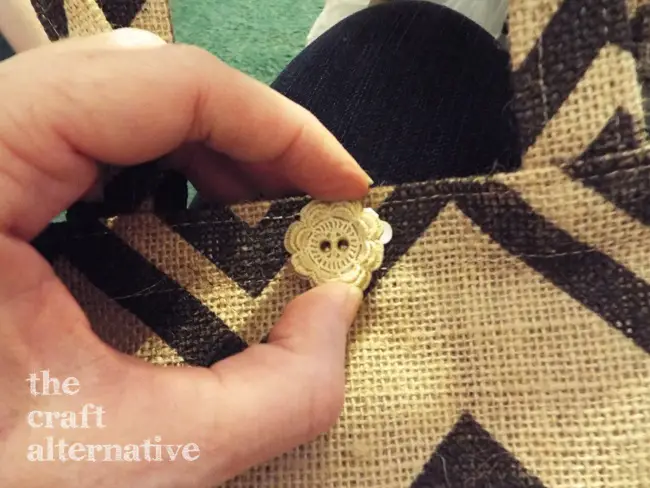
That’s it! Now you’ll have a bag to carry lunch or snacks in style that is water resistant!
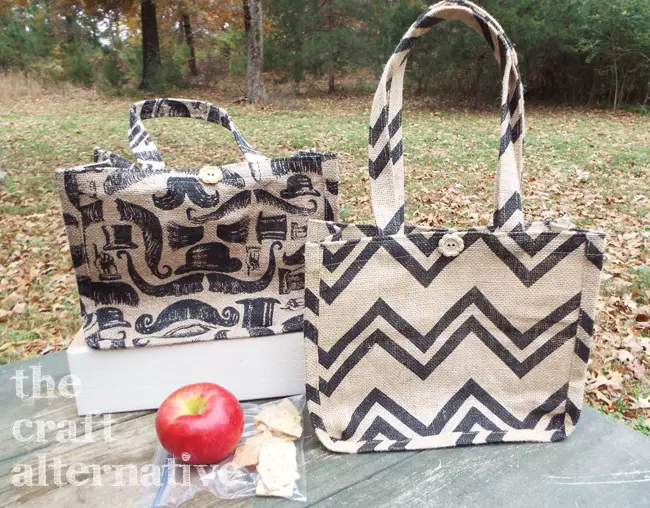
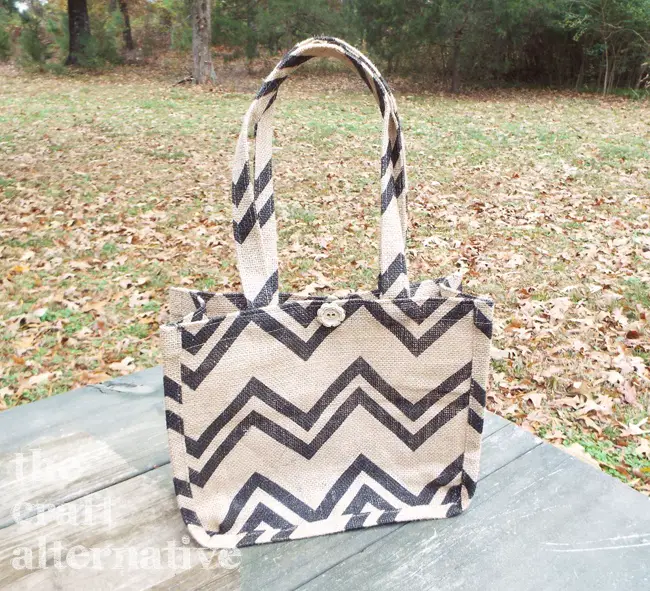
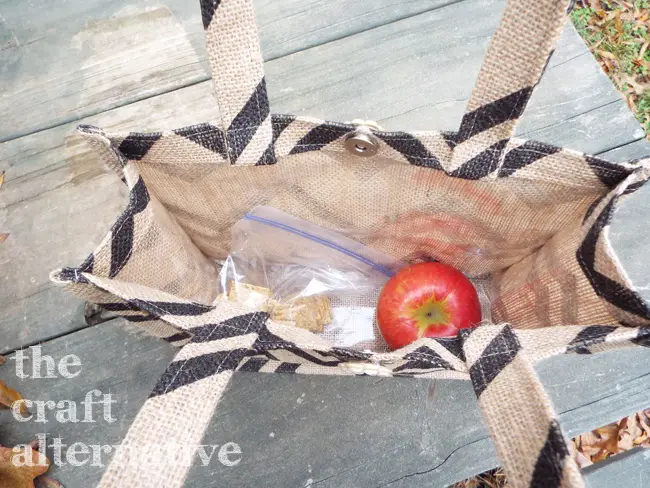
The bag would also be awesome made with canvas or printed duck cloth as well! A larger bag would be an excellent option for picnicking, as a diaper bag, or for a day at the pool. Have any questions on how to make a lined burlap lunch bag? Leave a comment below!
This post contains affiliate links. What that means is that if a link is clicked and a purchase is made, I will receive a commission. Rest assured, I would not direct you to anything I haven’t or wouldn’t use myself!
Originally posted 2014-12-03 08:00:16.
Love all the steps shown in pictures! This looks like a fun and fabulous project and perfect for kids of all ages. 😉 Many moms and kids will love this!
Thank you so much, Beverley! I really appreciate it!
Great tutorial! Such a cute lunch bag. I love the fabric. I’ve pinned it to try this winter for my next project.
Thank you so much, Sue! The bags are really easy to make and I love mine! Thank you for stopping by!