DIY Canvas Cube Tutorial: Step-by-Step Instructions
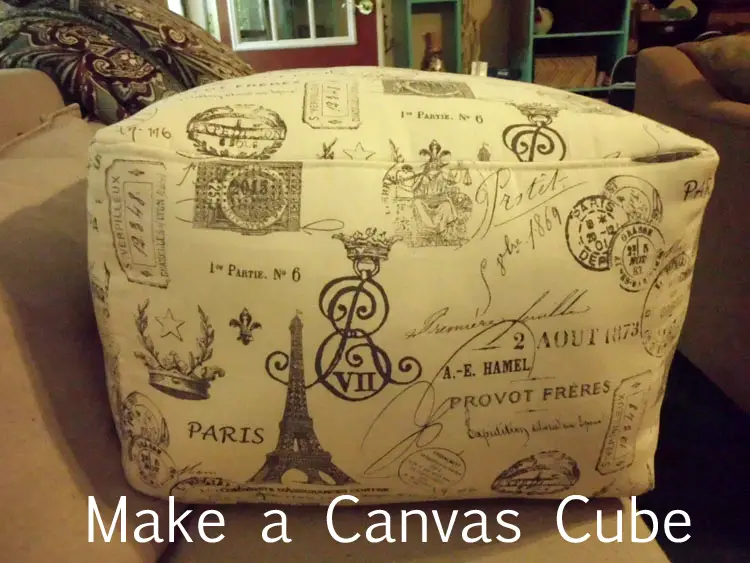
I saw a cube similar to this in one of the high-end furniture catalogs… It had a HUGE price tag, too – $249.00! Yikes! I know we as DIYers can do better so I’ll share how to make a canvas cube to match your decor!
I found some really great printed cotton duck fabric at my favorite hobby store. I thought it would be perfect for this project! (It’s “French Stamp” by Premier Prints – in case you wanted to know!)
 Materials:
- 1-1/8 yds. Printed Cotton Duck
- Fleece and Spray Adhesive, or Fusible Fleece
- Polyester fiberfill (<– affiliate link – Can be purchased by the box online or at most craft stores – one box will fill two cubes!)
- Rotary cutter and straight edge
- Scissors
- Fabric marker or pencil
- Sewing machine and thread
- Scotchguard, if desired (<– affiliate link!)
The fabric can be prewashed and dried, if desired.

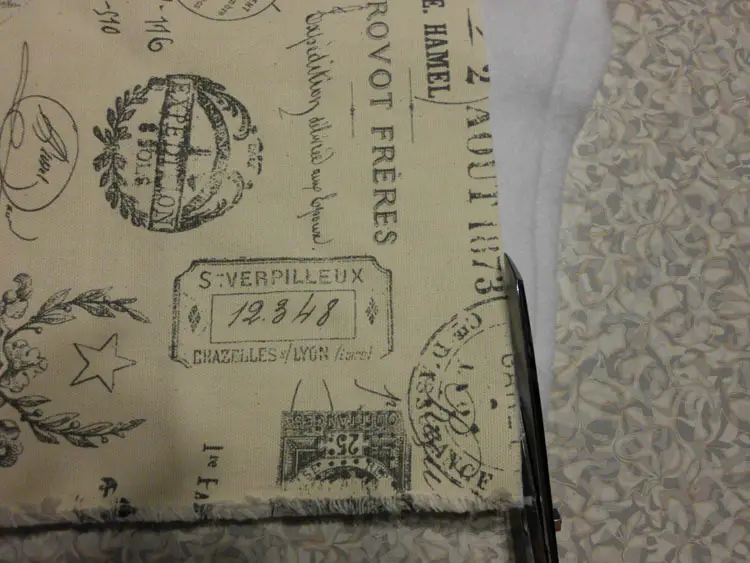
Cut two squares measuring 18″ x 18″ and two strips 13″ tall x the width of the fabric. Cut the same pieces out of the fleece. The fleece will add a bit of stability to the fabric…
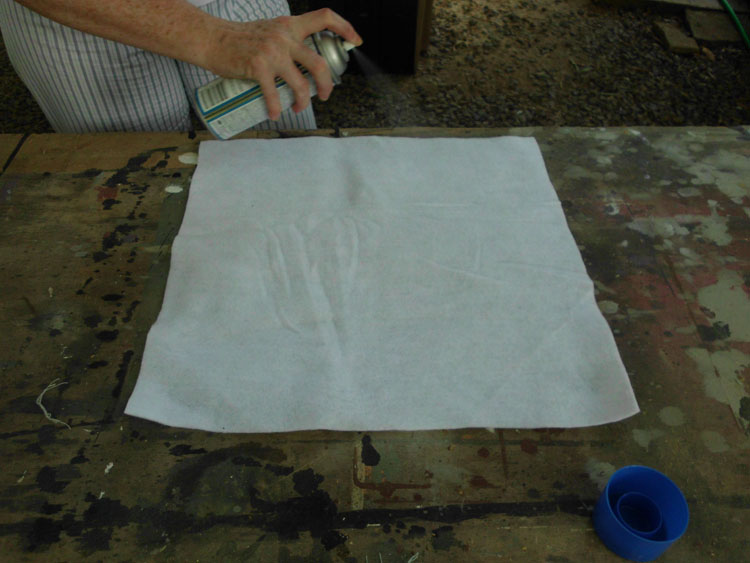
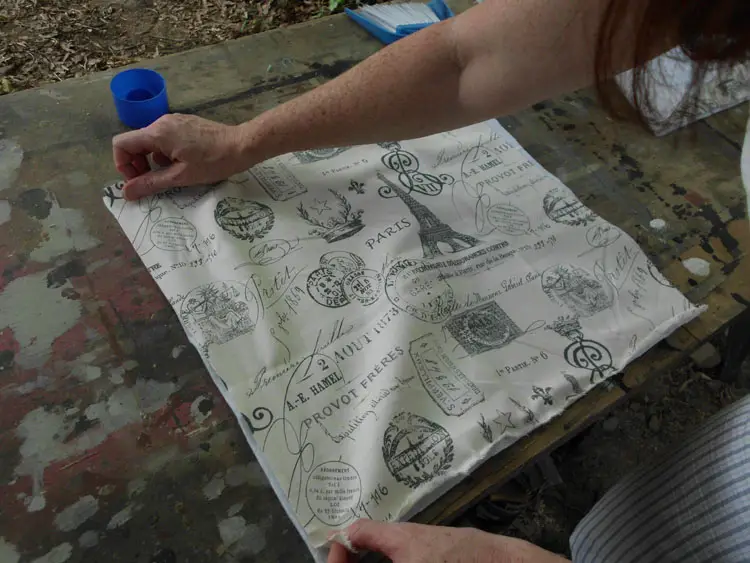
I didn’t have any fusible fleece on hand so I used my inexpensive spray adhesive and regular Pellon fleece. (I have Quilt Basting Spray somewhere but I seem to be notorious for putting stuff “where I can find it later”… Usually I never find it!) Spray the fleece with the adhesive and position the fabric on top of it, smoothing it out as you go…
Using the sewing machine, sew one of the strips together, then trim the fleece away from the seam. Topstitch the seams. this will be the side piece.
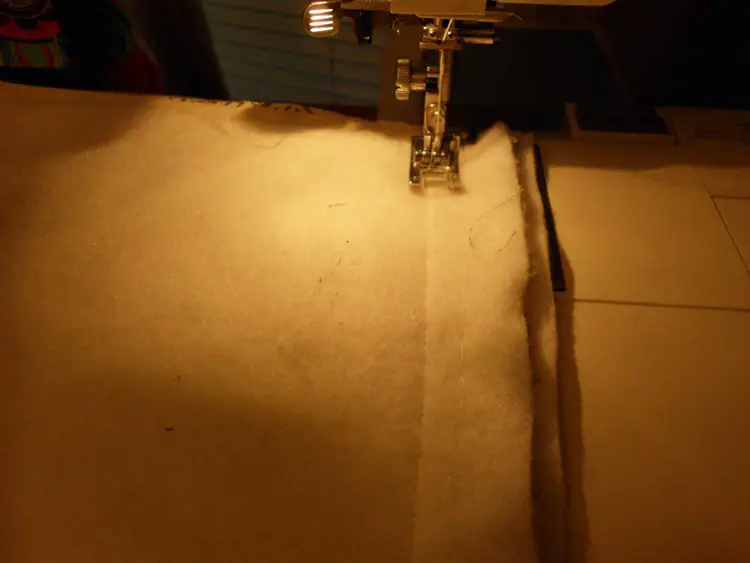

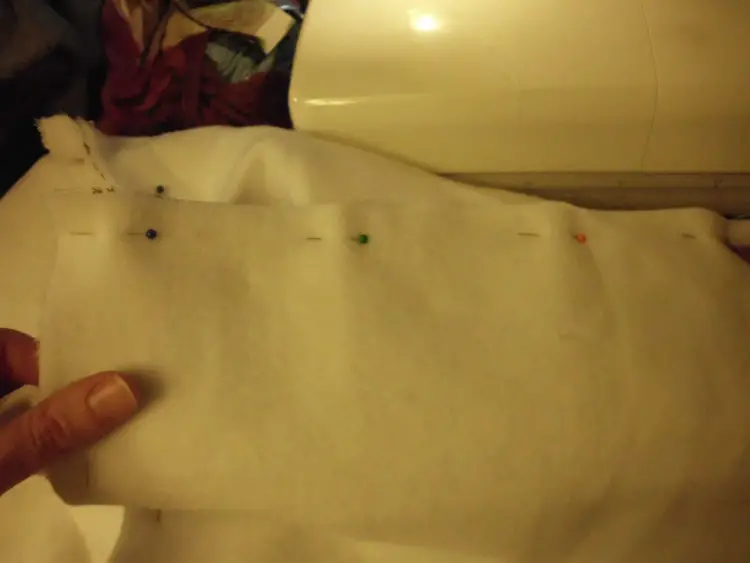
Pin the side piece to one of the 18″ squares starting at the seam in the two pieces and positioning it at the corner. Pin along the straight edge stopping about 1/2″ shy of the corner. Cut a notch in the long piece to make the corner. (I like to fold the piece to sew the corners of the cube and cut the notches for the top and bottom at the same time). Continue in this fashion until you get to the “unsewn” ends of the side piece. Fold each end over and cut away the excess. Sew a 1/2″ seam, trim away the fleece from the seam allowance, and topstitch, then finish pinning the side piece to the square. Sew the piece to the square to form half of the cube.

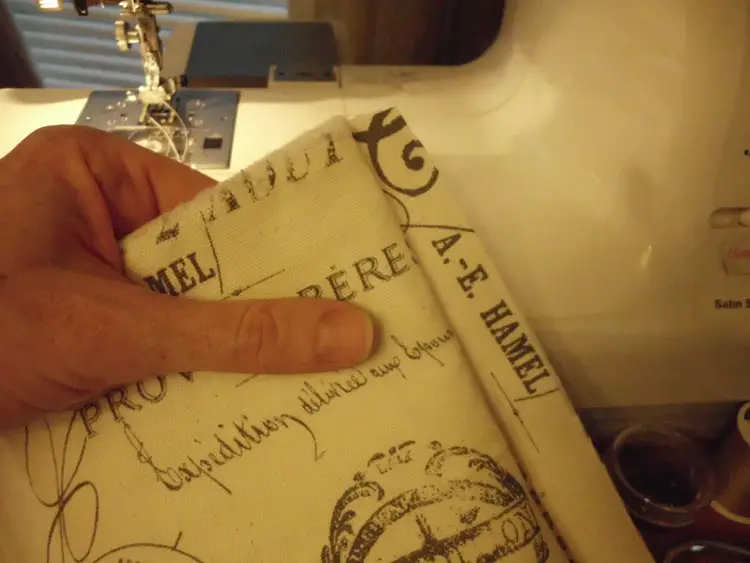
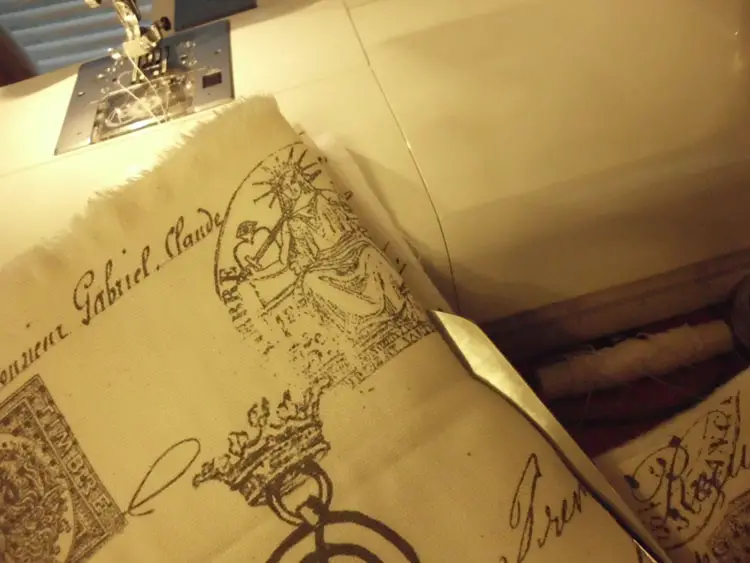
Sew the other square to the other side of the strip and leave an opening in the bottom to add the fiberfill. Trim the fleece away from the seam allowance, also.

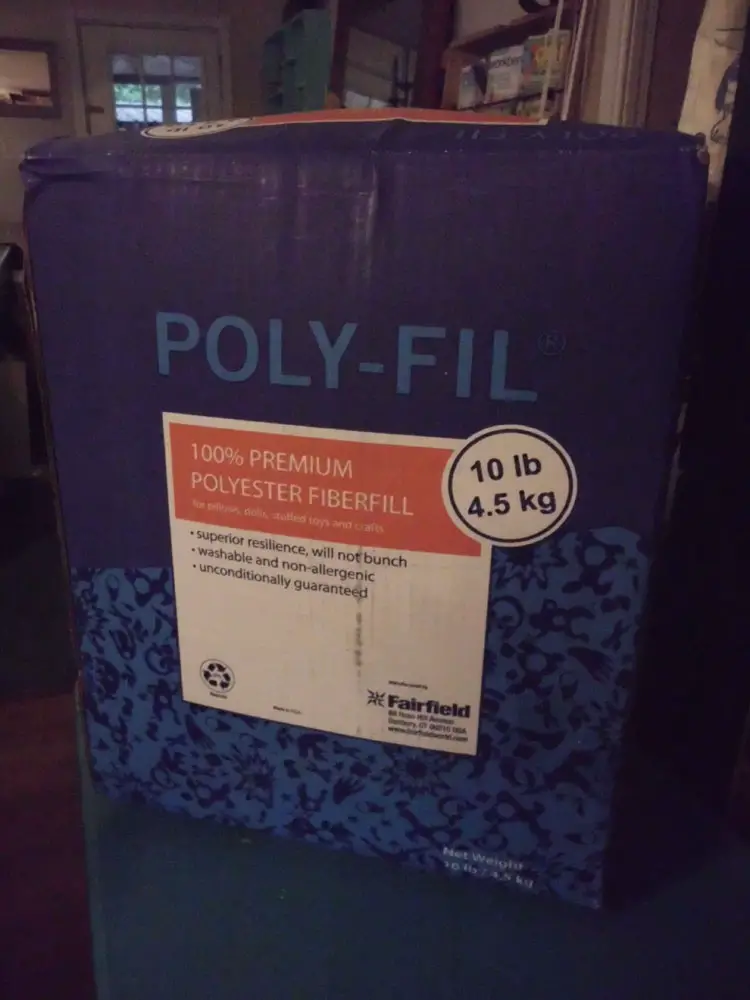
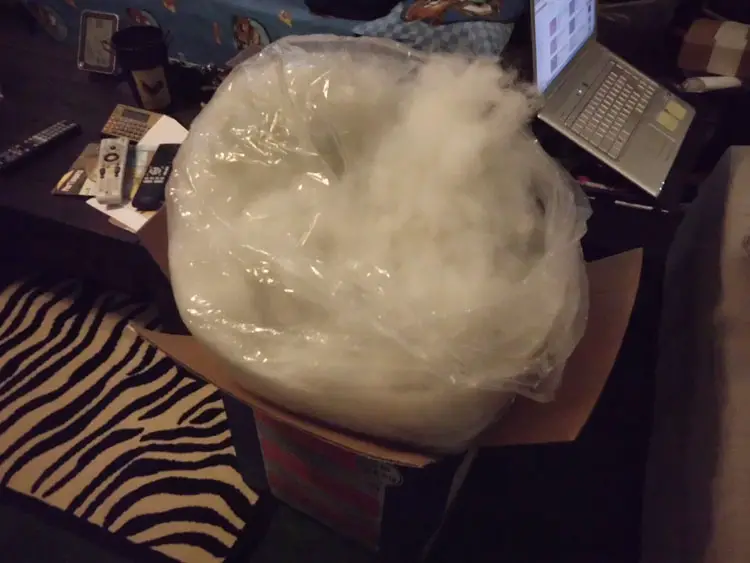
Now its time for the most “fun” part (by “fun” I mean tedious) but necessary. See my ginormous box of fiberfill??
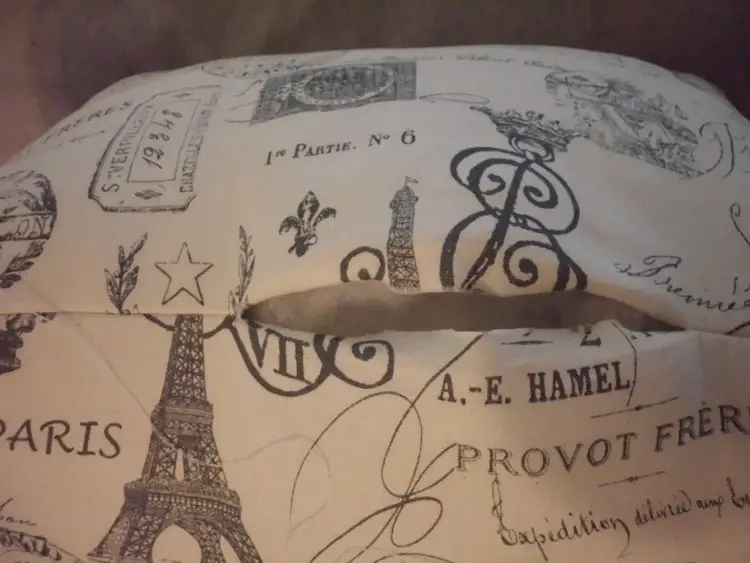

Woo hoo! Here is the finished cube…
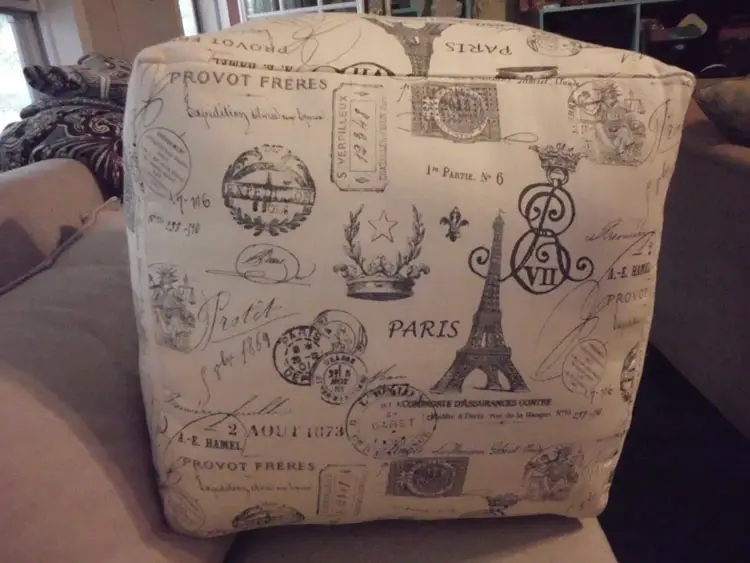
Put your feet up and relax!
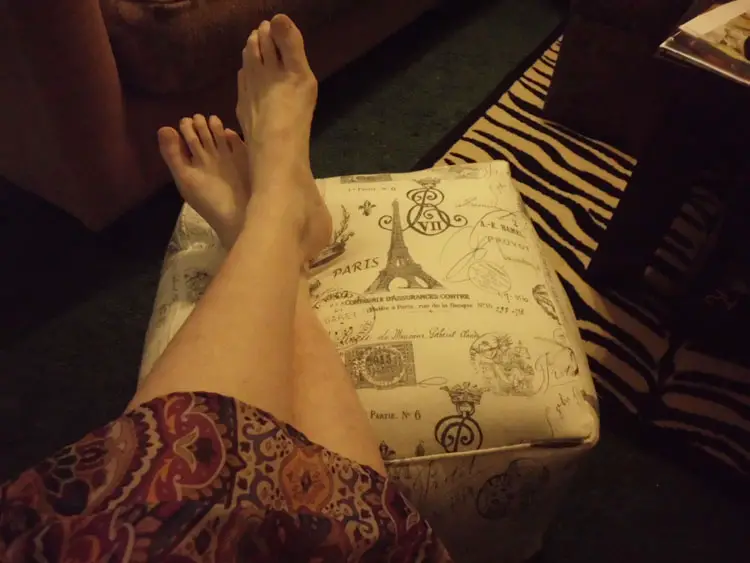
You can make a canvas cube for a fraction of the cost of buying one… The cube also makes great extra seating for the kiddos!
Originally posted 2012-06-05 08:00:44.
