Make a Gorgeous Piece of Artwork with Paper and Wood
I have a lot of scrap wood, as I am also a woodworker, and I always save the pieces for projects like this. This piece can be made to match any decor and is so easy! Today, I’ll share how to make a wood sign with a paper background for a simple yet fabulous piece of decor!!
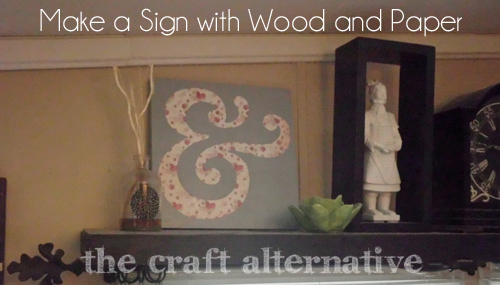
Materials:
- 12″ x 12″ scrap of plywood
- 12″ x 12″ scrapbooking paper
- Mod Podge (<– affiliate link!)
- Vinyl sign or symbol
- Paint
- Sanding sponge, fine grit
Start by thoroughly sanding the plywood. Apply a generous coat of Mod Podge, then apply the paper smoothing it out to remove any wrinkles or bubbles. Let it dry completely.
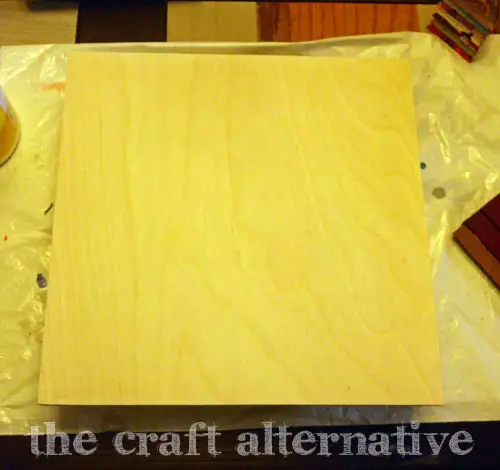
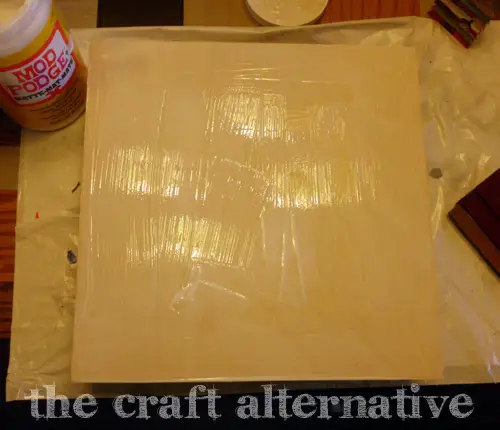
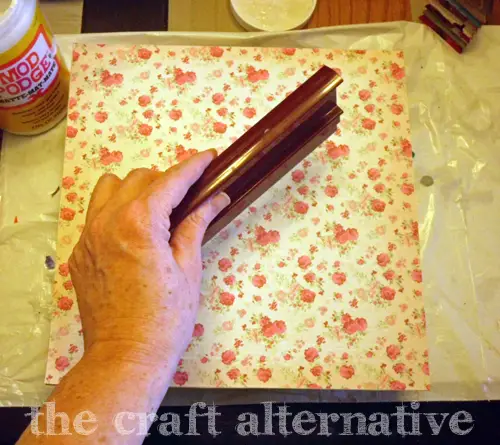
Apply a coat of Mod Podge on top of the paper and let it dry. This will make it easier to remove the vinyl decal.
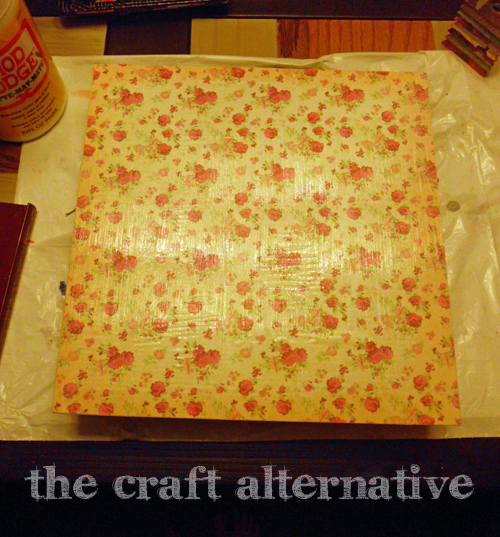
Use the sanding sponge to rough up the Mod Podge surface, then apply the vinyl. Apply another coat of Mod Podge over the vinyl and let it dry.
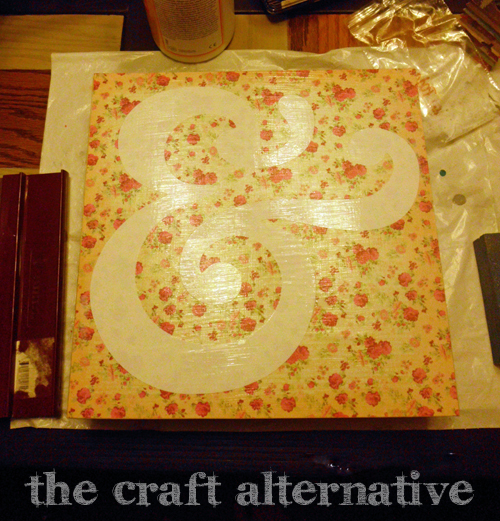
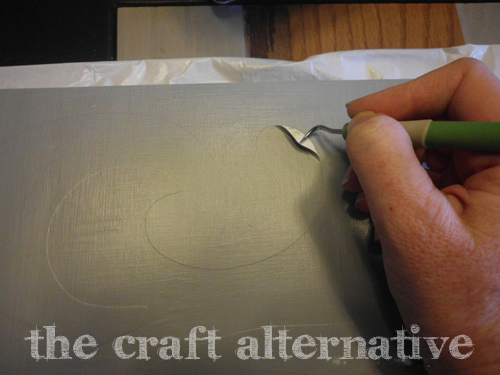
Sand again, then apply the paint. I used three coats of paint to completely cover the print on the paper. Once the paint is dry, carefully remove the vinyl and lightly sand again (I know – lots of sanding!). Apply a polyurethane sealer if desired.
Attach a hanger to the back – I like to use a soda can tab with a washer and a screw.
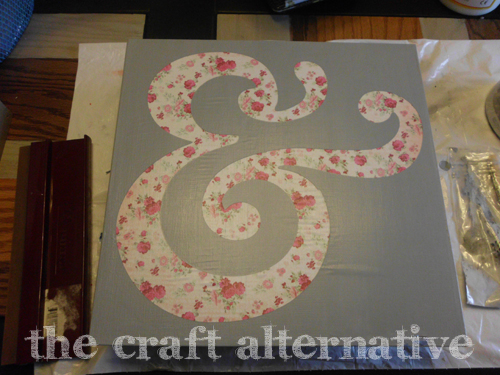
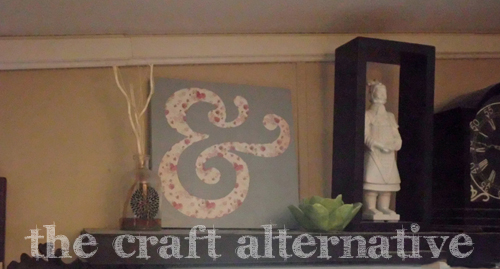
Voila!! So cute! I have to mention that this idea came from The Han, my teenage daughter! She’s so creative… I wonder where that comes from?? No idea… Anyhoo, I hope you’ve enjoyed my tutorial on how to make a wood sign with a paper background. How would your wood sign look if you followed this tutorial? Leave a comment below!
Originally posted 2013-03-13 08:00:11.
Tell Hannah that she is brilliant! Love this! XOXO
I will! Such a smarty pants!!
That’s cute! I would love to try that and I think I’ve actually got most of the supplies already!
Awesome! Would you share photos if you make it? I would love to see!! Thanks for stopping by!