
Easily Change the Color of Leather with Specialty Dye and a Few Tips!
I’ve just recently started working with leather… We went to one of our local ReStores and hit the leather motherlode! While it was a seriously great bargain, the only colors they had were light – cream. off-white, grey, etc. I really didn’t think it would be a big deal to dye the leather and I was right! It is so incredibly EASY! I’ve dyed several pieces now and would like to share my tips for dyeing leather today…
A majority of leather goods can be dyed – shoes, bags, jackets, etc. I used an off-white leather for most of the samples, and a medium grey that I dyed black.
Changing Color
OK, let’s just get the obvious out of the way, shall we? A piece of leather or leather garment that is dark in color cannot be dyed. Trust me. Dye penetrates the leather, meaning it soaks in and colors the leather. Leather paint, on the other hand, will sit on top of the leather and may work on dark colors but maybe not. Try it and see if it works!
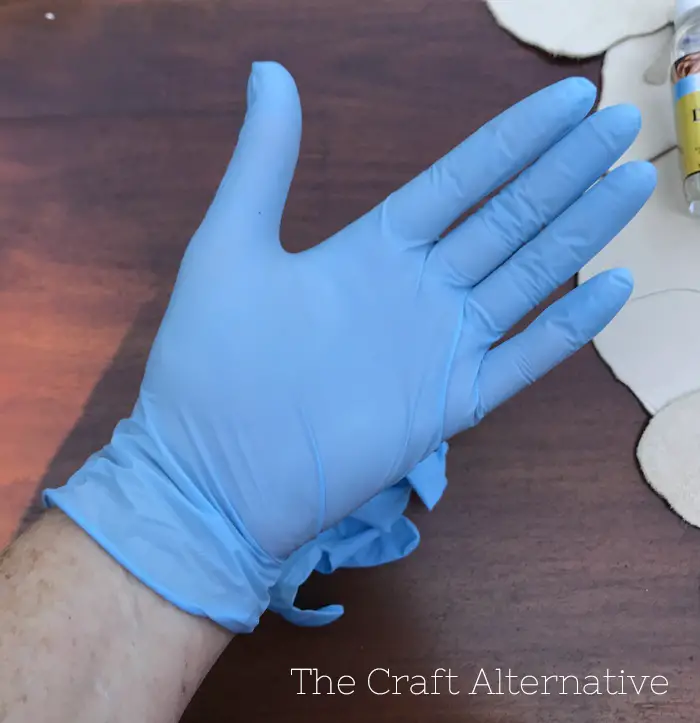
Gloves
Seriously, gloves. Wear them. Double bag your hands with two pair if you have to but wear gloves or your hands will look like this:
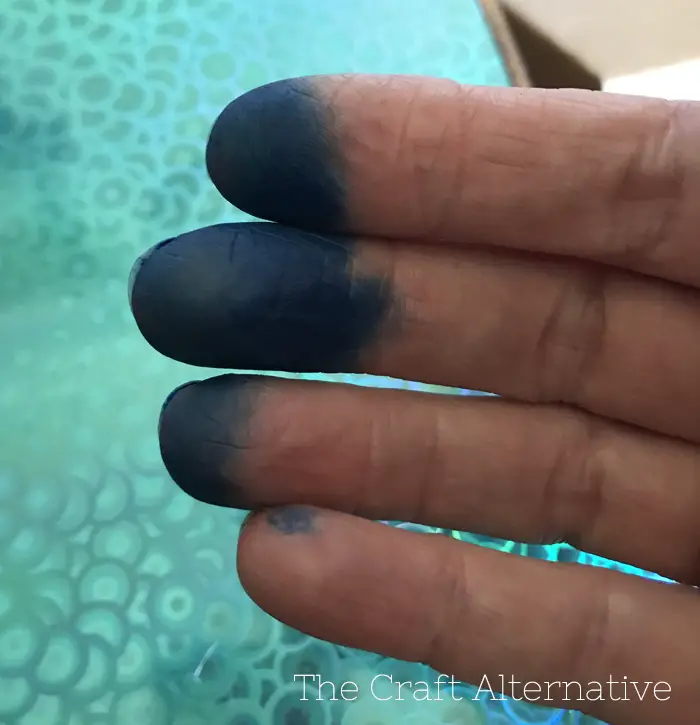
I had a great time explaining to coworkers why my fingers were as blue as a Smurf (and they were that way FOR A WEEK). Enough said.
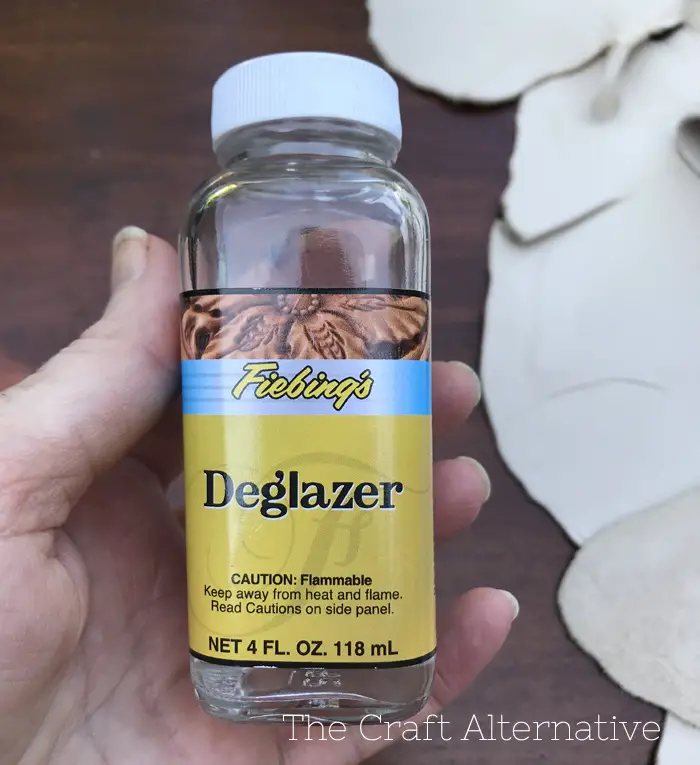
Prep the Leather
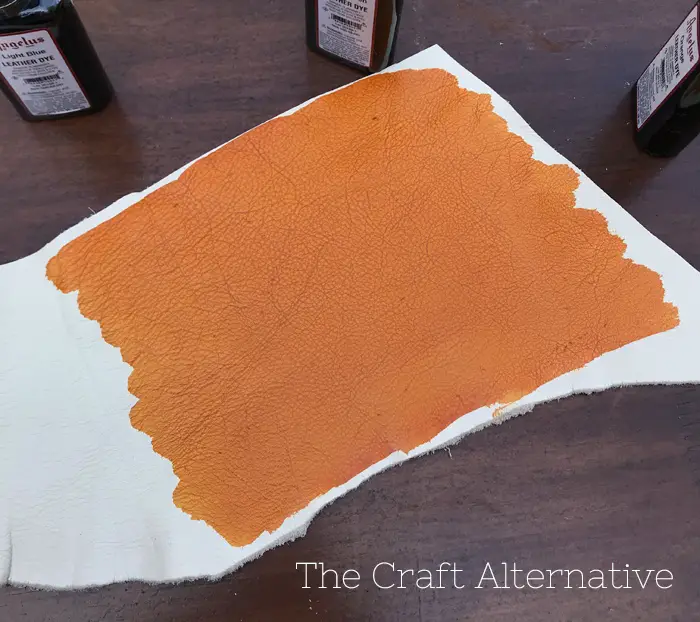
Preparation is the key to a successful project! The leather should be cleaned with a deglazer (<– affiliate link!) first which will remove the old finish, dirt, oils, etc. so that the leather is ready to accept the dye. The deglazer can be applied with a cotton pad and should be fully dry before dyeing the leather. I did not use a deglazer on the sample below and it came out blotchy but in all honesty, I sort of like the look! Don’t be lazy like me!
The Dye
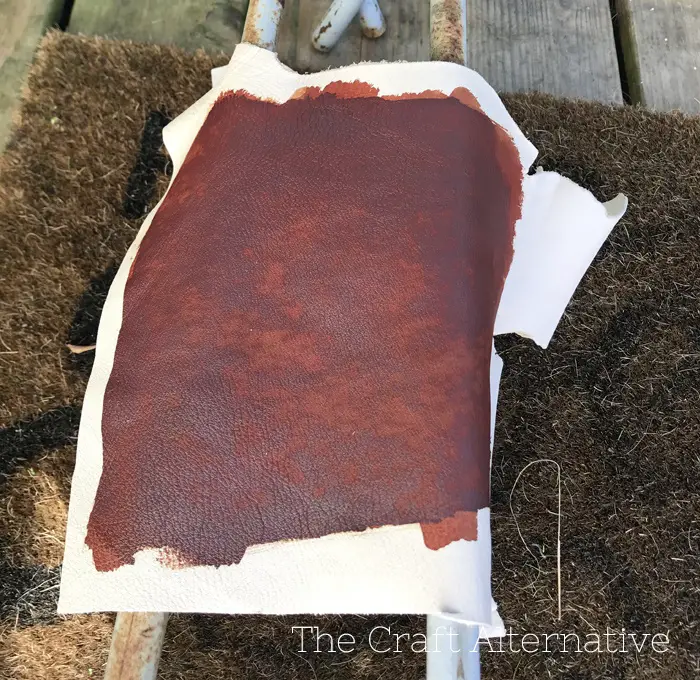
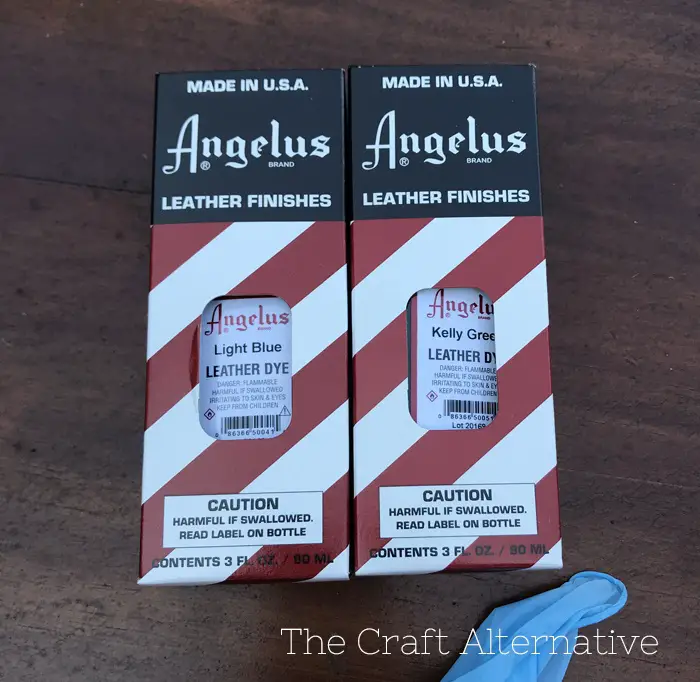
There are two brands of leather dye that I use and recommend: Fiebings and Angelus. Both penetrate nicely, dry quickly, and have an array of fabulous colors ranging from traditional browns to vibrant blues! Look at this fabulous green…
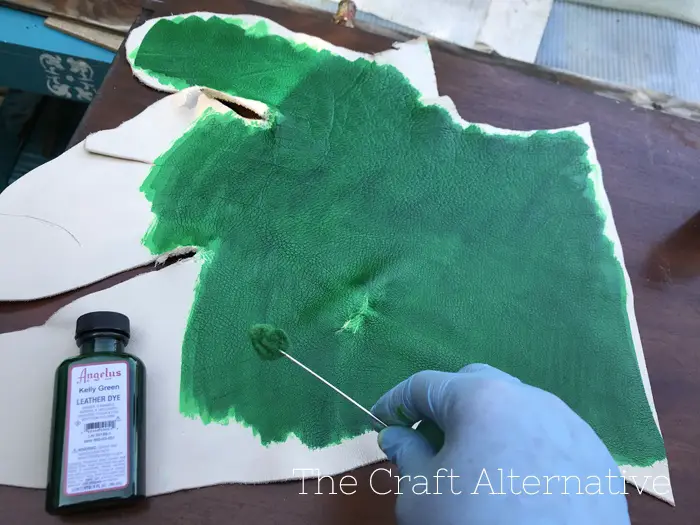
Beautiful, right? Both are easy to use and are inexpensive. When applying the dye, two coats are highly recommended for complete coverage! (Note that the dye is recommended for application on smooth leather not pebbled like I used!)
Dye Applicator
The applicator will depend on the project. Small wool daubers are great for small sections or small pieces. A cotton pad or wool pad is best for large areas. I tried using a smaller dauber on a large area and it was very streaky but I was able to fix it with a larger pad.
Finishing
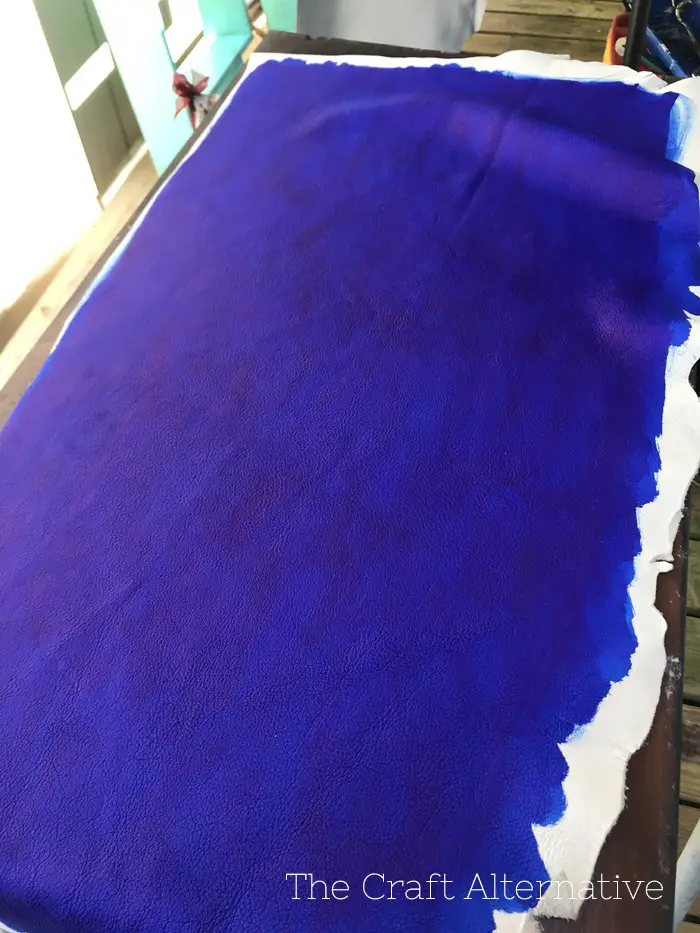
A coating such as Resolene (<– affiliate link!) can be used which keeps the leather soft and protected. Plain old Kiwi Neutral Shoe Polish (<– affiliate link!) works just as well! In fact, when using a blue dye, it will “bronze” which means it takes on a metallic sheen from the metals used in creating the color but it can be easily corrected with a coat of the neutral polish. Remember The Karate Kid and the “wax-on, wax-off” technique? Do that.
So in theory, dyeing leather is really easy and I hope these few tips will help. Next, I will be using a piece of dyed leather in a project that I am really excited about! If you’re interested in sewing leather, check out these few tips!
Do you have any tips for dyeing leather? Share them by leaving a comment below!
Originally posted 2020-09-14 08:00:16.