An Inexpensive and Pretty Desk Organizer to Make
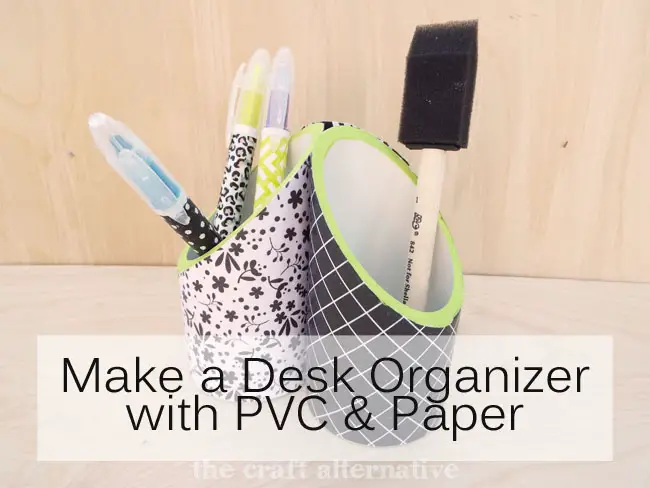
On my other site, Designs by Studio C, I made a PVC pipe organizer similar to one I saw in a catalog. Working with PVC pipe is easy, inexpensive, and you can make a whole lot of neat stuff with it! I made a new desk organizer with PVC pipe and paper, and it came out awesome! Let me show you how I did it…
Supplies:
- 2″ PVC pipe
- Miter saw or handsaw and miter box
- Sandpaper
- Scrapbooking Paper
- Mod Podge (<–affiliate link!)
- Craft knife
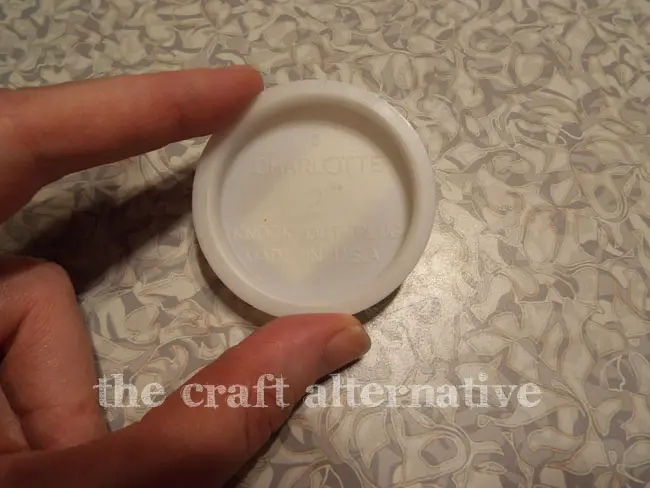
- 3 – 2″ PVC knock-out plugs
- Liquid Nails
- Contrasting acrylic paint & paint brush
Start by cutting three pieces of the PVC pipe at 4″ long, with a 45° angle at one end. PVC can be cut with a handsaw, a miter saw, or if you’re really nice to the people at the home improvement store where the PVC is purchased, they may cut it for you!
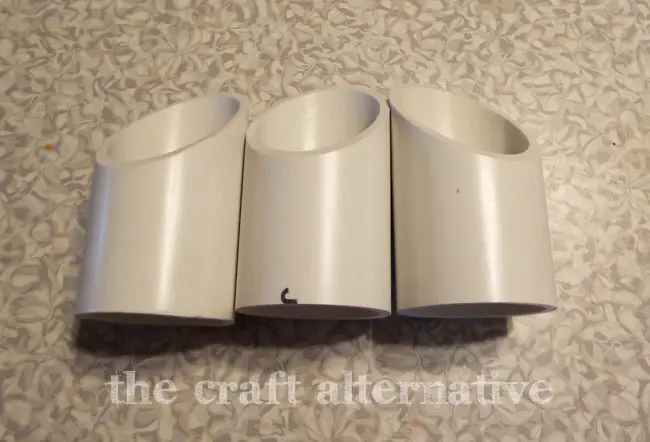
Thoroughly wash and dry the pieces. I used warm water and dishwashing liquid, them let them dry. Use the 80 grit sandpaper to rough up the outside of the pipe pieces. This will give a surface for the Mod Podge to adhere.
Measure the outside circumference of the pipe and cut pieces of scrapbooking paper to cover the pipe. I cut the pieces of paper I used at 4-1/2″ x 7-3/4″. Apply a coat of Mod Podge to one of the pipe pieces, then wrap the scrapbooking paper around the pipe. The seam can be at the center of the back of the pipe so it will be hidden when the pipes are glued to each other.
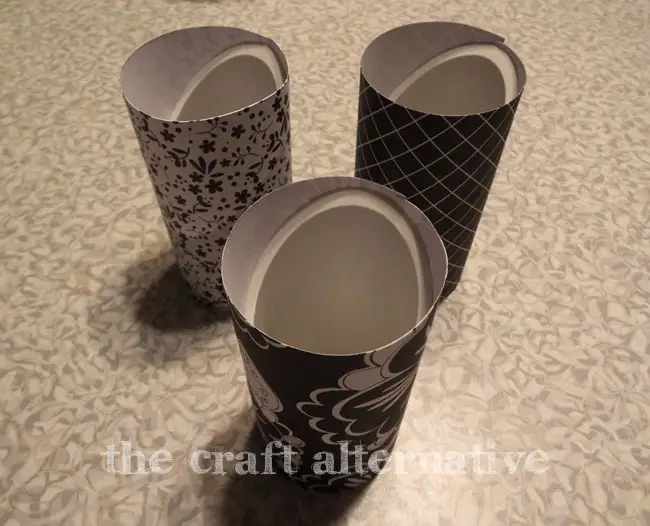
Once the Mod Podge dries (I waited overnight), trim the excess paper away from the top with a craft knife. I applied a coat of Mod Podge to the paper to protect it.
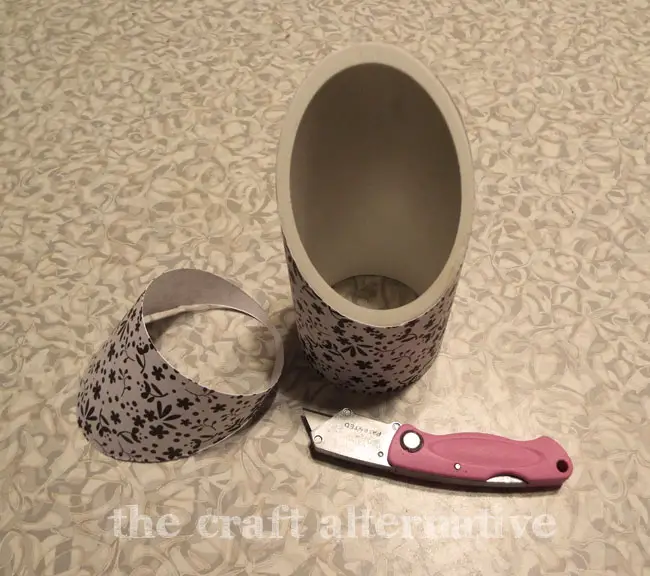
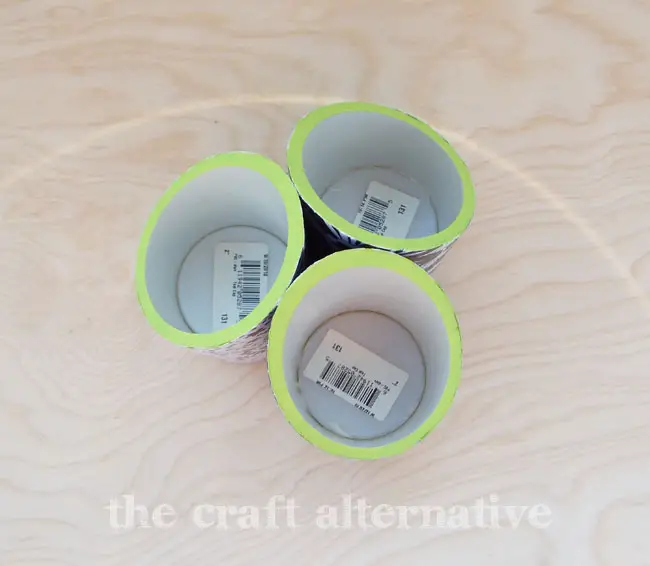
Glue the knock-out plugs to the bottom of the pipe with a bit of Liquid Nails. (The UPC tags were too much of a pain to remove so they are staying!)
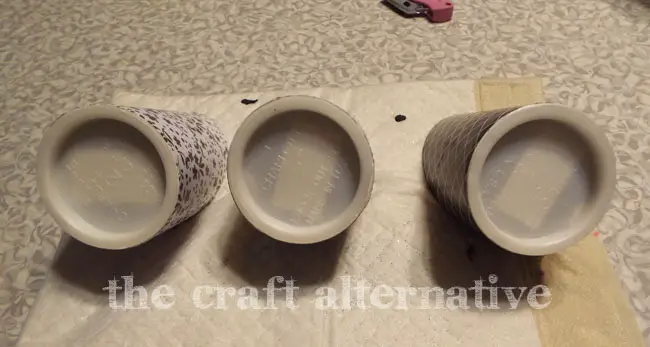
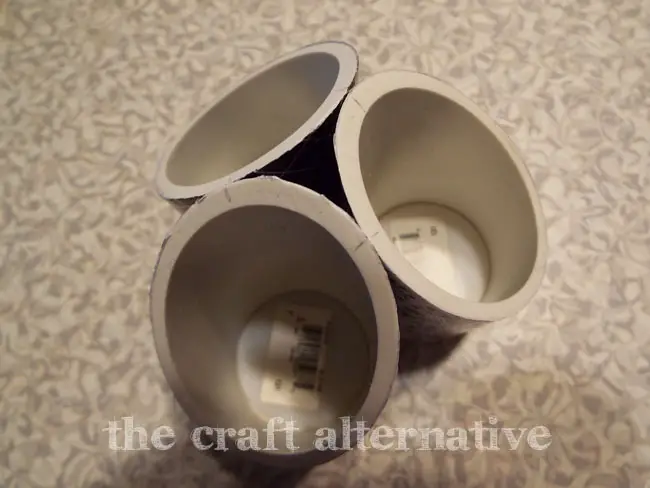
When the Liquid Nails is dry, set the pieces on a flat surface in a circle with the highest point of the angle facing the center. Use a pencil to make a mark on the top where the back of the pipes touch each other. Apply a line of Liquid Nails along the length of the pipes, line up the marks, and press the pieces together. Let the Liquid Nails set up.
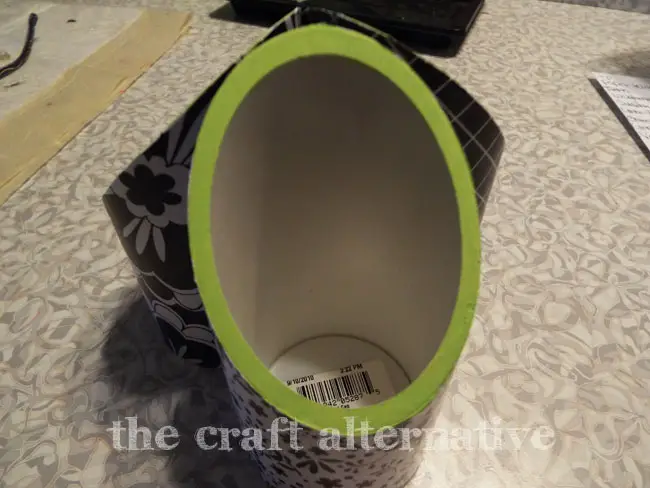
Use the craft paint to add a bit of contrast to the top (angled) edge of the pipes.
That’s it! Easy, right? I think it is the prettiest desk organizer made with PVC pipe and paper I’ve ever seen! I think I will use mine to hold sponge brushes for painting and other projects. This organizer would also make a fabulous gift!
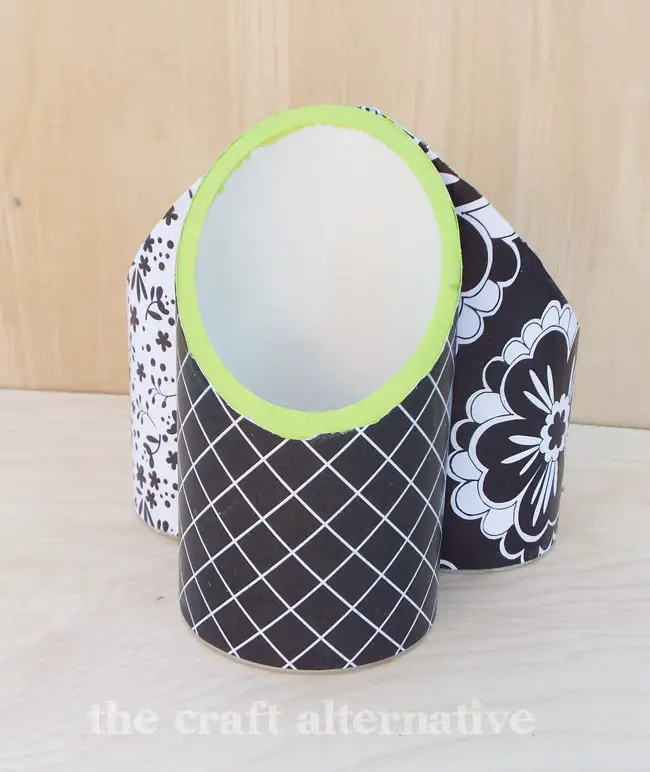
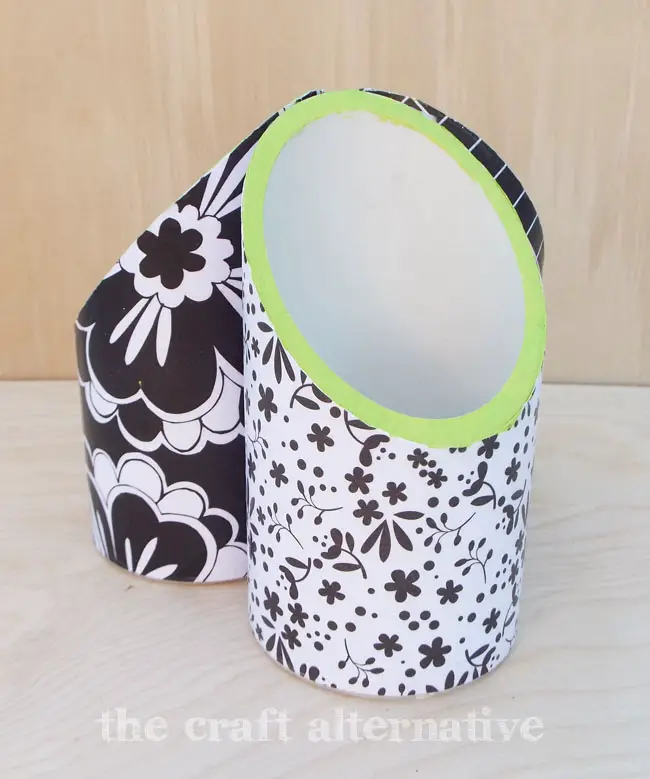
What would you make with PVC? Leave a comment below!
Sharing with: Fluster’s Creative Muster
Originally posted 2015-01-16 08:00:22.
Love these fun and functional projects that you share with others. This is a great idea and it looks amazing. The PVC isn’t something I am familiar with and you make it all look easy and effortless. Something all of us could try and be successful at! 😉
I love your designs. they always make me wish i had a little more time on my hands so I could try my own. I am always full of ideas but very rarely find I have the skills to complete them exactly the way I would want to. It is great to live vicariously through your creations.
Thank you so much, Caroline! Finding time to do anything is sometimes difficult! I appreciate you stopping by!
Never thought about using PVC for such a project. It looks so great! We have a few pencil holders made with cardboard and paper. But the one you share looks so much prettier. Thanks for sharing, Cher-Ann!
Thank you so much, Delia! There are so many neat projects that can be made with PVC – I love working with it!
Great idea! I so need one for my mess of a desk…
Thanks so much, Elaine! I think I need several to corral the mess I’ve accumulated on my desk!