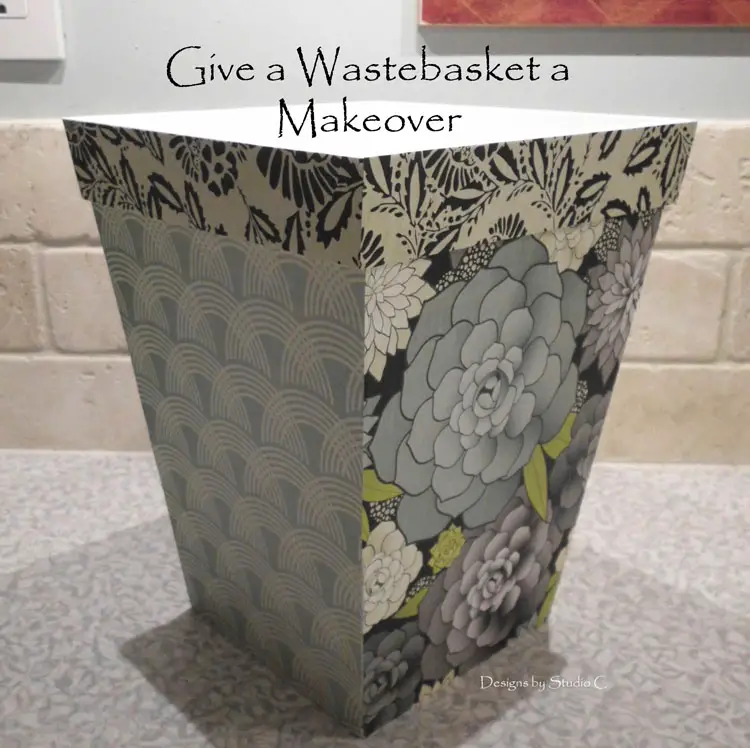
Tidy Up the Office by Giving the Wastebasket an Update!
When I cleaned out my daughter’s room (see the Teen Room Makeover at Designs by Studio C) I found her old wastebasket complete with gum and candy stuck inside of it. I bought a new one for her and decided that this one was too great to throw away. I figured I could give it a makeover and use it at my own desk space! I’ll show you how to give an old wastebasket a makeover!
Materials:
- Wastebasket or other container needing a makeover
- Paint & brush
- Scrapbooking paper
- Scissors
- Mod Podge (<– affiliate link!)
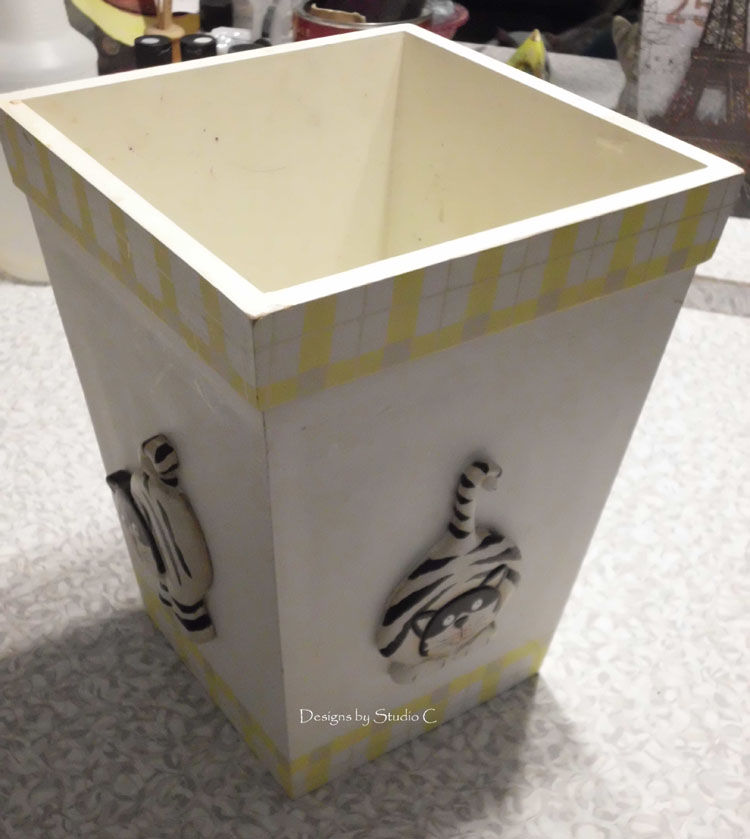
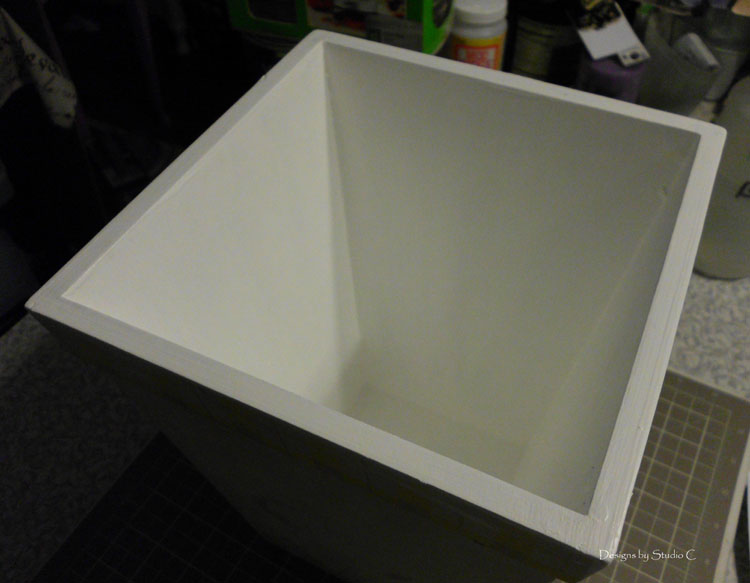
I started by giving the inside a through cleaning. I pried the gum and candy out hoping I wouldn’t have to paint the inside, but in the end it got a couple coats anyway! I also removed the cats from the outside and sanded with 220 grit sandpaper.
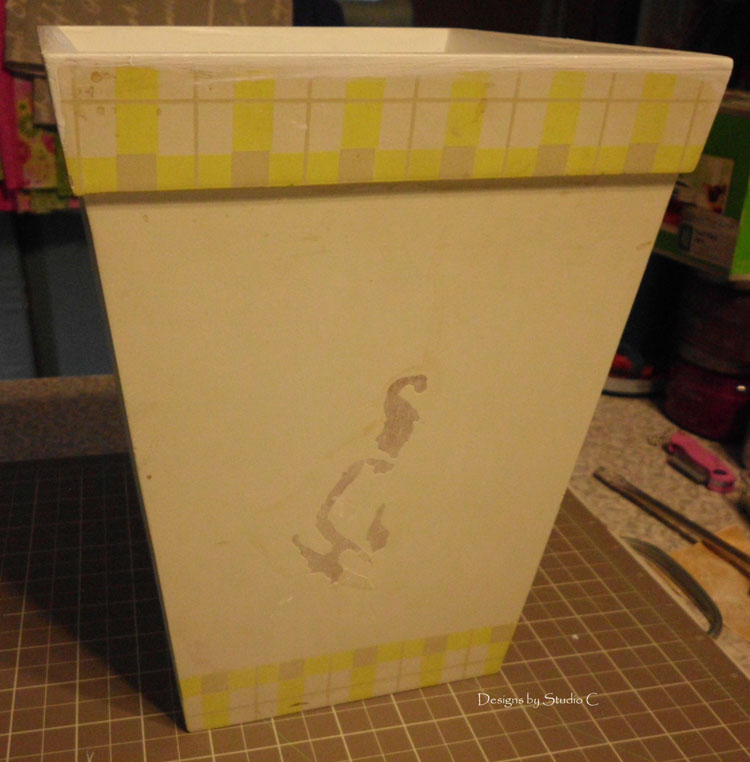
I decided on three pretty scrapbooking papers. I folded the first piece over one of the sides to mark the creases for the edge. With a scoring tool, I scored a line where the creases were in order to make nicer folds (A butter knife will work as well), then drew a line 1/2″ outside of the fold. I applied Mod Podge to the side and positioned the paper. I repeated the process for the other side.
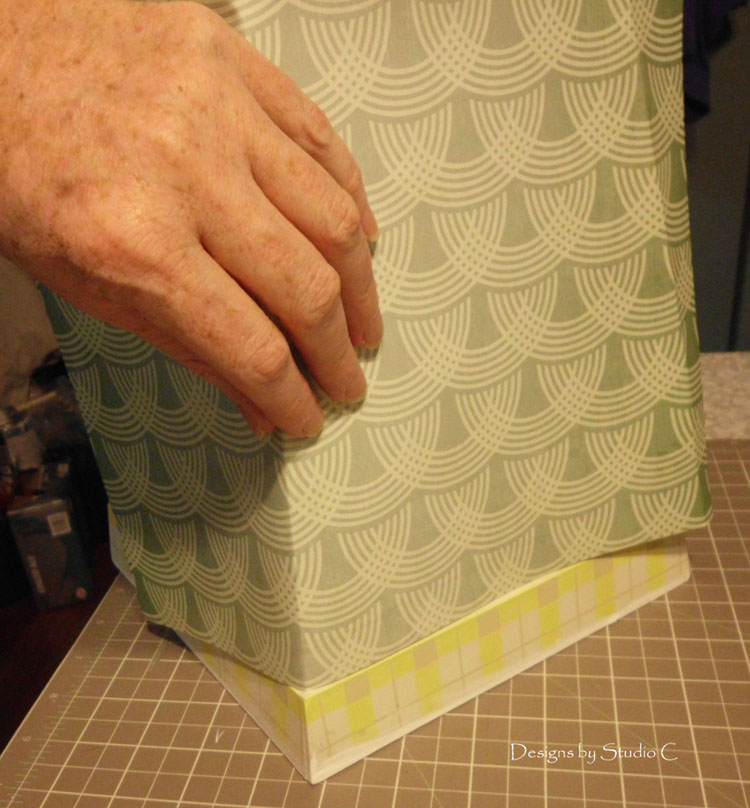
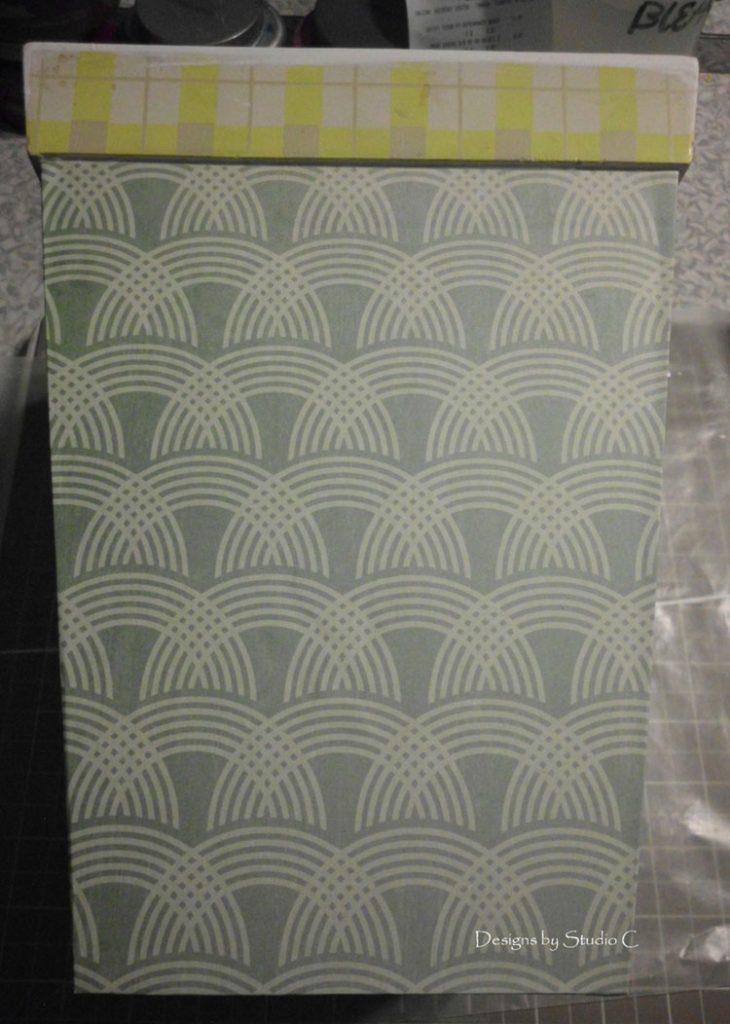
Once the first two sides were dry, I traced the edges of one of the other sides on a second print of paper then cut it out. I applied Mod Podge on one of the remaining sides, then positioned the paper and repeated the process for the other side.
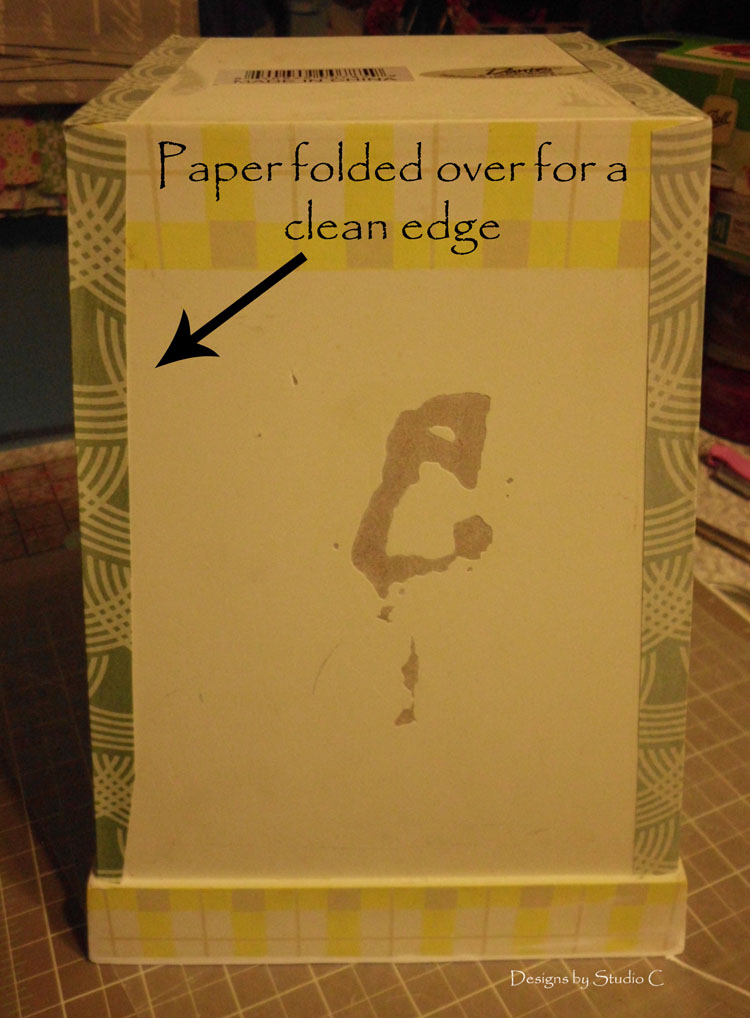
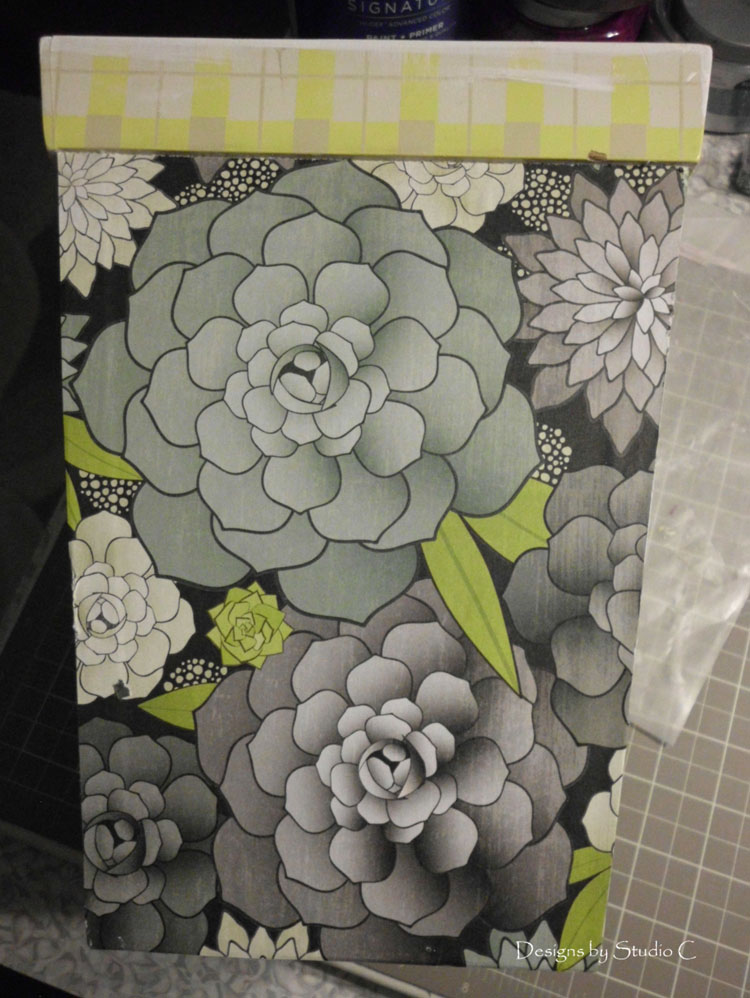
I cut strips from the third paper then coated the top edge with Mod Podge, and positioned the paper.
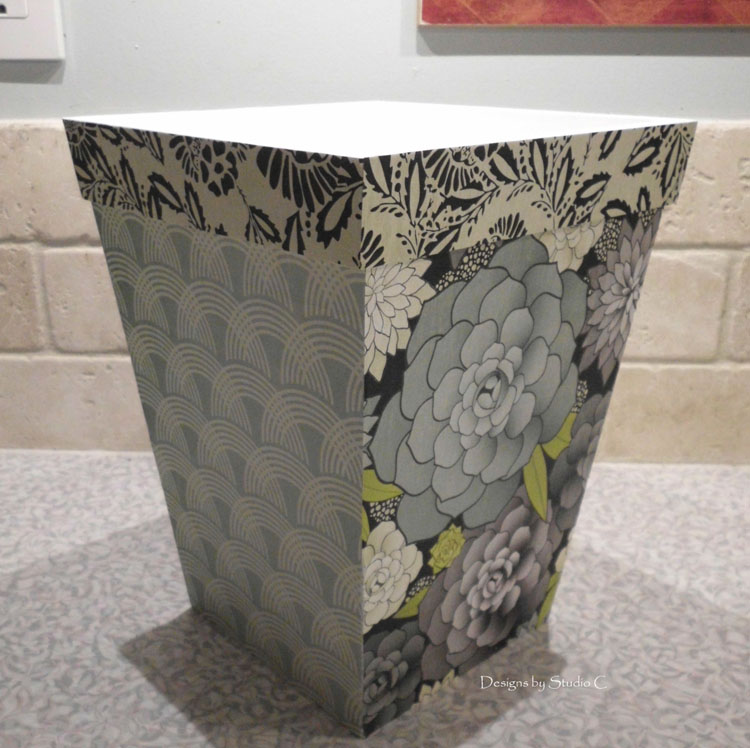
That was it! So quick and easy, and no candy! This was a super-simple project and used up a few pieces of the many tons of scrapbooking paper I own. Any questions or comments on how to give an old wastebasket a makeover? Leave them below!
Originally posted 2012-08-25 08:00:15.

