Easy to Make Leather Mouse Pad
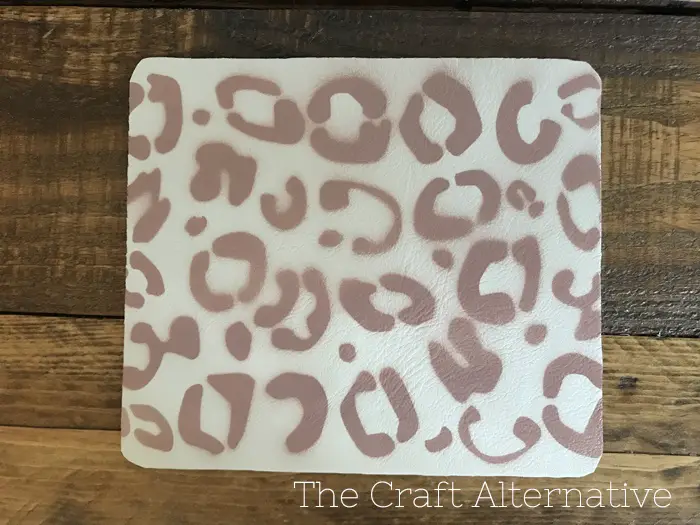
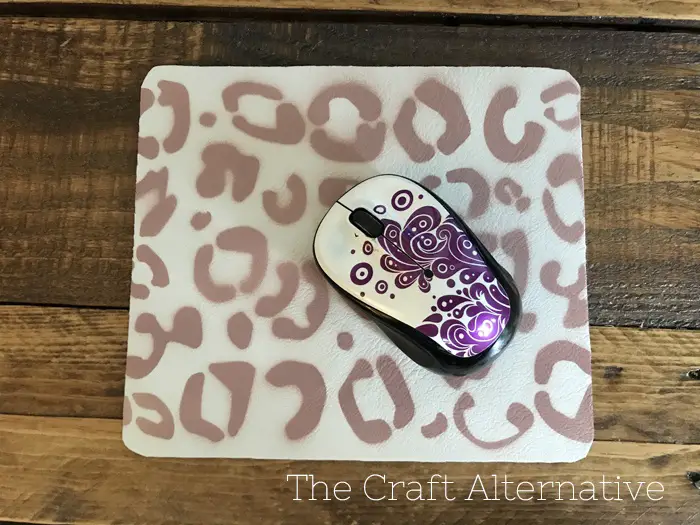
I’m probably one of the last few people that actually uses a mouse pad with a mouse on my computer… It’s mainly because of a non-existent relationship with the track pad on my laptop that forces me to use a wireless mouse. Anyway, I like the mouse pad to be pretty, and to coordinate with my desk supplies rather than just be utilitarian. This DIY stenciled leather mouse pad uses one of the plain run-of-the-mill neoprene mouse pads as a base with a layer of genuine leather on top. I added a spray painted stencil design on top (in leopard print, of course) for an extra touch of “just because” !
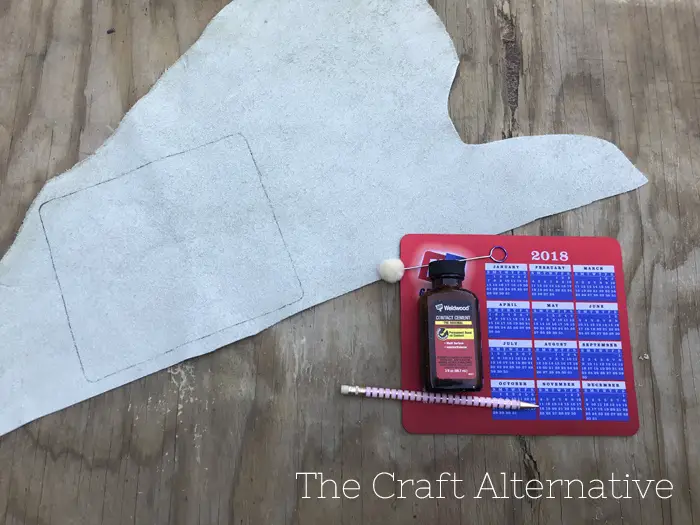
Materials:
- Regular neoprene mouse pad (<– affiliate link!)
- Piece of genuine leather
- Contact cement (<– affiliate link!)
- Sharp scissors
- Stencil
- Paint of choice
Step One
Start by tracing around the neoprene mouse pad (referred to as the base) on the back side of the leather.
Step Two
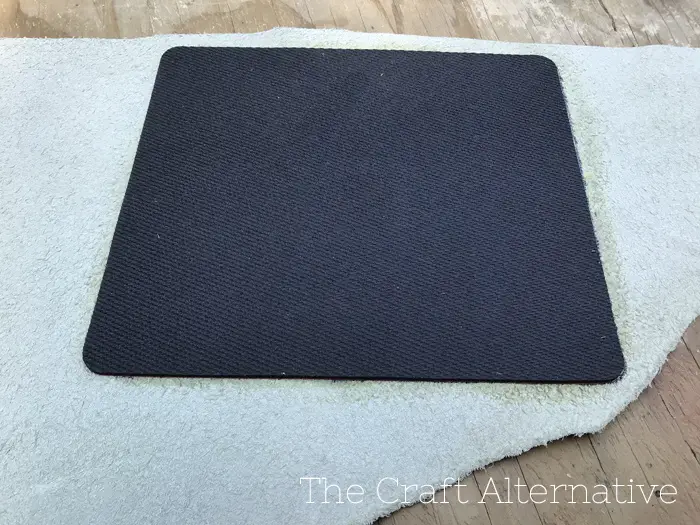
Next, apply the contact cement to the top of the base and to the back side of the leather in the traced area. Pay special attention to what will be the edges and make sure the entire area is covered with cement. Let the cement dry. The cement will not be tacky when dry.

Step Three
Position the top of the base on the leather making sure the edges line up with the markings previously traced. It is important that it is lined up correctly because once the cement on the two surfaces make contact, it is basically stuck forever! Once applied, smooth the leather in place. Trim excess leather away from the base using sharp scissors.
Step Four
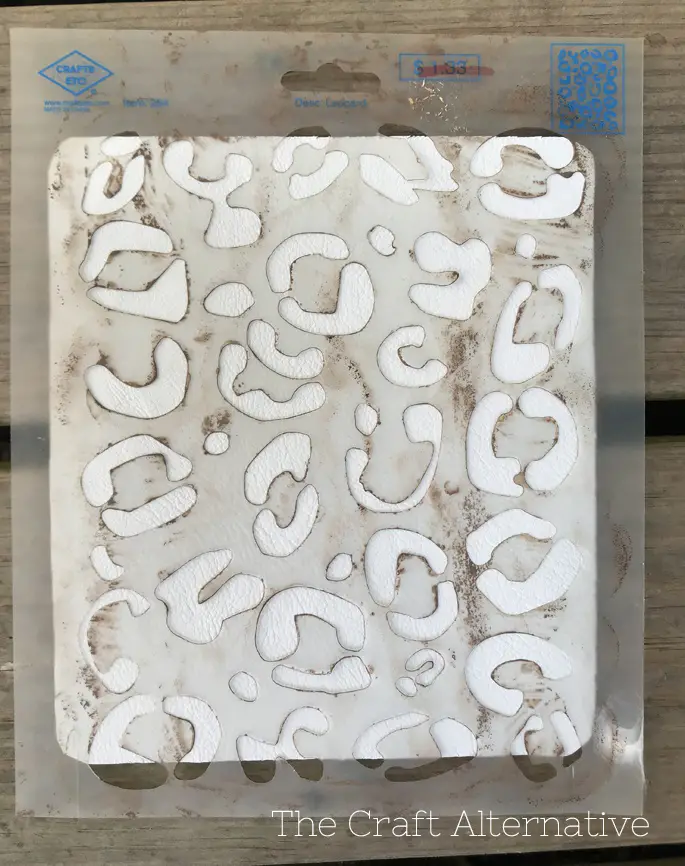
Position the stencil on top and paint as desired. A clear top coat such as Resolene (<– affiliate link – an acrylic top coat for leather) can be applied.

This DIY stenciled leather mouse pad is just one of many leather projects I plan on creating for The Craft Alternative! Want to sew with leather? Here are a few tips!
Have questions? Leave a comment below!
