A Beautiful Piece of Needlepoint Makes a Gorgeous Pillow!
This needlepoint piece is gorgeous and actually started out as the seat on a small stool that I purchased at my local Habitat for Humanity ReStore for $10. I wasn’t all that crazy about the design of the needlepoint piece on the stool, and thought it would make a better pillow. Let me show you how to make a pillow with a needlepoint piece…
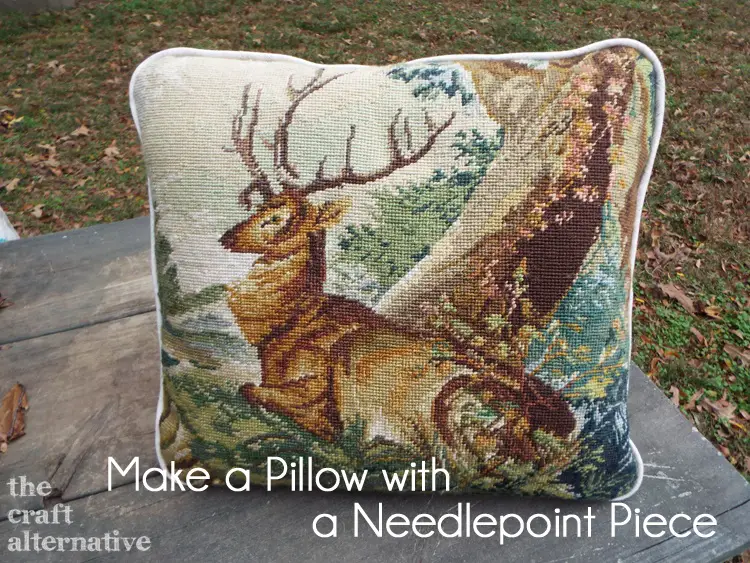
Supplies:
- A pillow form the same size as the piece being made into a pillow
- Rotary cutter (<– affiliate link!), mat, and ruler
- Fabric to use as a back and piping for the pillow
- Filler cord for the piping
- Contrasting thread
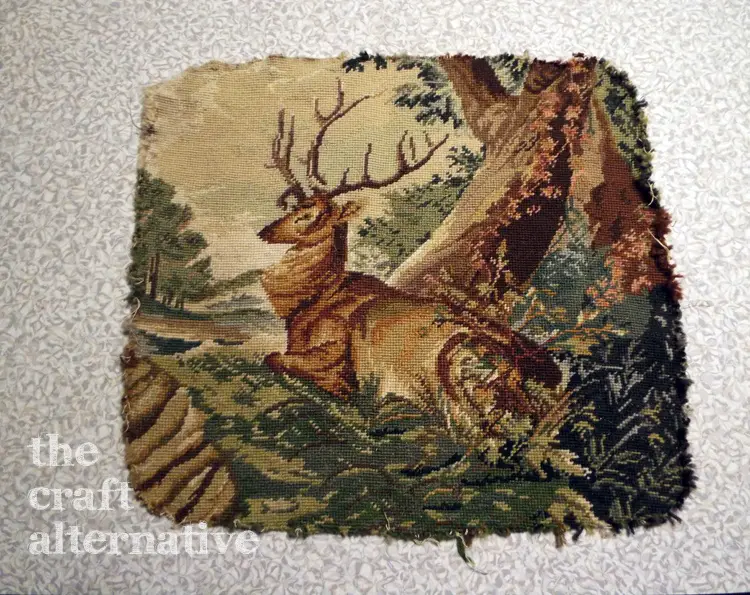
I removed the needlepoint piece from the stool – and of course, failed to photograph it! The piece is most likely wool, so I washed it by hand and let it air dry. I lightly pressed it with an iron to remove the wrinkles, then measured the overall size of the pillow. I noticed that the piece is not exactly square!
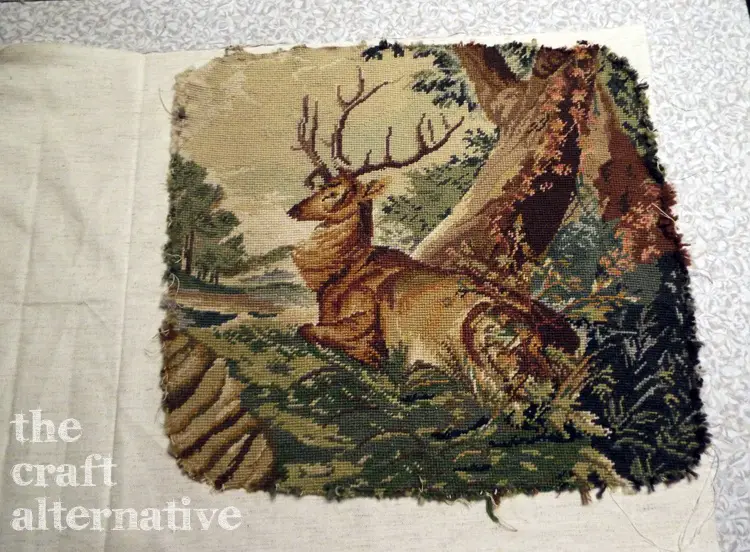
I cut a piece of fabric for the back at the same size as the needlepoint piece.
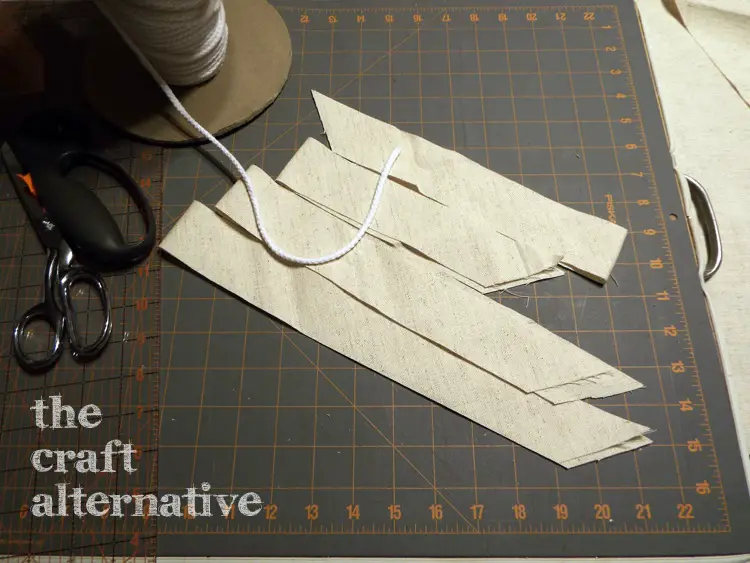
I cut a few strips of the fabric on the bias to make the piping. I like to cut my bias strips 1-3/4″ wide which gives me enough room to add the filler cord plus a generous seam allowance. I sewed the strips together end to end, then sewed the filler cord inside the bias strips.
I sewed the piping to the backing fabric first, then sewed the backing fabric to the needlepoint piece to create the pillow. I left the bottom portion open so that I could slide the pillow form in, then I sewed the opening closed by hand.
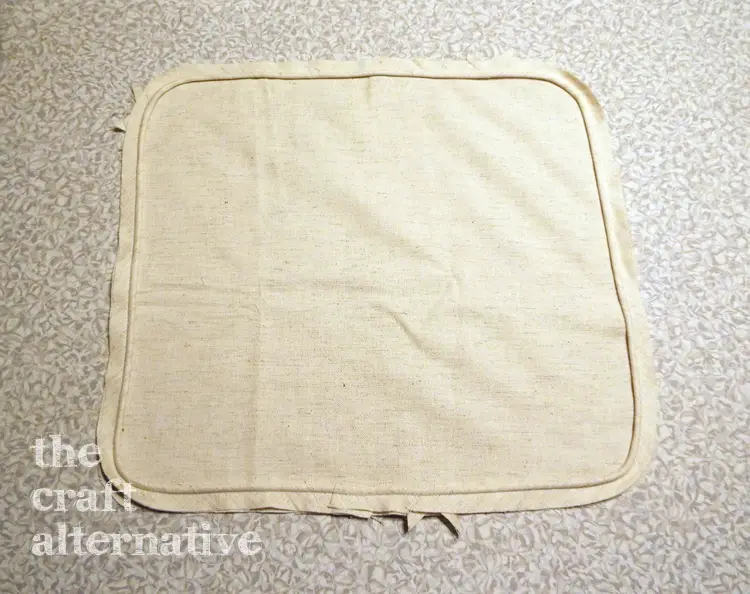
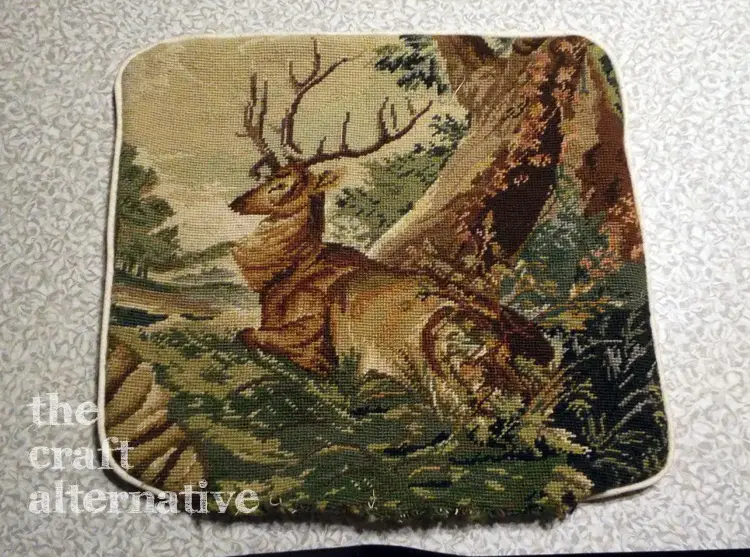
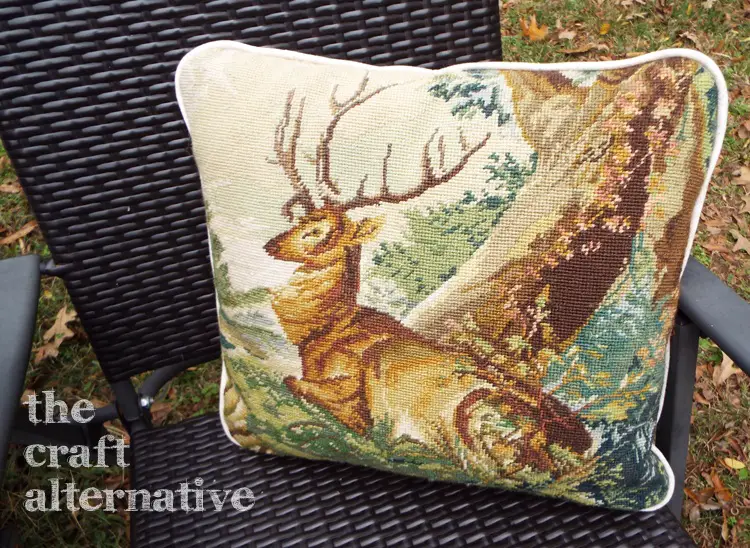
I love this piece so much better as a pillow! Now I want to keep it, where I really didn’t care for it before… I like the way it looks on one of my outdoor chairs by the fire pit…
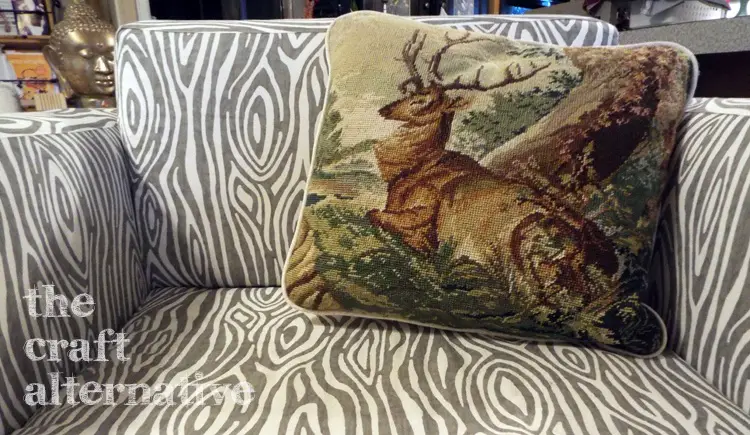
It also looks fabulous on my chair with the wood grain fabric!
Have any questions about how to make a needlepoint pillow? Leave a comment below!
Originally posted 2014-11-14 08:00:05.