DIY Jacket Repair: How to Mend a Tear
Recently, I tore my favorite winter jacket, the same one where I added cuffs to make the sleeves longer. My initial attempt at a repair didn’t go well for two reasons: I dislike hand sewing, and I’m not very good at it. I decided to use my embroidery machine for the repair, hoping to achieve better results. In this post, I will show you step-by-step how to quickly and easily repair a tear in a jacket!
My jacket is a packable down jacket from 32 Degrees and though it didn’t cost a whole lot of money, it’s still my favorite! Check out 32 Degrees if you’re looking for a great jacket at an affordable price. I’m not affiliated in any way, I just want to share the love!
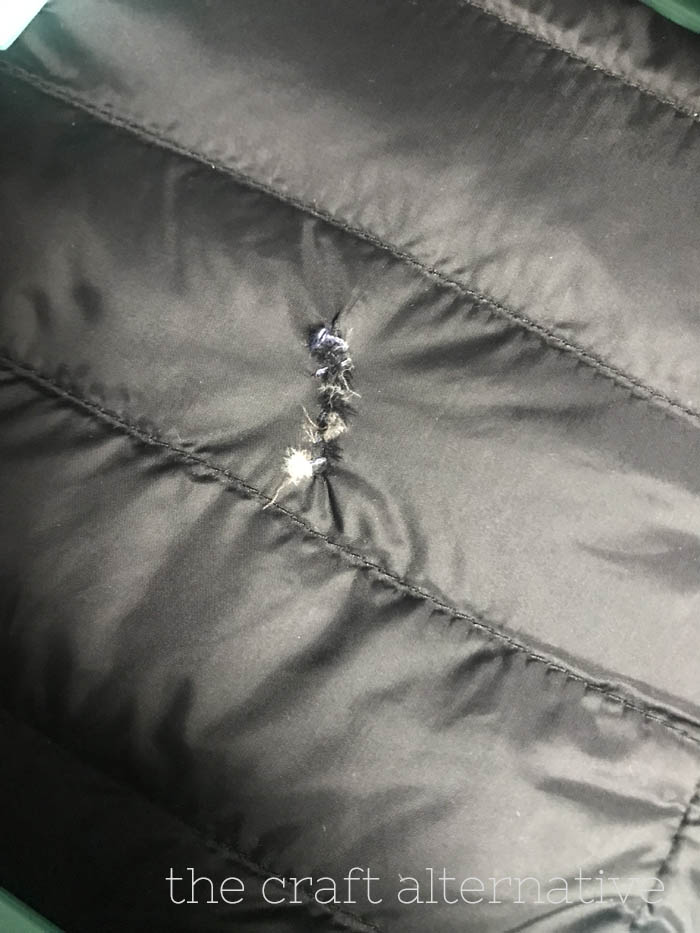
I started by hand sewing the tear closed so the feathers wouldn’t fall out. Needless to say, it looks awful.
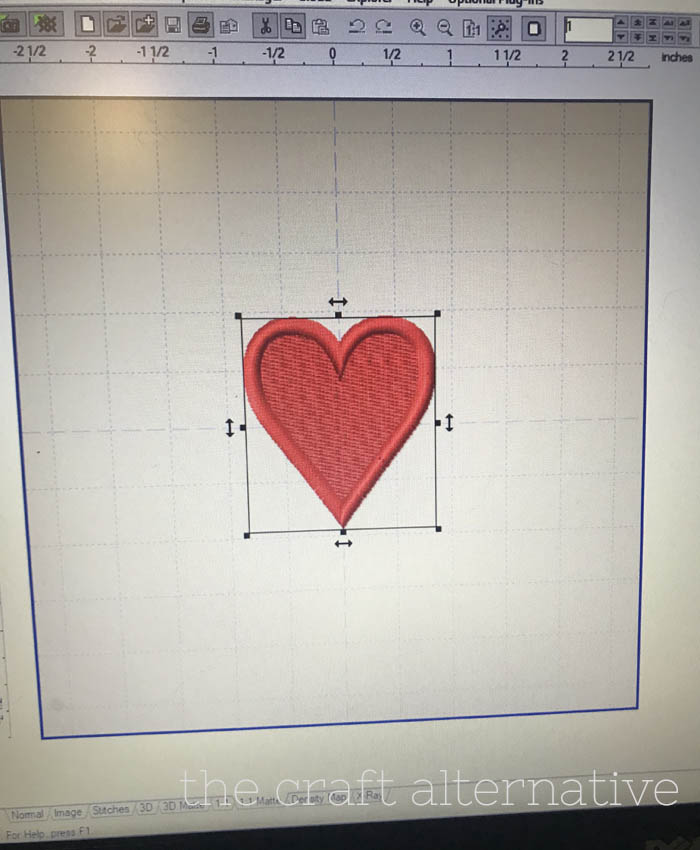
An embroidered repair would look much better so I created a heart in my embroidery software (Embird) that would cover the tear.
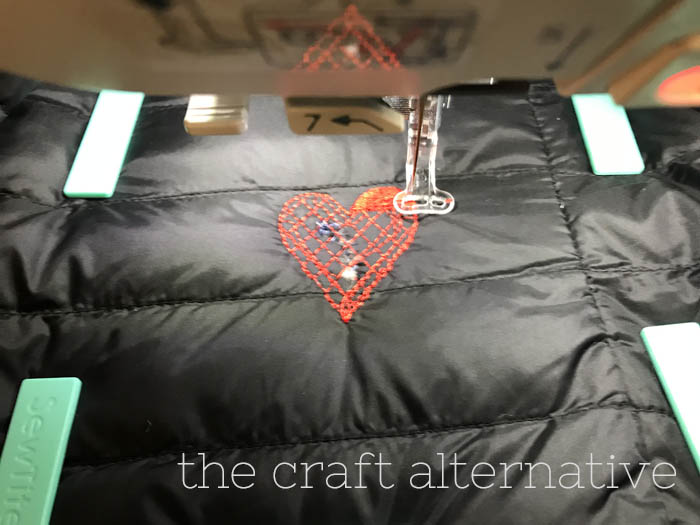
I hooped a piece of tear-away stabilizer in the hoop for my machine, and then floated the jacket on top of the stabilizer using Sew-Tites (<– affiliate link) to keep the jacket in place. Sew-Tites are magnetic strips that securely hold garments or fabric tightly without using pins. Trust me when I say these are an excellent investment if you frequently sew or machine embroider!

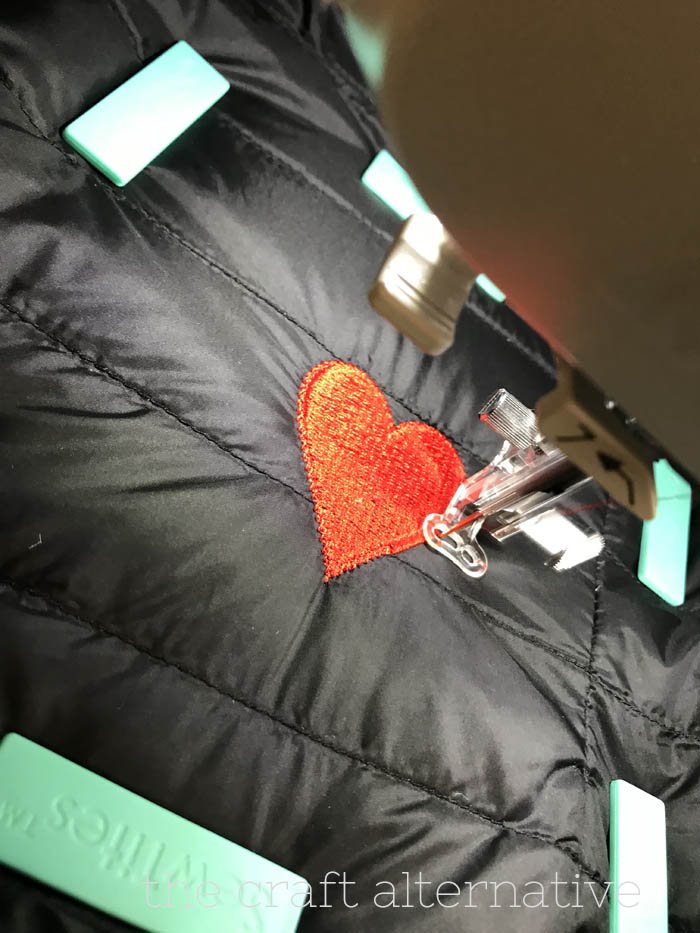
Once the heart was completely stitched out, I clipped the threads and tore away the stabilizer. It covered the tear perfectly and looks great!
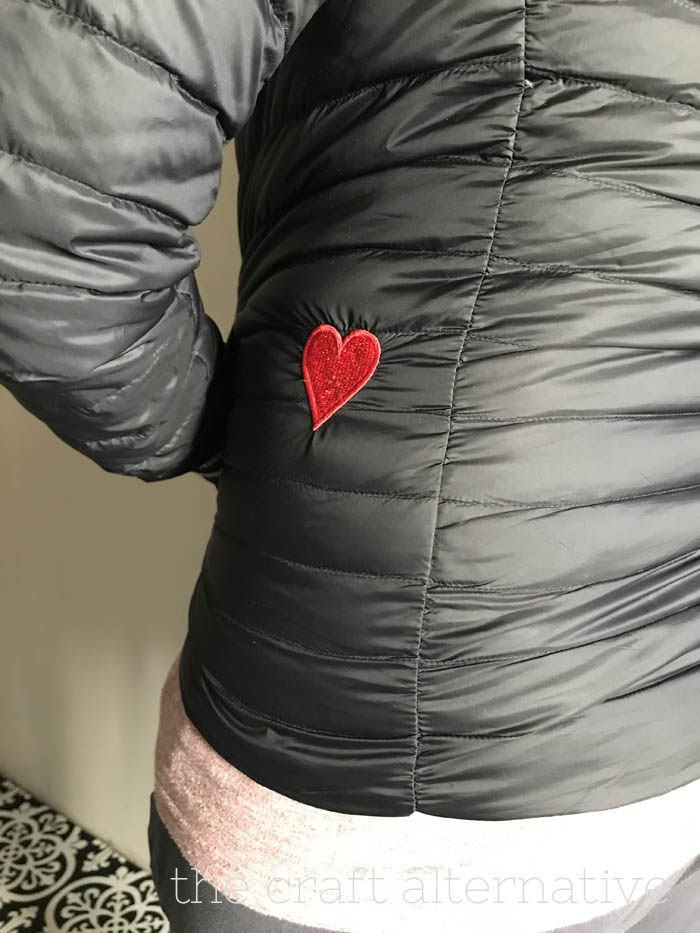
I’m super-happy with the DIY jacket repair! I could’ve done something that blended better but the bright red heart on my black jacket is a cute little nod to my “wild side”.
Have questions about how to repair a tear in a jacket with embroidery? Leave a comment below!
Originally posted 2025-02-23 13:04:28.