An Easy to Make Fabric Gift Bag
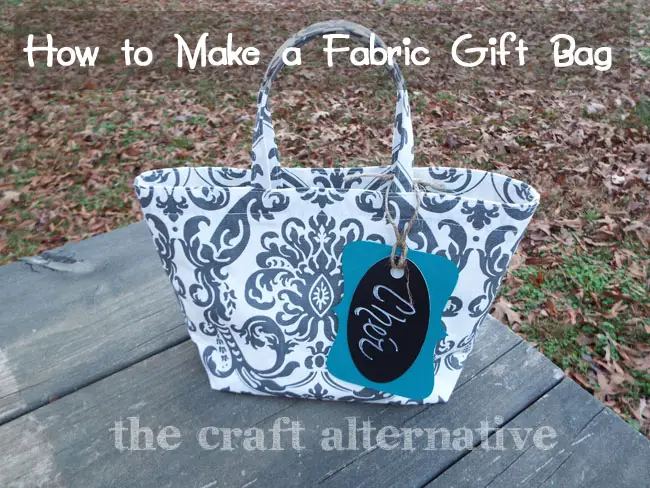
I’m always wanting to make gift packaging special for every occasion. I think it makes the gift that much more spectacular regardless of the type of gift! I used a piece of cotton duck fabric, lined with iron-on vinyl to make this quick and easy little bag. Let me share how to make a fabric gift bag…
Supplies:
- 1/2 yard of cotton duck fabric
- 1 yard of Heat ‘n Bond Iron-On Vinyl (<– affiliate link!)
- Contrasting thread
Cut two pieces of fabric at 12″ x 12″ and apply the iron-on vinyl to the reverse side. Also, cut two strips of fabric 3″ wide x 14″ long and apply the iron-on vinyl to the reverse side, as well. Applying the vinyl to the fabric will make it water-resistant and add a bit of body to the fabric.
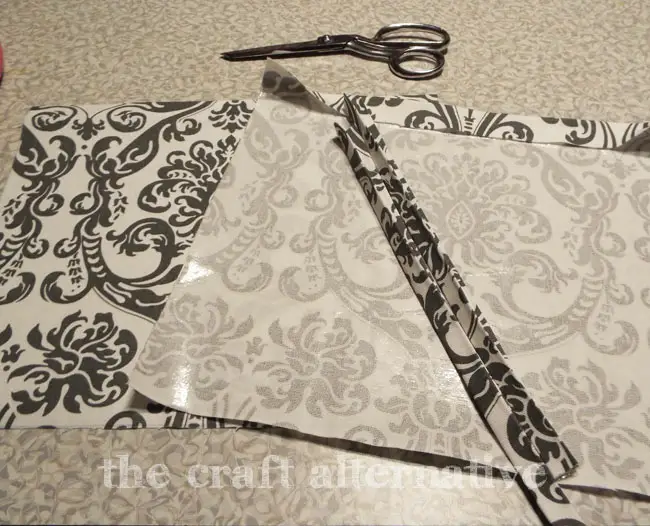
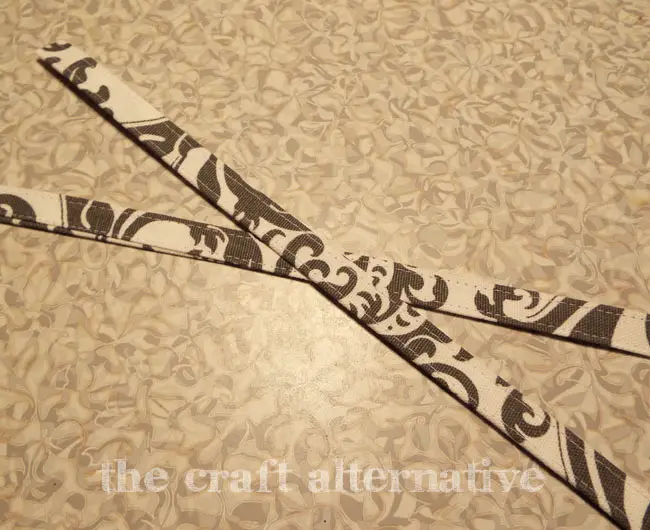
Fold the strips for the handles in half lengthwise and lightly press the fold. Open the strips and fold the edges toward the center fold line, then press the folds being careful not to touch the vinyl with the iron! Stitch along the edges.
Place the pieces for the bag right sides together, and stitch around three of the edges with a 1/2″ seam. Using the paper the backing from the vinyl, cover the seam and press the seams open.
Create box corners on the bottom of the bag by matching the right sides of one of the side seams and the bottom seam at the corner. This will form a triangle at the corner. Stitch a straight line at the “bottom” of the triangle. Trim the triangle away, leaving a 1/2″ seam.
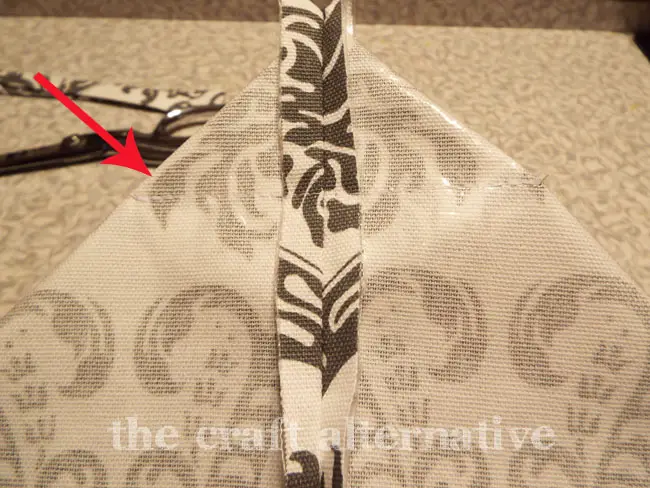
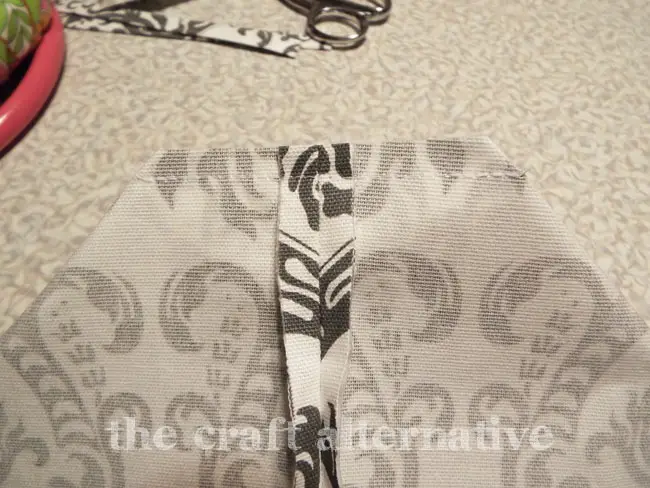
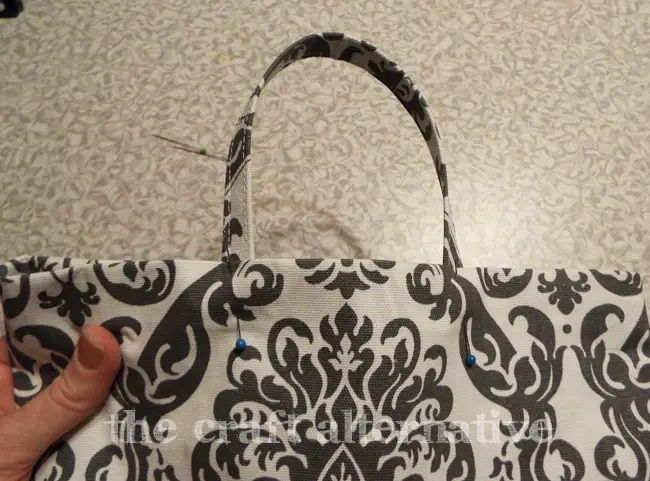
Fold the top edge of the bag over by 1″. Insert the ends of the straps, and pin them in place. (I just estimated the placement of the straps!) Fold the top edge over by 1″ again catching the ends of the straps in the hem. Stitch the top and the bottom of the hem.
Add a fancy gift tag, if desired!
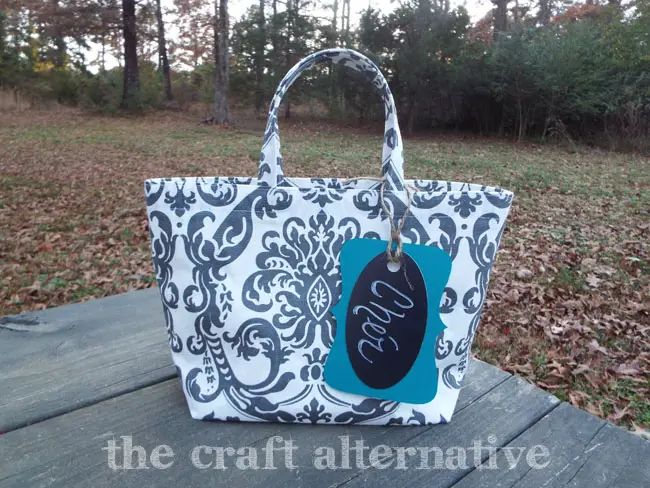
This is a bag that can have other uses as well… It is the perfect snack or lunch bag, and it would also make a great mini tote for a little one’s toys! Have any questions about how to make a fabric gift bag? Leave a comment below!
Originally posted 2015-01-07 08:00:27.