DIY Cast-On Comb for Knitting Machines
A cast-on comb is an essential tool for machine knitting. It provides the necessary weight to prevent the knitting from slipping off the needles, and it can be adjusted as the knitted piece grows longer. While some knitting machines come with a cast-on comb, others do not or they are difficult to move. You can easily create a DIY cast-on comb that will fit any knitting machine using readily available materials plus make it any length you’d like. Follow along as I guide you step-by-step on how to make a cast-on comb for your knitting machine!
Materials:
- 1×2 at 3 to 4ft. in pine or poplar
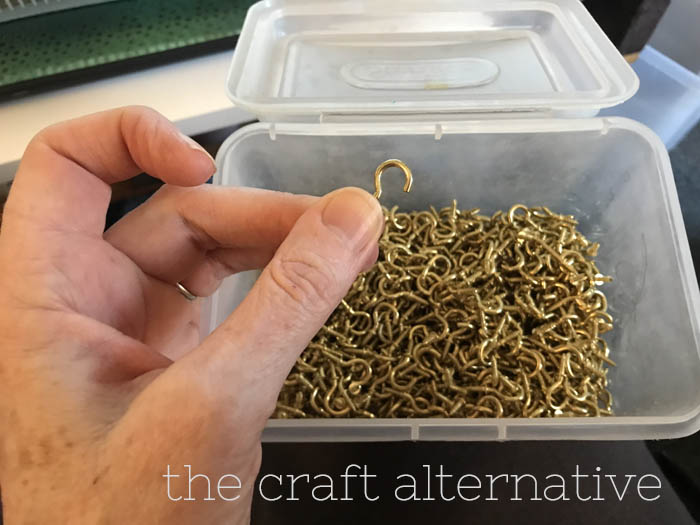
- Small cup hooks (<– affiliate link!)
- Pliers
- Scratch awl
- Marker or pencil
- Sandpaper
Notes About the Project:
- Sand the wood piece so that it is smooth and won’t snag on the knitting
- After marking the holes for the cup hooks, I used a router to round over the square edges – this is totally optional!
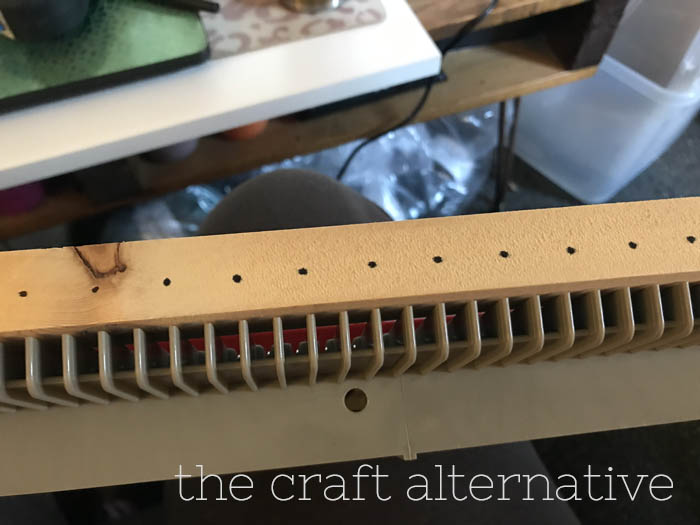
Step One – Marking the Spacing of the Needles
When marking the needle spacing, we’ll actually be marking the ridges on the knitting machine bed. It is easier than marking the center needle to needle and it has the exact same spacing.
Mark the center of the 1×2 on one edge of the board then find the center ridge on the knitting machine bed. Place the 1×2 on the needle bed and mark every other ridge out from the center on each side aiming for the center of the board. It’s OK if it’s not perfect – mine definitely isn’t but it will still work properly.
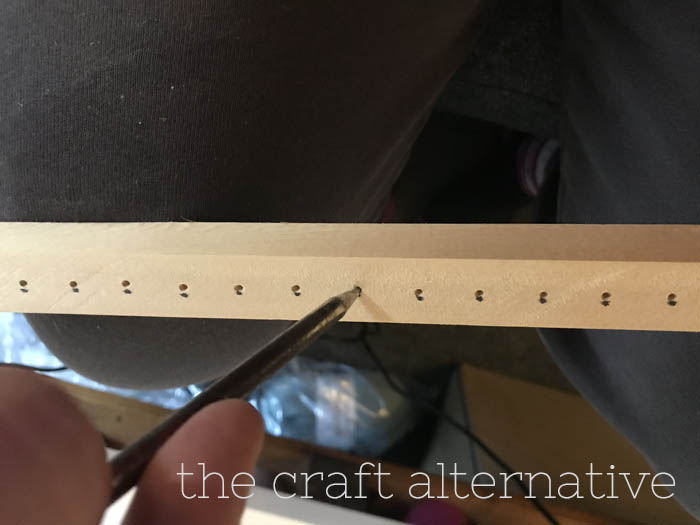
Step Two – Making the Holes for the Cup Hooks
Once all of the ridges have been marked, use the scratch awl to poke starter holes in each of the marks. This makes it easier to insert the cup hooks.
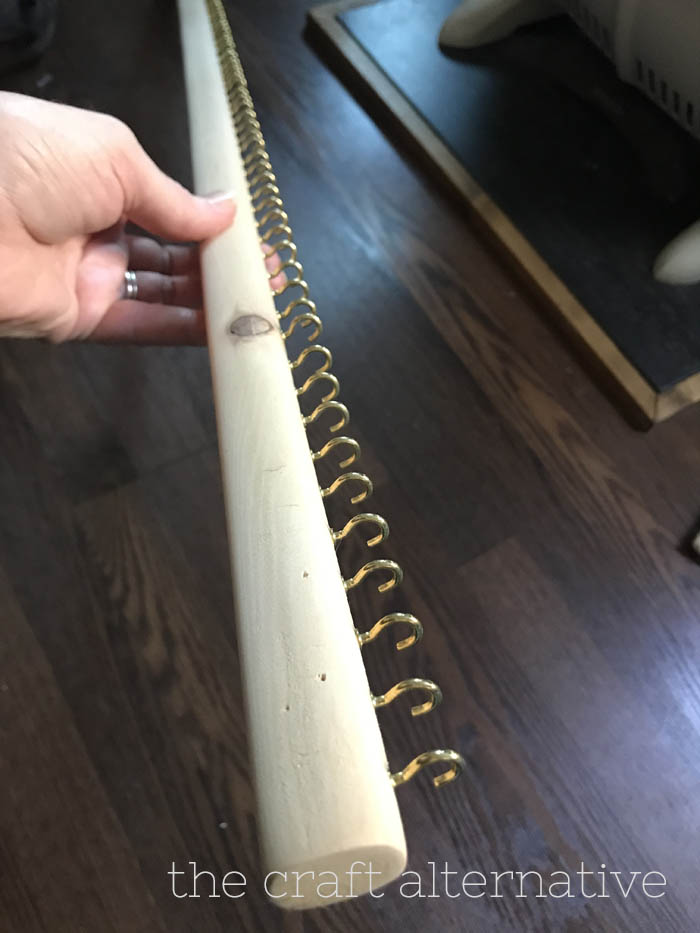
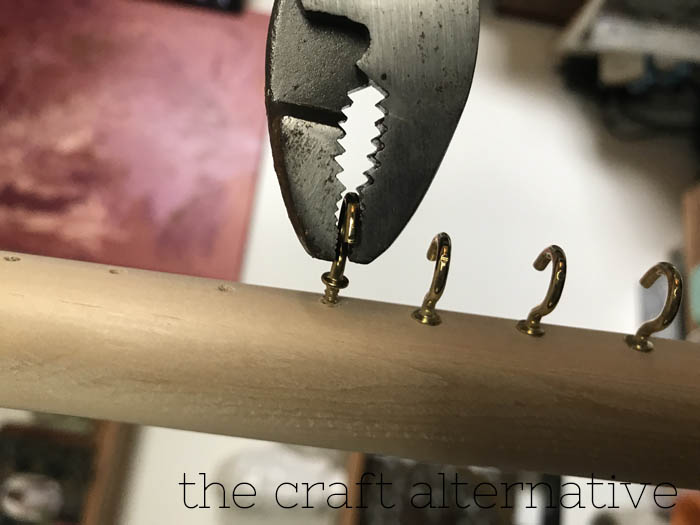
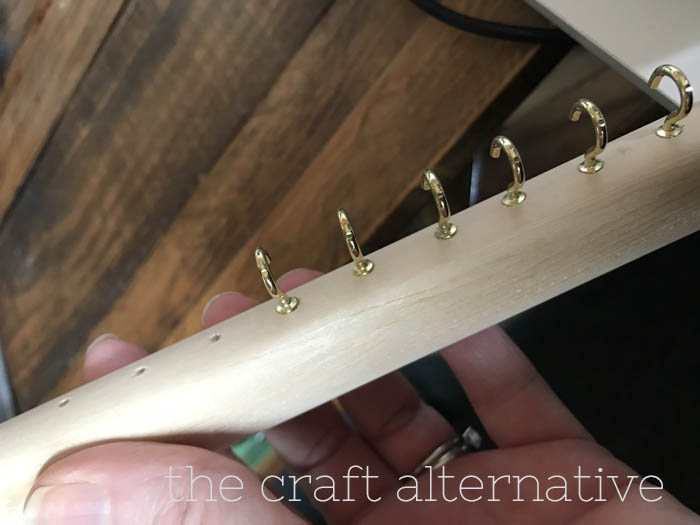
Step Three – Installing the Cup Hooks
Before installing the cup hooks, a router with a roundover bit can be used to round the edges of the board. It’s totally optional but if you can sand the edges to knock off the sharp corners, that would be perfectly fine!
Start installing the cup hooks in each mark by twisting them in with the pliers. The pliers make it much easier and will save your hands and wrists from cramps!
To Use the DIY Cast-On Comb:
To begin, bring the specified number of needles forward on your needle bed as indicated in the pattern. Next, move every other needle back. Open the hooks on the forward needles, and lay a piece of waste yarn across them. Hang the cast-on comb to the waste yarn, and then bring the remaining needles forward again. Slowly knit across the needles with the carriage for several rows.
Knit one row with ravel cord (<– affiliate link!), then cast on the main yarn for the pattern and knit!
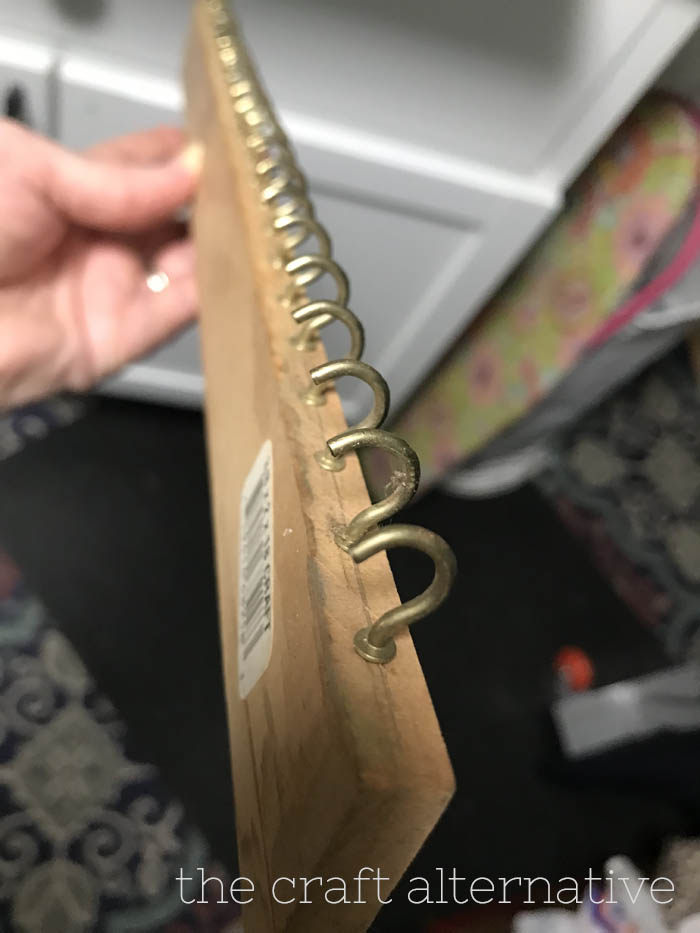
Here is another example using a thinner and shorter board (3/8 inch thick):
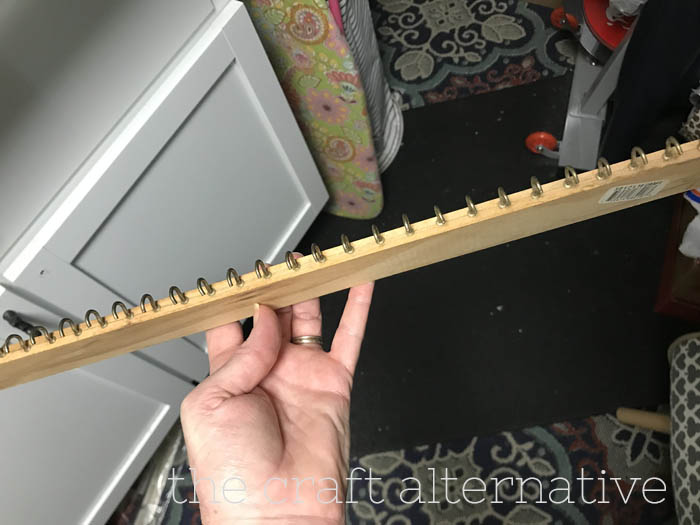
That’s all there is to making your own cast-on comb for your knitting machine! Several can be made in different lengths to suit your knitting machine or project. Have questions? Leave a comment below!