Fabric Dyeing 101: 7 Simple Steps to Dyeing Fabric at Home
I have been sewing and making my own clothes for many years. I love to sew with all sorts of fabrics but one of my favorite things to do is buy a plain fabric and dye it! Over the years, I’ve learned a few things that make dying any natural fiber fabric or garment a success. I’d like to share 7 steps for using fabric dye for great results and professional-looking garments!
The regular RIT dye I use is for natural fabrics such as cotton, linen, rayon, etc. There is a different dye and process involved for synthetic fabrics.
Start with the Dye
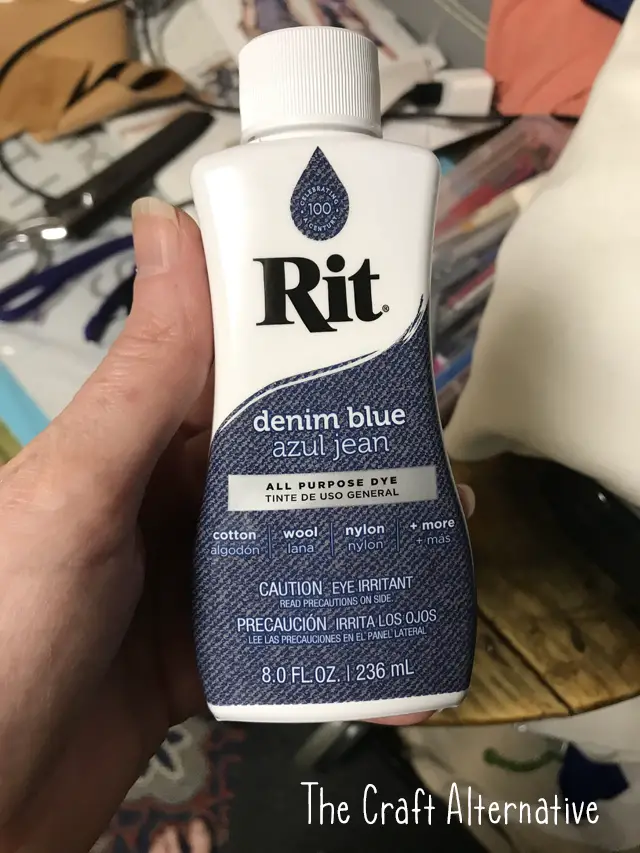
Picking a brand of dye isn’t really hard (there are some great ones out there!) but one of my favorites is the traditional RIT dye in the bottle. To me, the liquid dye gives better results with less discoloration from improper mixing and is extremely easy to use.
How to Prepare Fabric for Dyeing
In order for the dye to evenly saturate, the fabric has to be completely wet. Of course, the fabric can be rinsed in the sink but in my experience, the resulting dye job is blotchy and uneven. If the fabric or garment is run through a plain rinse and spin cycle in the washing machine, much better results are obtainable!
Mix the Dye
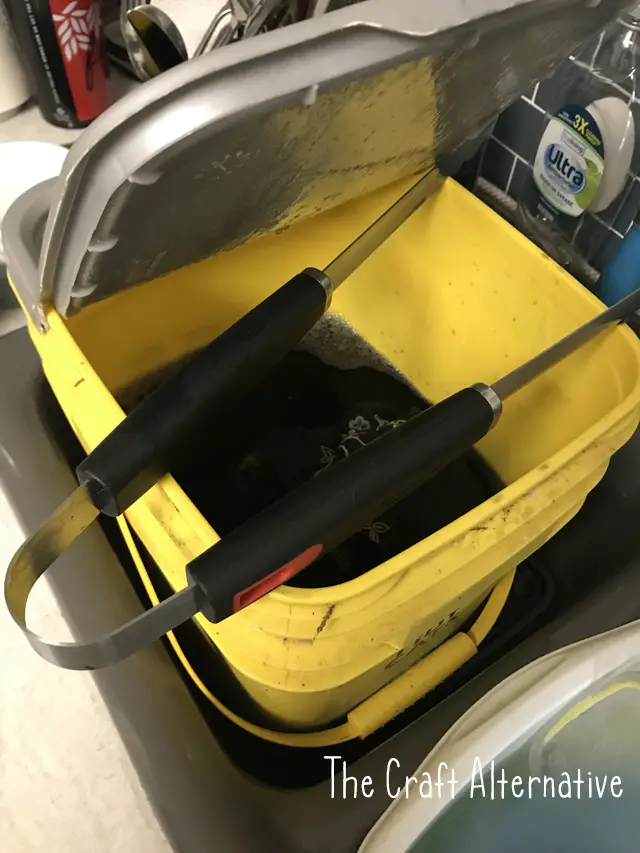
I prefer to use a 5 gallon bucket (<– affiliate link!) in my kitchen sink and fill it halfway with hot water. I then add half of the bottle of dye (saving the rest for another step) and thoroughly stir.
Soaking the Fabric or Garment in the Dye
It is best to soak the fabric in the dye for at least 60 minutes, stir frequently and keep the fabric completely submerged in the dye bath. I use my barbecue tongs to hold the fabric under the surface of the dye bath because the fabric has a tendency to float. Any parts that float do not get as much dye saturation as the rest of the fabric.
Rinse and Spin
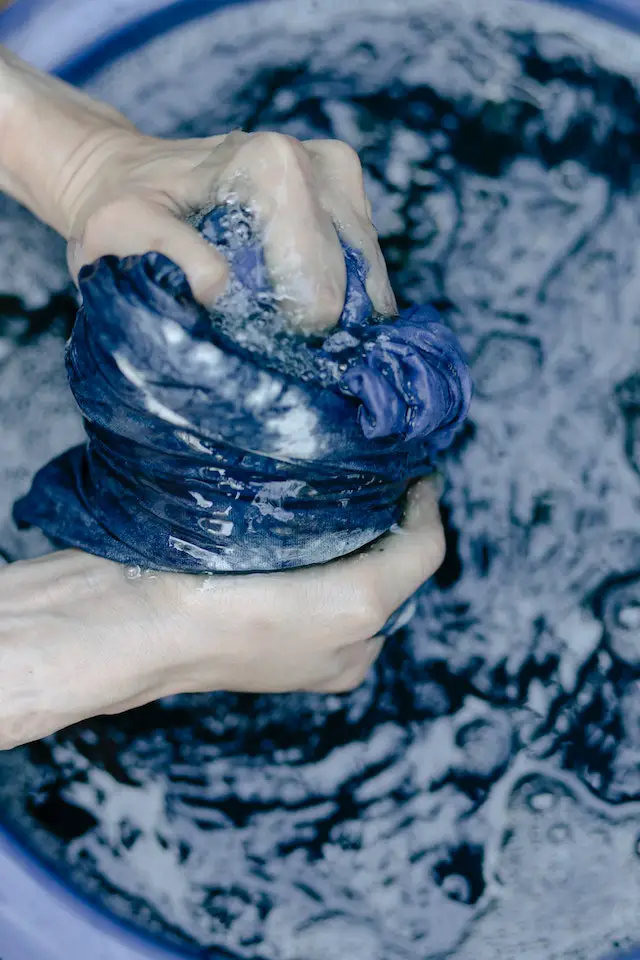
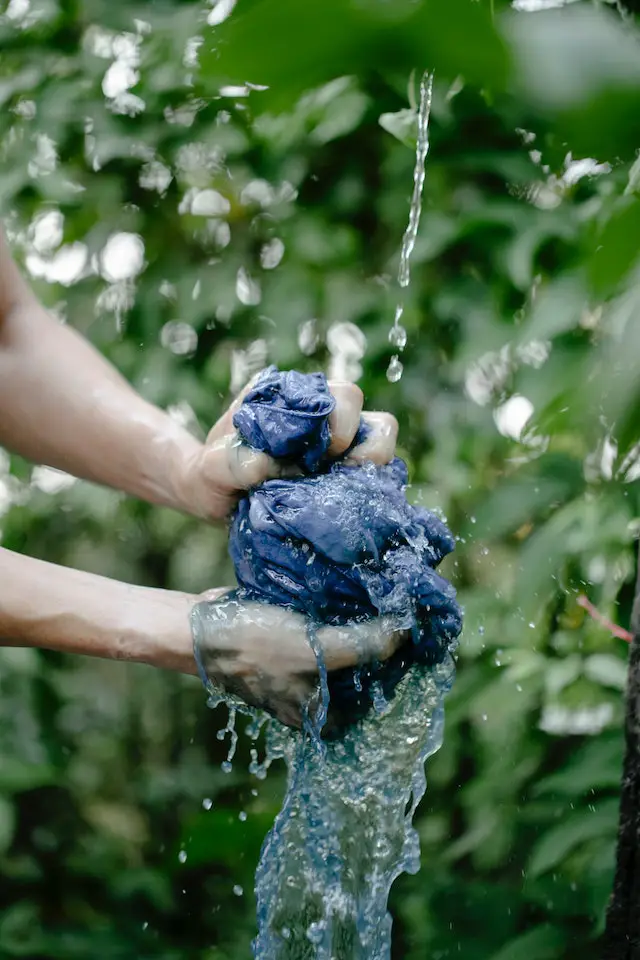
Once the 60 minutes has passed, I take the bucket to the laundry room and squeeze the excess dye out of the fabric. It’s a good idea to wear gloves (<– affiliate link!) to protect your hands from dye stains! I run the fabric through the rinse and spin cycle in the washing machine to remove the remaining dye.
Repeat the Process
For truly saturated color, I use the remaining dye in the bottle and repeat the entire process to dye the fabric a second time.
Rinse and Spin Again, Then Dry
I run the fabric through the rinse and spin cycle in the washing machine again, then put it in the dryer to set the color. Dryer sheets can be used if desired but are not necessary.
Keeping the Color Vibrant
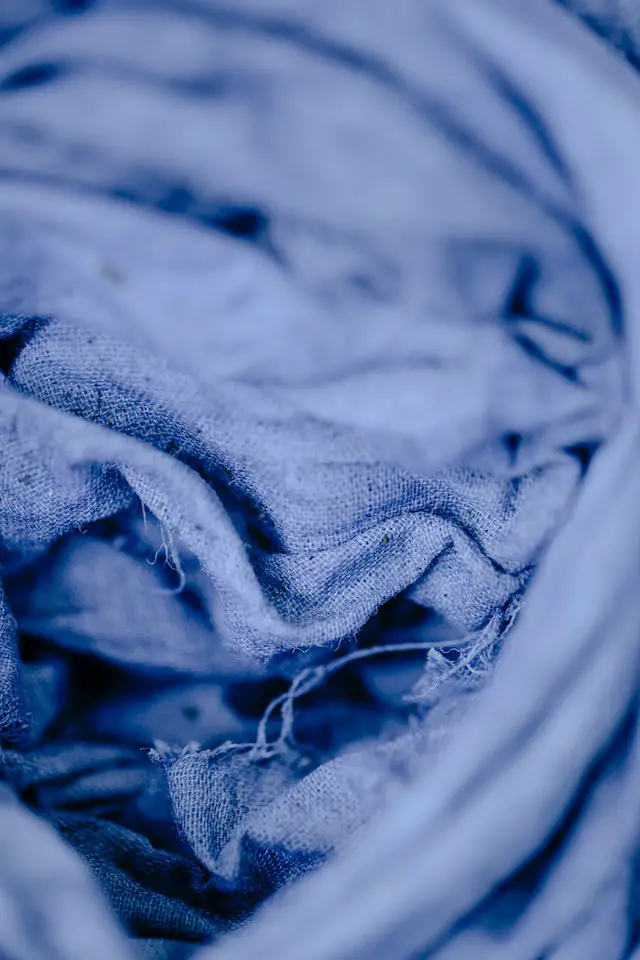
Most dyed garments will fade with repeated washing and drying but I found that if I wash the fabric in cold water then subsequently hang it to dry, the color remains vibrant for longer!
Have questions about the 7 steps for using fabric dye? Leave a comment below!