How to Make a Bound Notebook
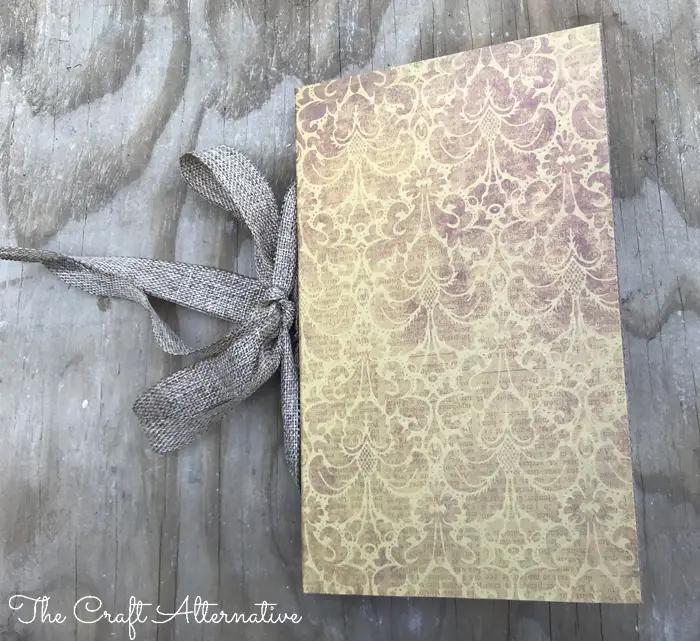
There is absolutely no such thing as having too many notebooks… Once you start making your own, it is positively addicting! This tutorial on how to make a ribbon bound notebook uses easy to find supplies (many you may already have on hand) and is so simple, several notebooks can be created in a matter of hours!
Materials:
- 5-1/2″ x 8-1/2″ Notebook Paper
- Cardboard for the Cover
- Spray adhesive (<–affiliate link!)
- Scrapbook paper
- 1/4″ Metal grommets + Grommet tool
- Binder clips (<– affiliate link!)
- 2-1/2″ wide Washi tape, duct tape or masking tape
- 1 yd. Ribbon of choice

The cover can be cut from a cereal or food box. If the cardboard is really thin, cut two pieces for the cover and use the spray adhesive to secure them together. The cardboard is covered with the scrapbook paper, then the ribbon is threaded through the holes in the paper and through the spine on the cover. These notebooks are the perfect way to personalize your home office and also make fabulous gifts!
Step One
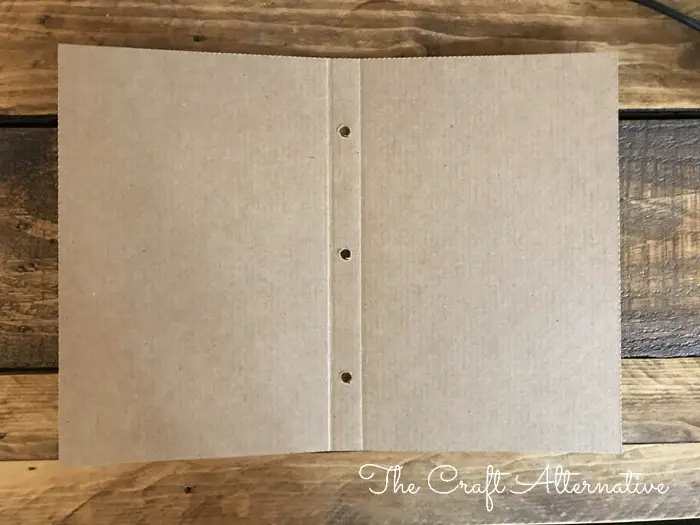
Cut the cardboard to size: 12″ wide by 9″ high. Lightly draw the lines for the folding scores with a pencil at 5-5/8″ in from each long edge (making the spine 3/4″ wide), then use a straightedge (ruler) and a butter knife to make the scores.
Step Two
Mark the position of the holes on the spine. They will line up with the holes in the paper. If there are several holes in the paper (which are generally for a wide variety of planners and binders), select three with at least one being in the center. Use a nail, a scratch awl or something similar to make a hole at each mark. The grommets themselves can also be used to make the hole, just use care when punching through the cardboard.
Step Three
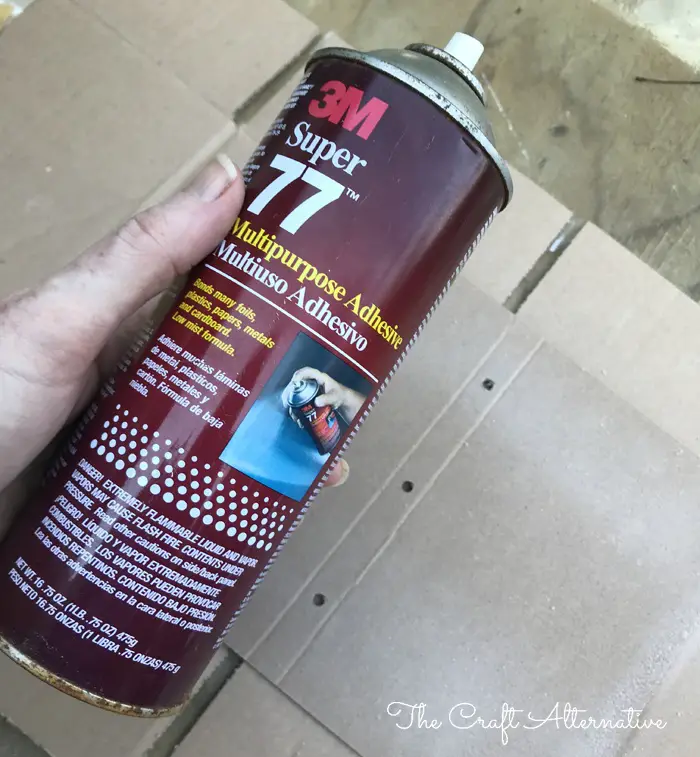
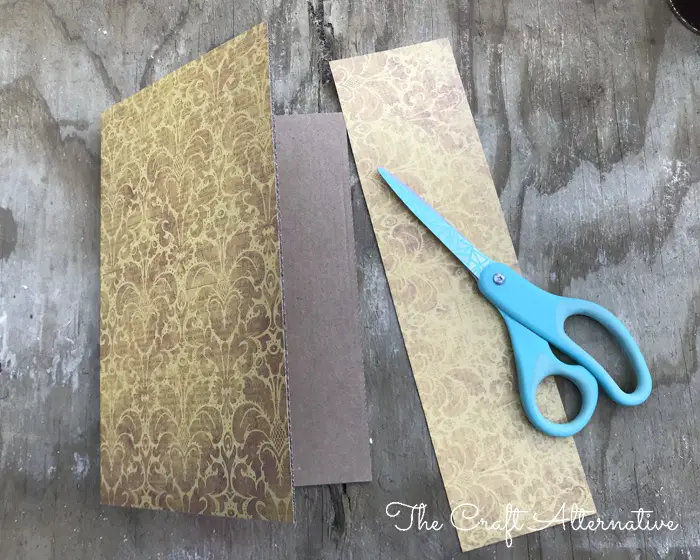
Coat the outside of the cover with the spray adhesive, then position the scrapbook paper on top, smoothing it in place. Trim the excess with scissors or a craft knife.
Step Four
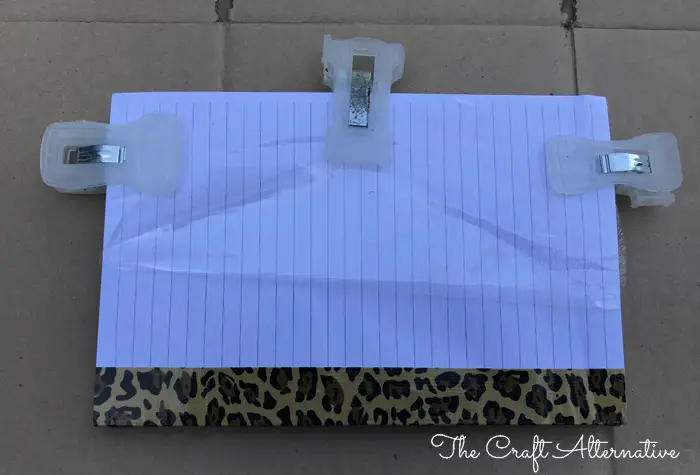
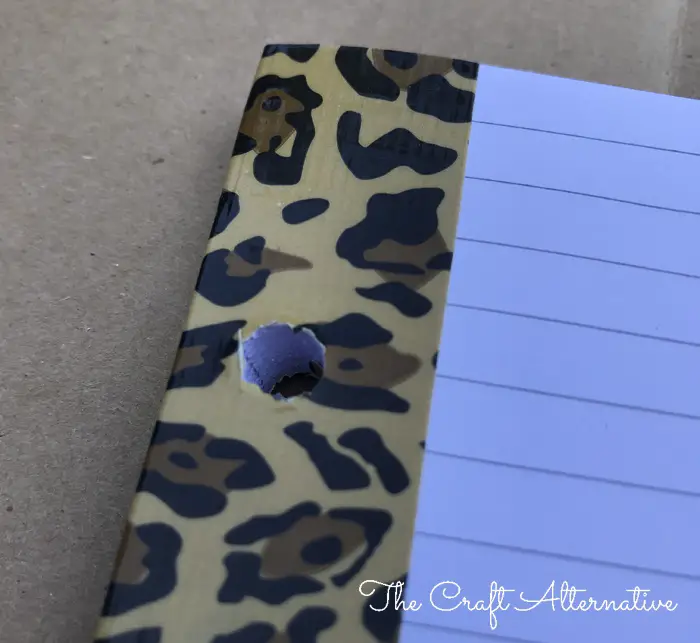
Neatly stack the paper and use the binder clips to secure the stack. use a pencil to lightly draw a line 1″ away from the edge where the holes are located. Apply the duct tape along the line, covering the holes, then wrap the tape over the edge and smooth it down on the back side of the holes. Punch through the tape to expose the holes in the paper, and leave the binder clips in place!
Step Five
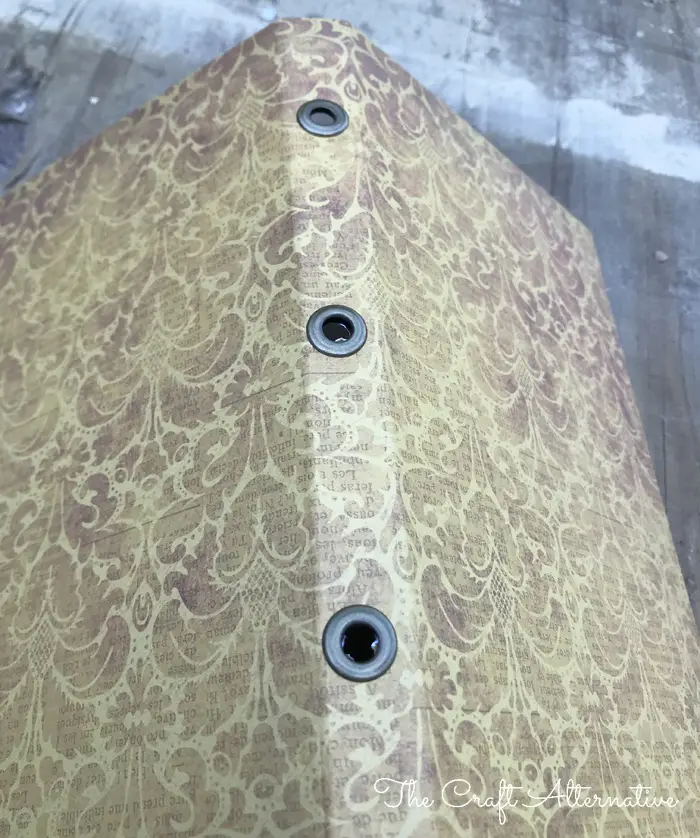
Install the grommets in the holes in the spine according to the manufacturer’s instructions.
Step Six
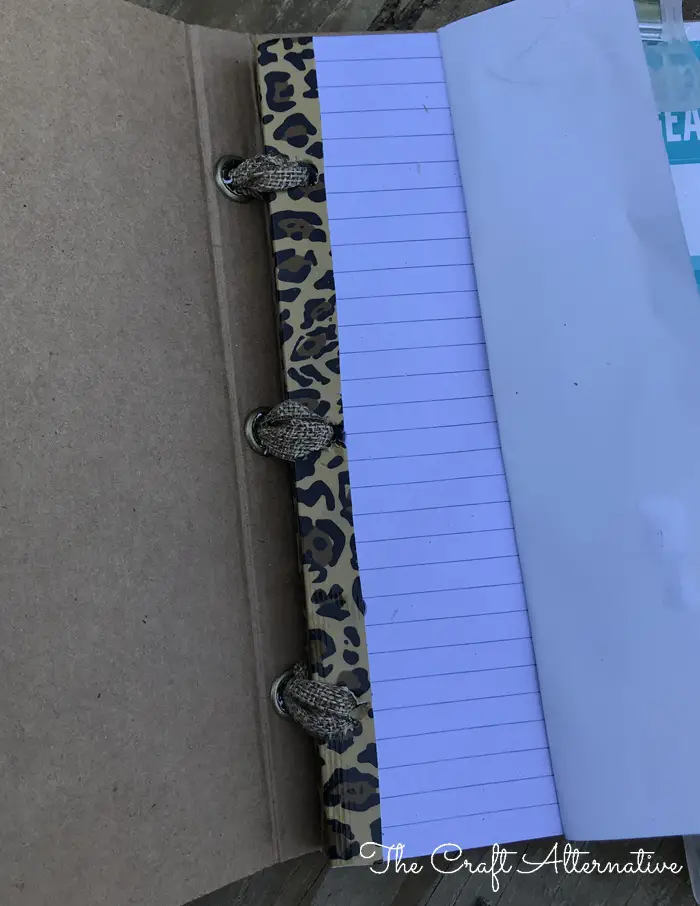
Thread the ribbon through the center hole on the spine, through the center hole on the paper, and back up through the center hole on the spine. Making sure the ends of the ribbon are even, thread one end of the ribbon through the spine, then the paper, and back through the spine. Repeat with the other end of the ribbon on the opposite side of the center hole.
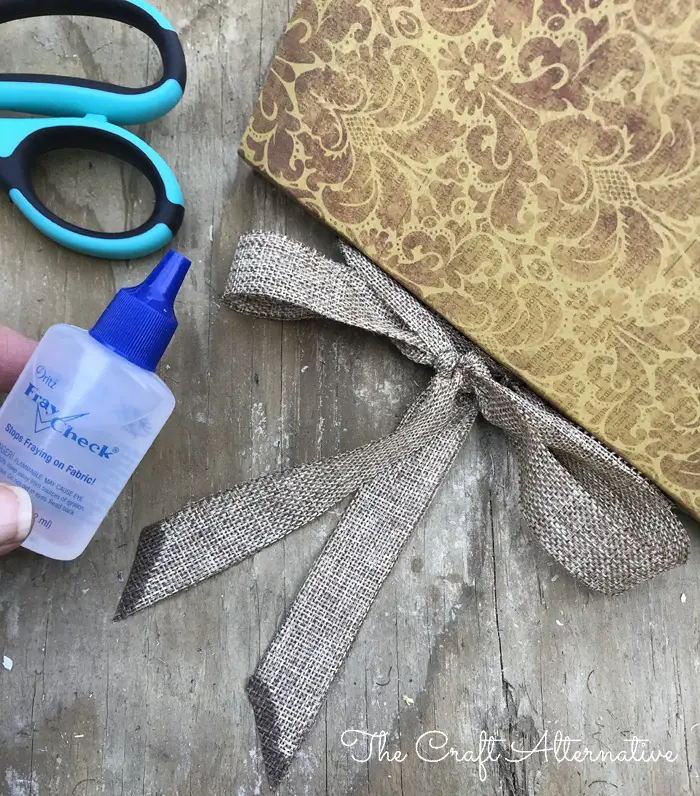
Pull the ends of the ribbon so that the paper rests against the spine on the inside of the cover, and tie the ends of the ribbon in a bow.
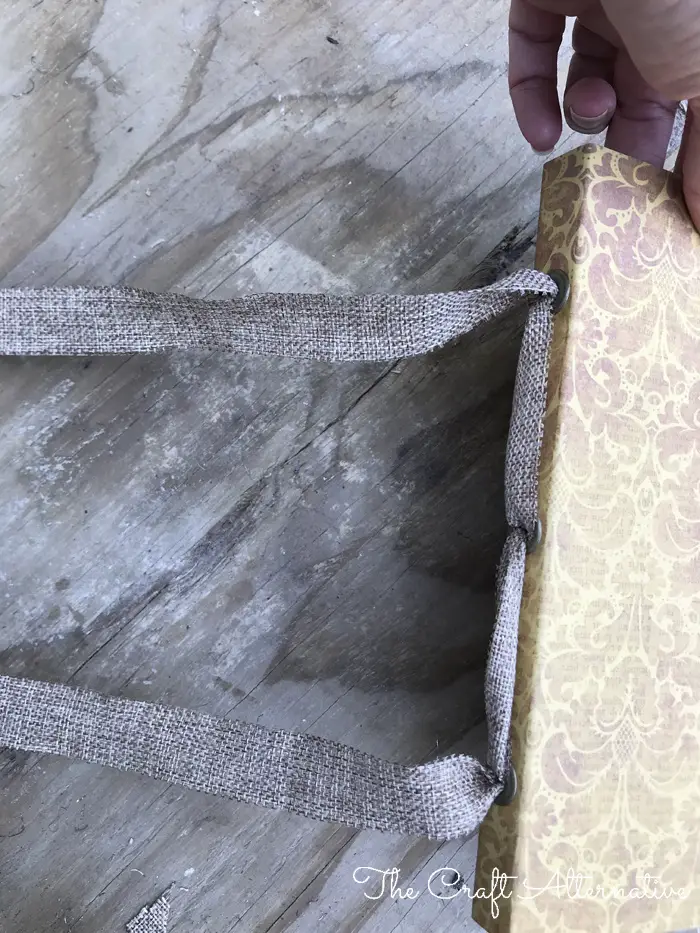
Apply a fray preventive such as Fray Check (<– affiliate link!) to the ends of the ribbon, if needed.
That’s it! I used leopard print duct tape (because yes… LEOPARD PRINT) with jute ribbon and black scrapbook paper to make a notebook to jot down ideas for future posts! A label or a metal label holder used in scrap booking or other paper crafts would also make an excellent touch on the cover! Looking for more? Here is another custom notebook project…
Have questions about how to make a ribbon bound notebook? Leave a comment below!
Originally posted 2020-08-29 14:46:30.
