How to Make Canvas Pillow Covers
Canvas drop cloths seem to be the most economical way to get the look shown in so many of the high-end catalogs. I bought a 9′ x 12′ dropcloth for $20! That’s quite a bit of fabric that can be painted, embroidered, sewn, whatever, etc. In today’s project, I will share how to use a dropcloth to make canvas pillow covers. I saw pillows similar to these in a high-end catalog and was so shocked at the price! It was way too expensive for such an easy, DIY project!
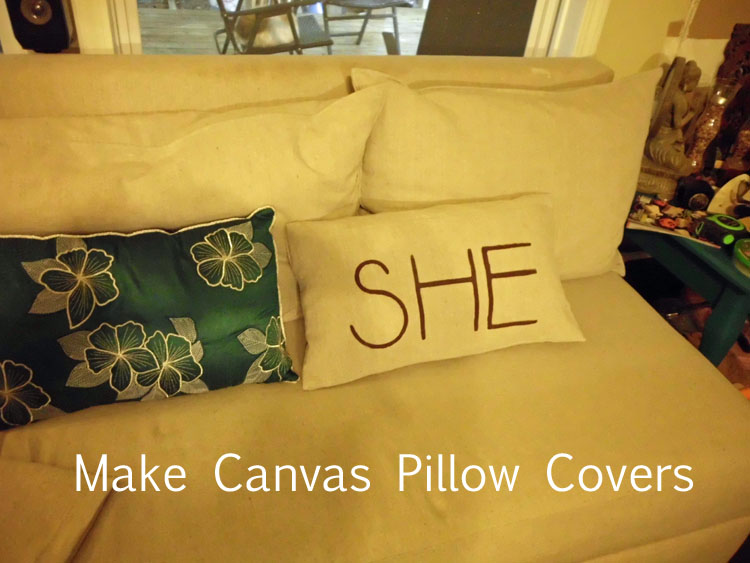
If you have a ton of pillows like I do, there is no reason to buy inserts when these pillow covers can be customized to fit them! Any words can be stenciled on these covers and the best part is that they are completely washable!
Materials:
- Canvas dropcloth (<– affiliate link!)
- Acrylic craft paint and textile medium
- Stencil and adhesive
- Sponge dauber
- Sewing machine and thread
- Zipper
- Pillows to cover
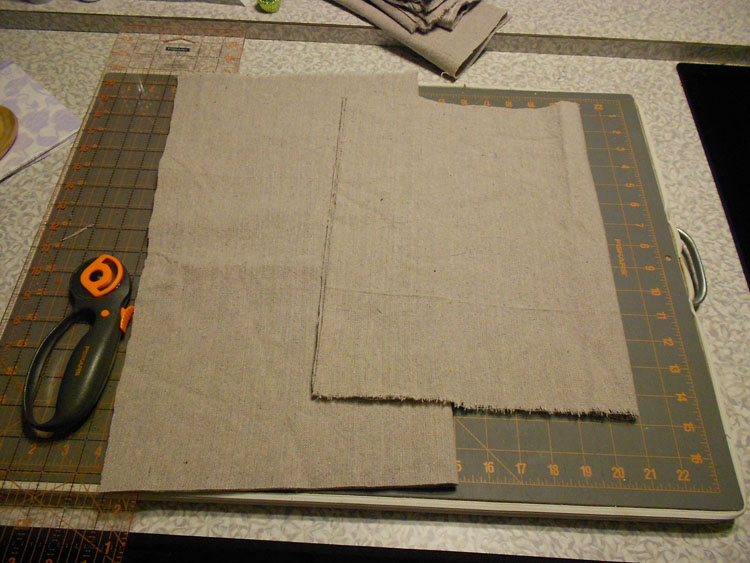
Pre-wash and dry the canvas dropcloth. Cut two squares or rectangles for each pillow. The size will depend on the size of the pillows being covered and whether you’re adding a zipper or a flap with buttonholes. Mine measure 11″ x 20″ so I cut one rectangle at 12″ x 21″ and one rectangle at 18″ x 21″ to allow for a flap with buttonholes. The pieces allow for 1/2″ seams.
I am using my Yudu (<–affiliate link!) to screen print the design onto the fabric. I printed my design on a transparency and secured it to the table.
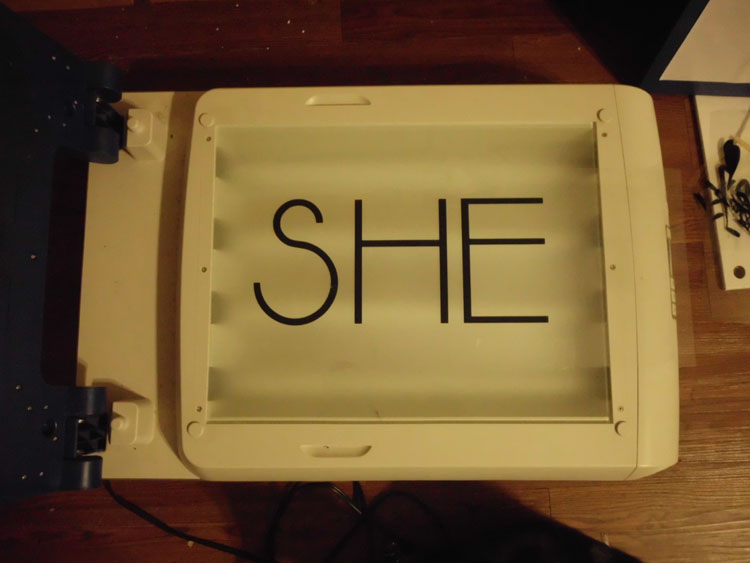
I laid my screen on top of it to burn it… (I used Diazo Photo Emulsion and a scoop coater.) If you are using this method, take care not to expose the screen to direct light! (For some reason the pic came out blurry but I didn’t want to risk taking another one!)
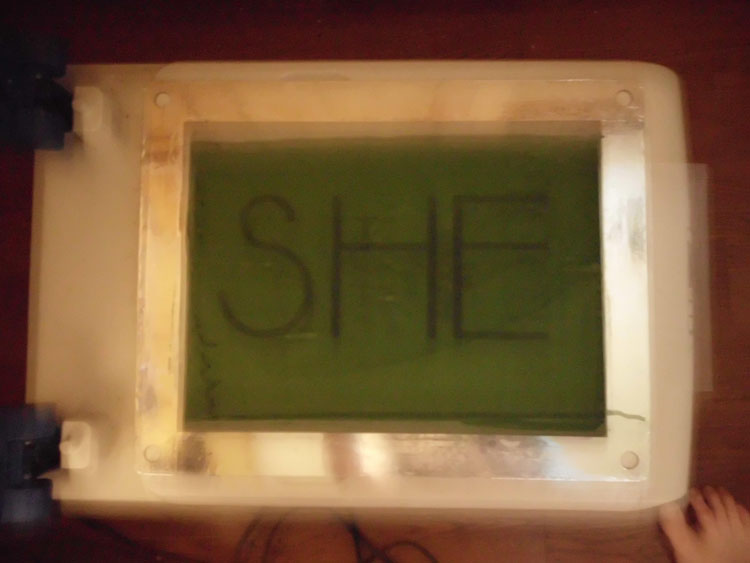
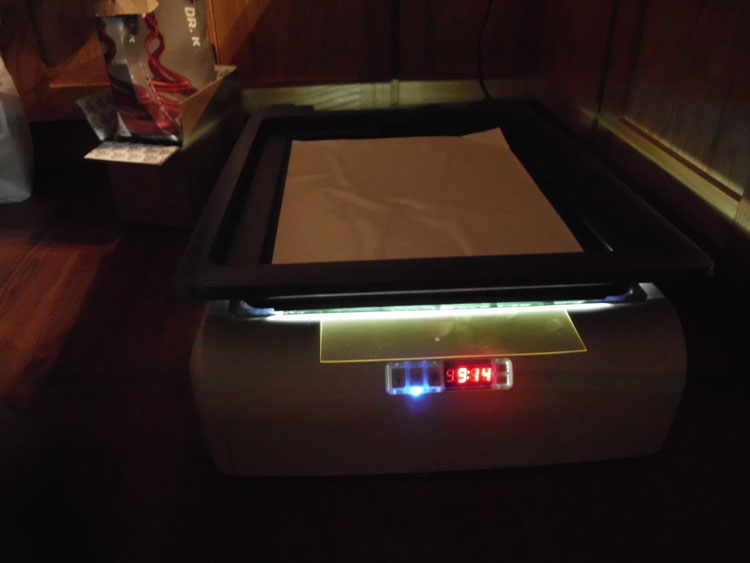
Then I set the Yudu to burn the screen…
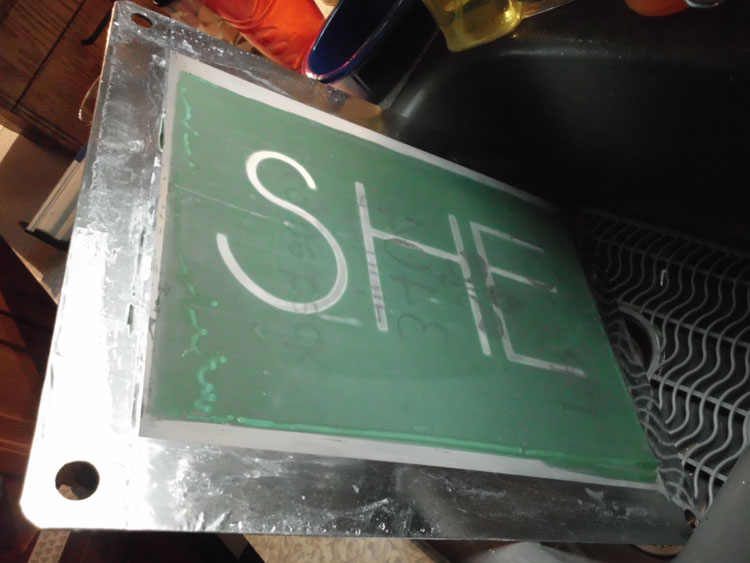
This is my screen ready for paint!
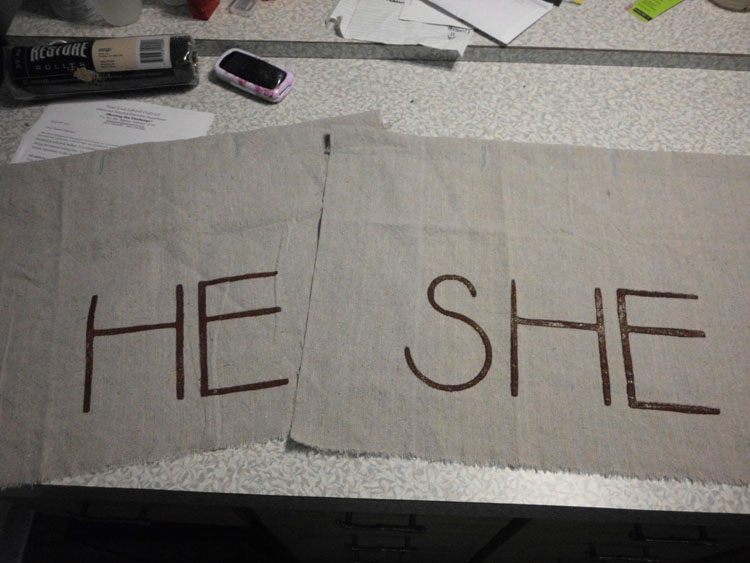
After I printed the word “she” on one pillow, I taped off the “S” with painter’s masking tape and printed “he” on the other cover.
If you do not have a Yudu, you can always use a regular stencil and spray adhesive. Spray the back of the stencil with the adhesive and position on one of the pillow pieces. Mix the textile medium with the paint and color in your design with the dauber using an up and down motion.
I am using a button flap closure and the cover will look similar to an envelope. To begin, I hemmed one end of the smaller pillow piece by folding one of the 21″ edges over by 1/2″ then folded it again by 1-1/2″. I repeated this for the larger piece. This made a nice, wide area for the buttonholes. I sewed two buttonholes on each flap.
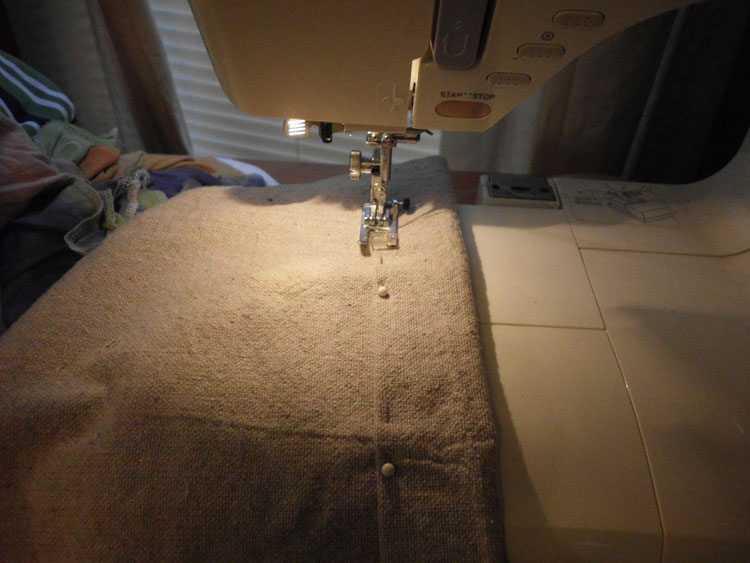
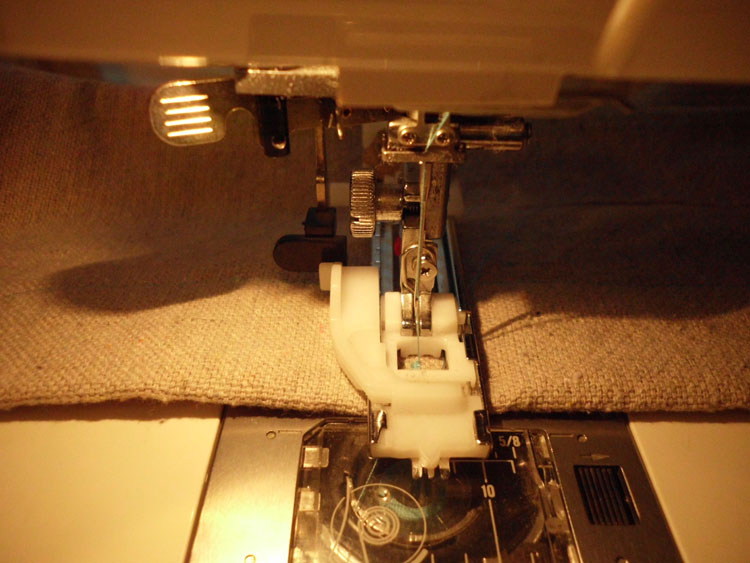
To sew the cover together, I folded the button flap over, right sides together, and placed the shorter piece on top, wrong side facing out. I aligned the three unhemmed edges and sewed the three sides together, then flipped the pillowcase inside out. Then, I sewed the buttons on the back.
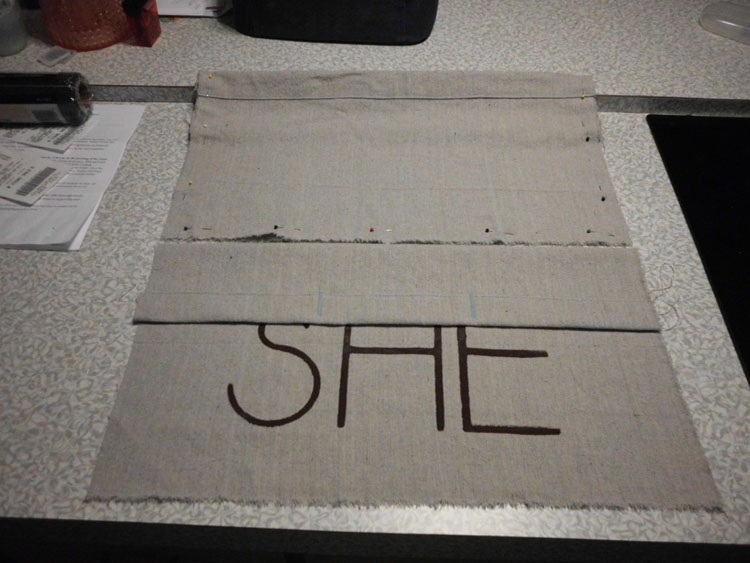
If you are using a zipper as the closure, it is easier to install it before sewing pillow covers together. Once the zipper has been installed, put the right sides of the pillow pieces together and sew the cover. Unzip, and flip it right side out.
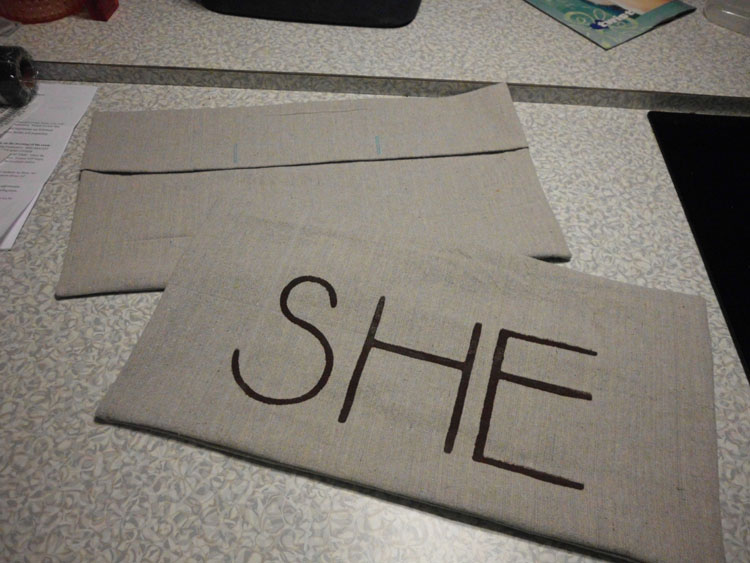
Press the edges and top stitch the covers in a contrasting color, if desired.
Insert the pillows and enjoy your creativity! Other word ideas can be His/Hers, Mr/Mrs, Him/Her, Yours/Mine, etc. Have any questions on how to make canvas pillow covers? Leave a comment below!
Originally posted 2012-04-20 08:00:17.

HE AND SHE is the concept which always considered the fresh and new topic as the fight between them always goes on.