
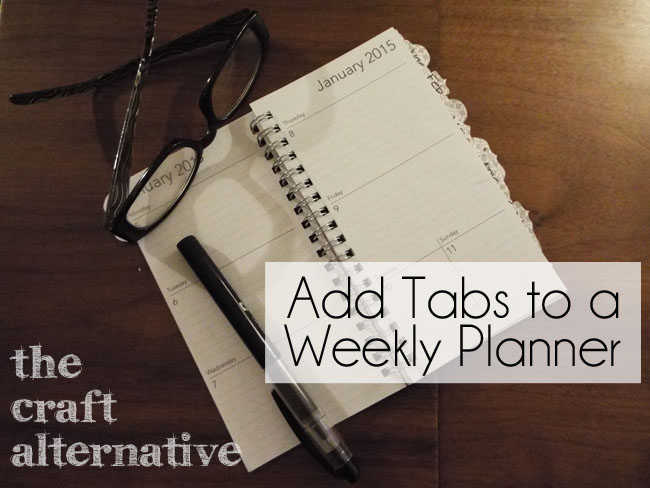
Add Tabs to a Cheap Weekly Planner
Originally posted 2015-02-25 08:00:54.
A Quick Hack for an Inexpensive Weekly Planner
Like everyone else, I like to try to be organized (heavy emphasis on the word “try”!). I have been down the fancy organizer road only to spend a ton of money and never use the organizer. I really like those inexpensive weekly planners that can be found in the dollar bin of any store – mainly because of the price – but I am too lazy to flip through it to the page I need to be on. I decided to add tabs to the weekly planner so that I can find each month quickly and easily!
This is a super-simple hack. You can make your own tabs out of pretty card stock or purchase stick on tabs to use on the pages.
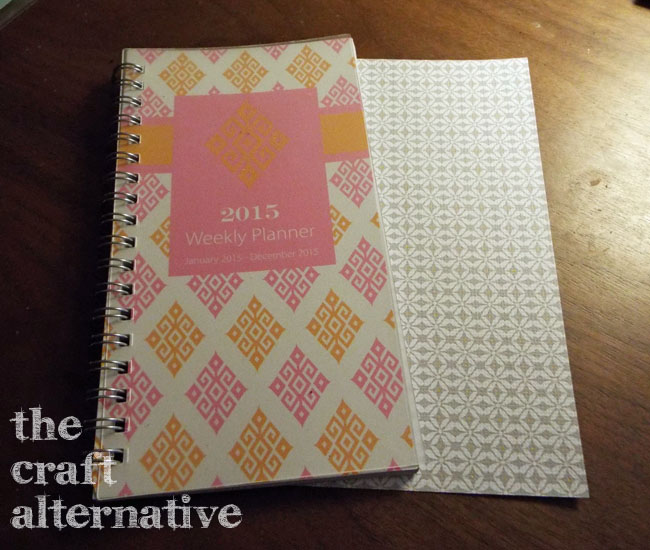
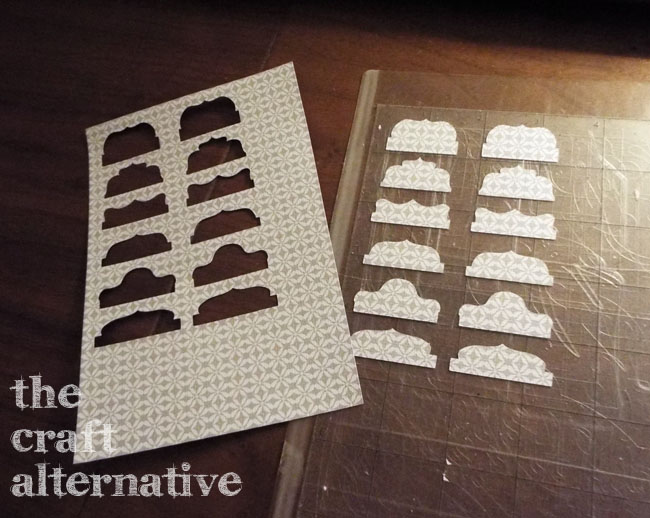
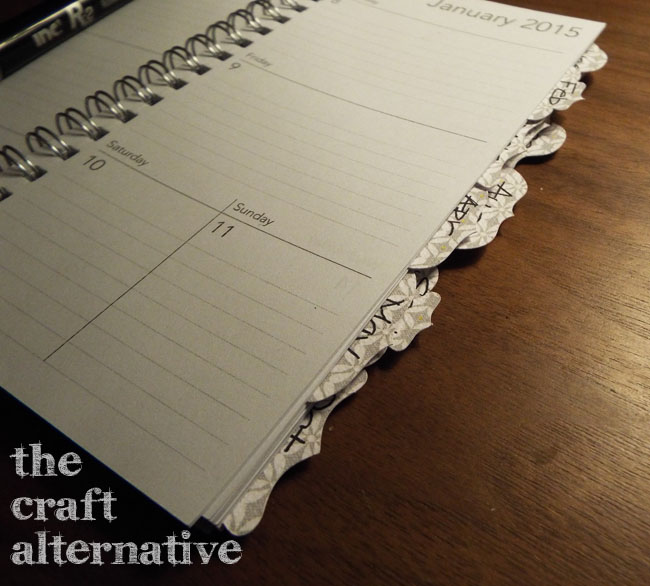
My little planner has a pink and orange design on the front. I didn’t have any cardstock that really matched it so I chose a grey printed cardstock to make the tabs. I used my paper and vinyl cutter to cut the tabs out. (Note the hot mess my cutting mat is – I use the cutter a lot!!)
I wrote the names of the month on each tab with my almost-very-best handwriting… I figure if it is legible, it is good!
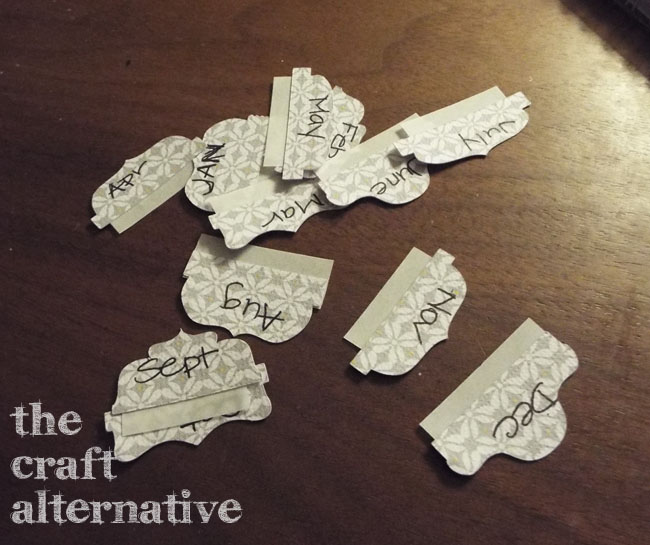
I glued the tabs to the pages of the first week of each month in the planner.
I like the way the planner came out! It is perfect for me, and by April when I stop using it, I won’t feel too bad about it! By choosing to add tabs to this weekly planner, I can keep my work schedule organized, as well as any appointments I may have, and be able to find them quickly and easily while being a little less lazy about it! Do you have a favorite cheap planner hack? Leave a comment below!